

Introduction: Bacon Infused Fire Lighters


I'm a total disaster when it comes to lighting fires. My 'best' fail was using no less than 6 commercial firelighters, a whole newspaper and a bunch of bone dry kindling and still not managing to get the fire going successfully.... As a result I'm always looking for ways to make life easier for myself (and less frustrating for my husband) when it comes for lighting fires.
Last summer, after a few smokey camp fire failures I decided I needed something help me out. I don't really want to carry commercial firelighters with us when camping, so cast about for some other options. Inspiration came one morning while cooking birthday breakfast for one of the kids - LOADS of BAAACON. Bacon generates a lot of excess fat. I keep a ramekin beside the pan and tip off any excess whenever necessary. This fat is either thrown out, or occasionally recycled as a bacon candle (not as good as it sounds) but this time I wondered about soaking kindling in it to make some low tech fire sticks that dont require any additional paper to start a fire. Read on to find out how we got on!
Step 1: What You Need


Bacon mmmmmmmm bacon....
Baking dish or tinfoil roasting dish
Ramekin (if you want to store the bacon grease)
Wood for kindling (or offcut chunks)
Axe
Step 2: Preparation


The Wood
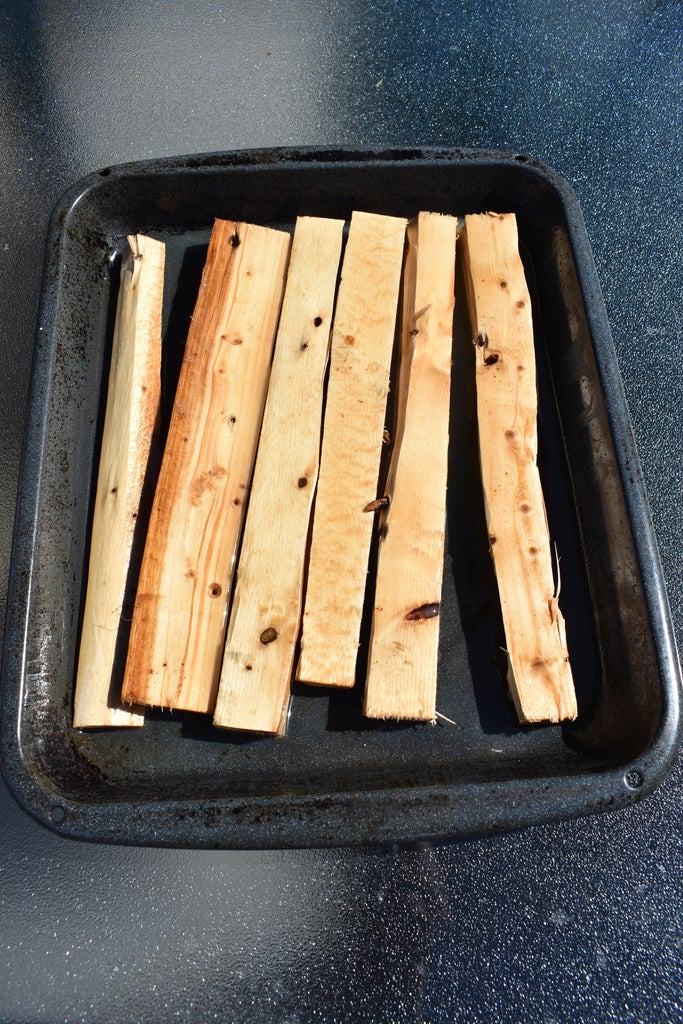
Cut your wood into kindling sized pieces. We found after testing that you don't need a whole piece of kindling to effectively start the fire. Smaller sections will do, so if you have little off cuts they might just do the job.
The Fat
Lay the bacon out in the baking dish/roasting pan and cook it in the oven under the grill/broiler. This gives nice clean liquid fat, as opposed to fat with little bits of bacon in it that you get from a frying pan. Not essential but makes everything a little more aesthetically pleasing!
Pour the bacon fat into the ramekin - trying to keep out any bits and pieces - and set aside.
Eat the bacon..mmmmmm delicious.....
Put the bacon fat into a clean baking dish and melt it if necessary. You don't need much heat to do this - I left it out in the sun for a bit!
Step 3: Making the Firelighters

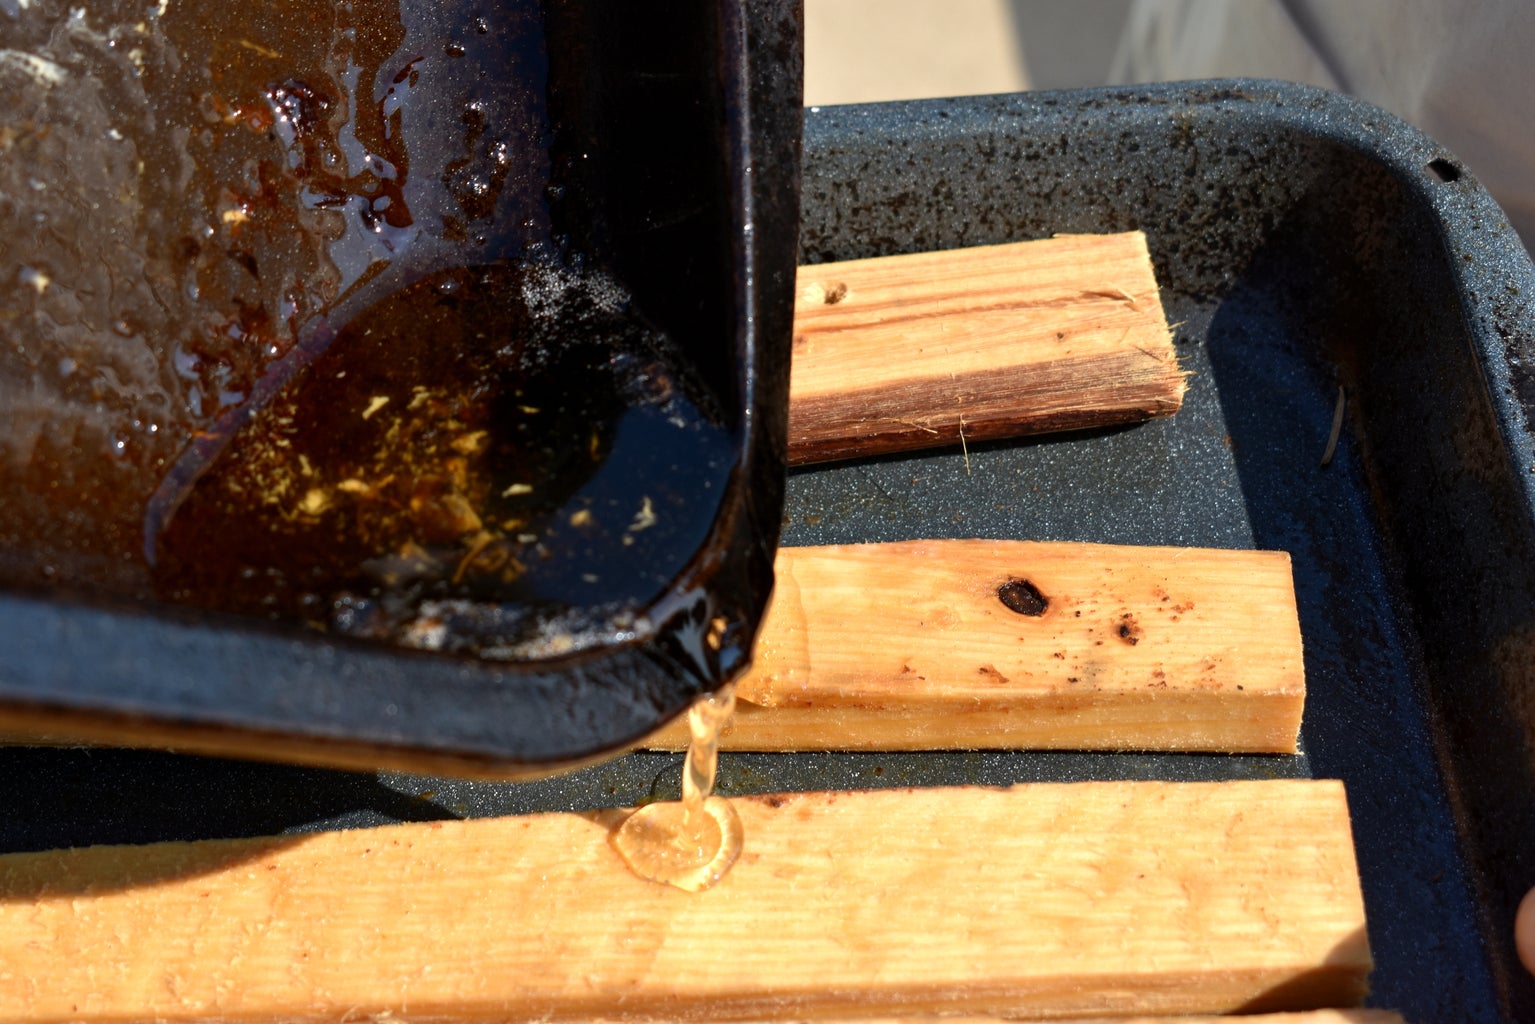
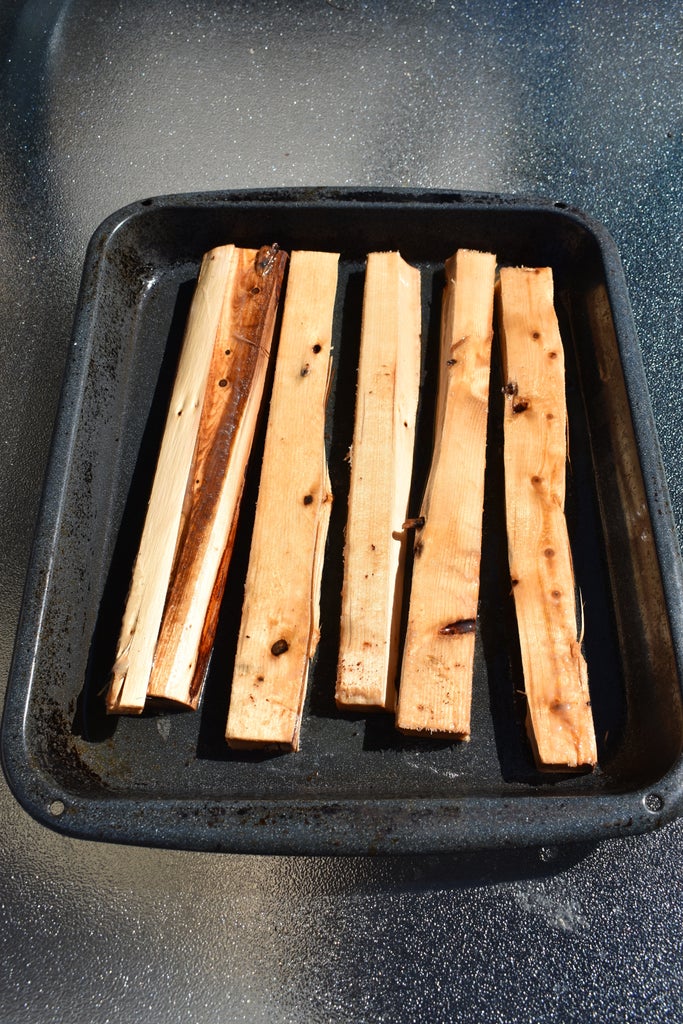
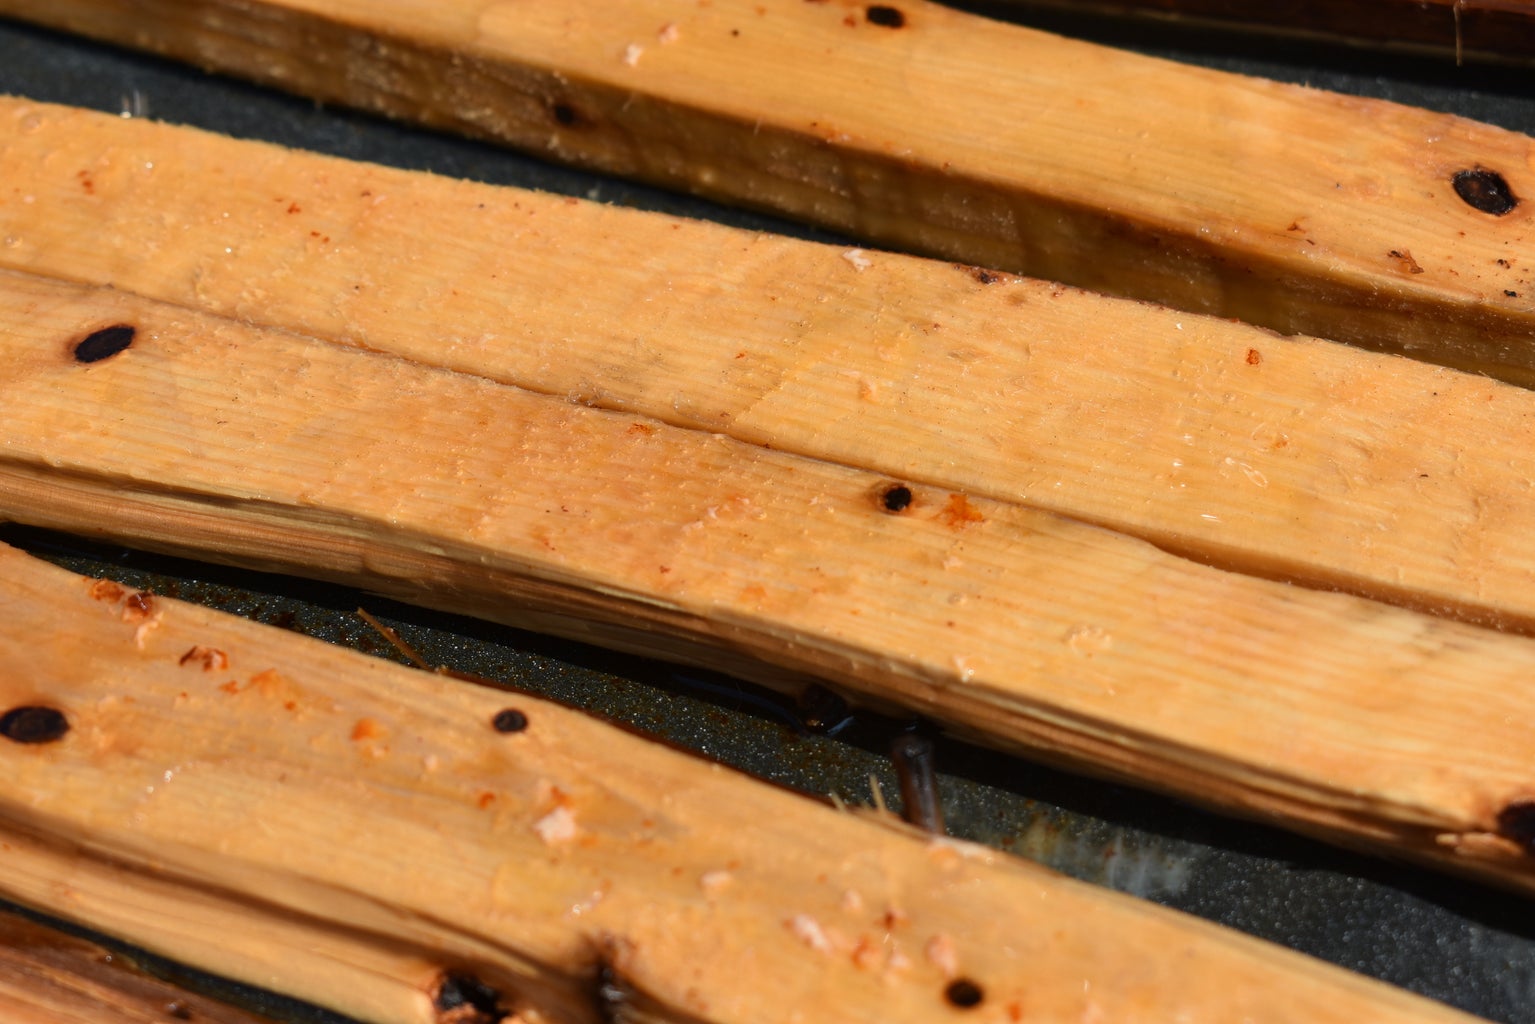
Put the pieces of kindling into the tray, making sure one side is coated with fat. Leave for 12-24 hours and turn, making sure the whole piece of wood is coated in bacon fat.
Repeat until the fat is all/mostly absorbed (can take week or so!)
I did this in summer so left the tray out on the back deck in the sun so the fat stayed melted. I made sure it came inside when it rained! I didn't turn it every day, but made sure I turned it fairly regularly to get a good coating on all sides.
Once all/most of the fat is absorbed, put the kindling in a plastic bag ready for your fire.
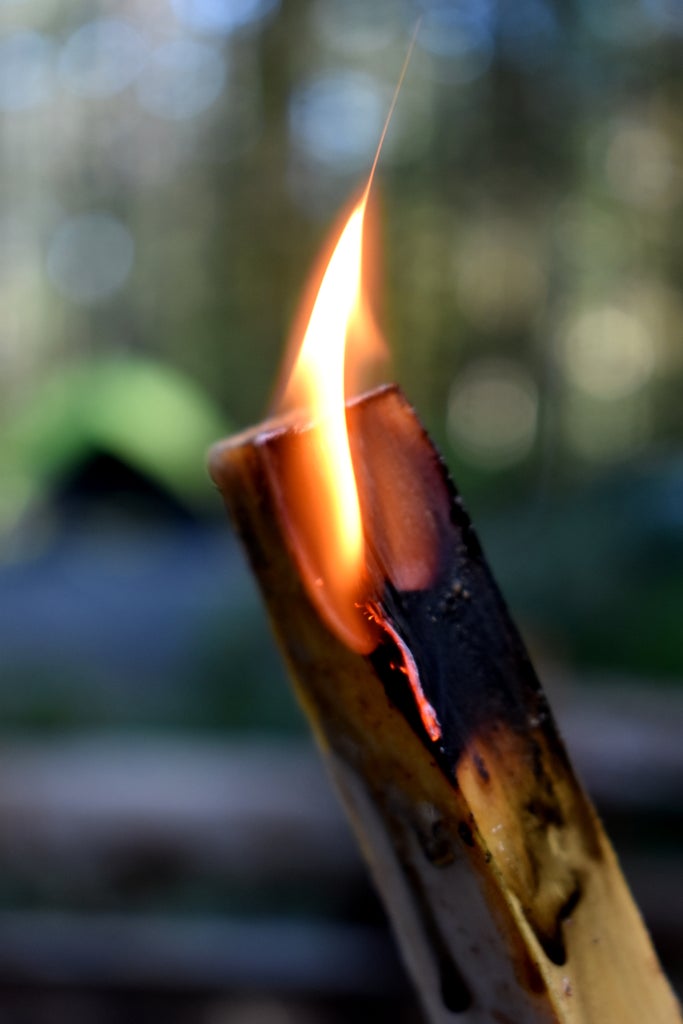
Step 4: Using the Firelighters
Light your bacon infused firelighter and lay it in the bottom of the firepit. You will not need any other fire lighting material such as paper or bark. Stack your kindling and logs around it as you would a normal firelighter or paper - make sure you leave spaces for oxygen, fire needs food!
When we did a trial run on these firelighters we were extremely pleased with the results. You do not in fact need a whole piece of kindling to start the fire, so we chopped one length of kindling into 3-4 smaller pieces and used them as firelighters instead. They take a wee bit to light - you might not get the job done with a match - but once they are alight, they burn slow and steady like a candle, giving you plenty of time to get your wood stacked in the most efficiently flammable way.
Sit back and enjoy your fire. Toast marshmallows. Make smores. Ahhhhh summer camping....
We stored our infused kindling in a plastic bag so oil didn't get on other things. This worked well and after 12 months it doesn't smell hinky or anything.
The only downside I can see is that these firelighters don't emit a delicious bacon smell. Actually... that's probably a good thing! Bacon consumption rates would go through the roof!
Step 5: But Wait! There Is More!
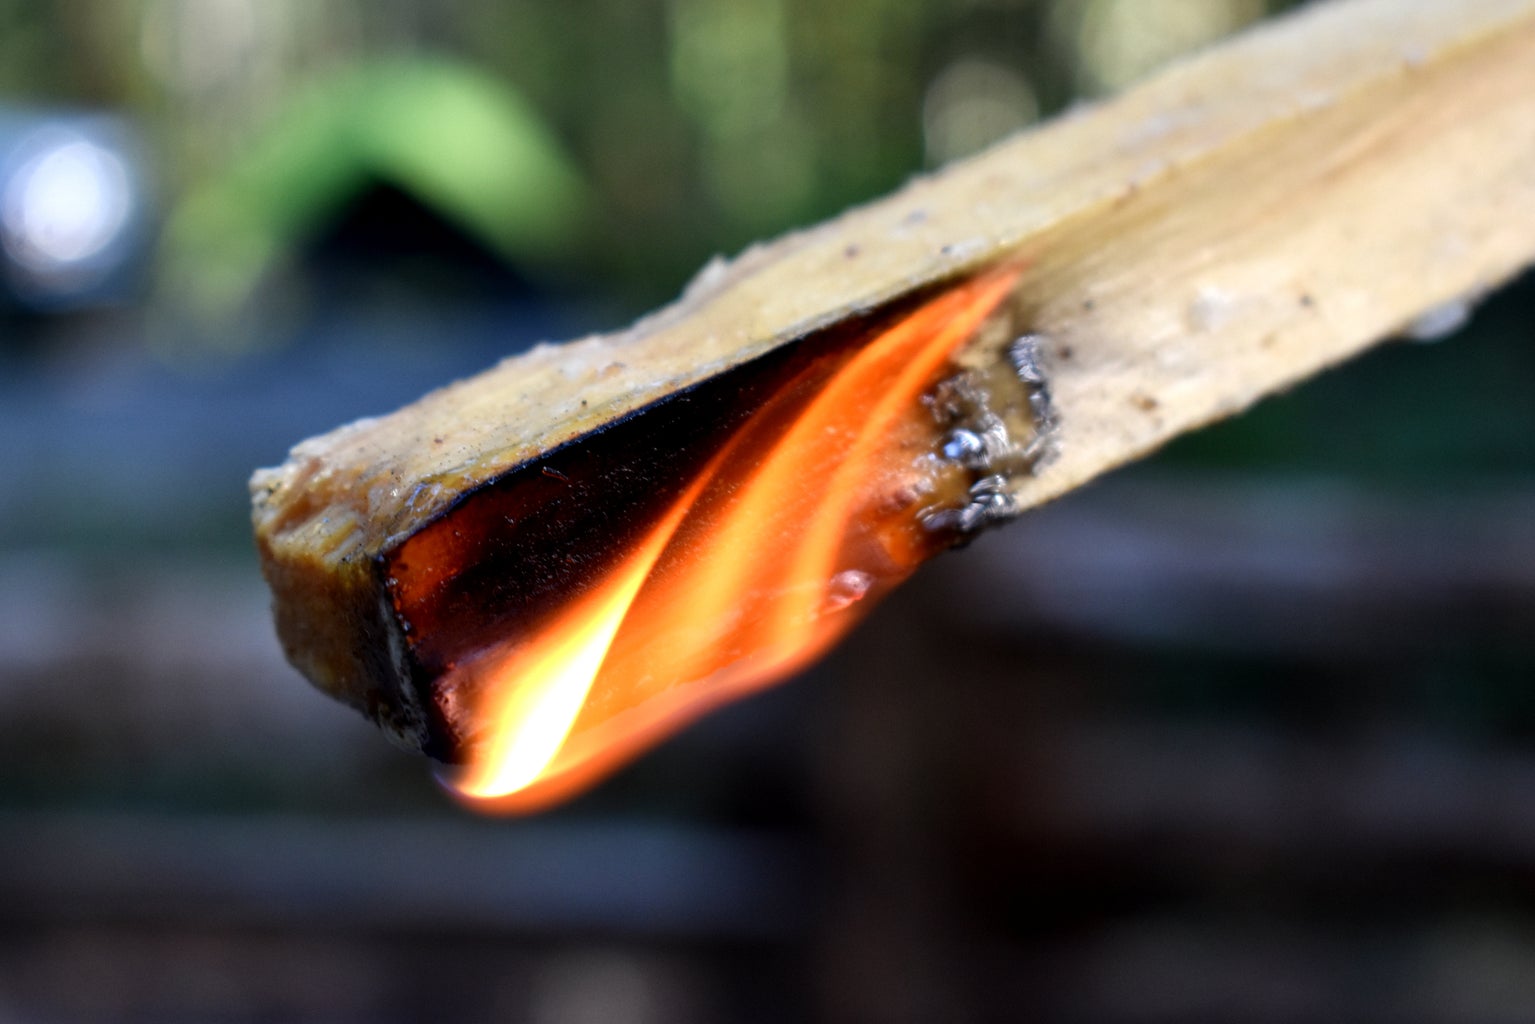
The truly awesome feature of these bacon firelighters is that they are essentially waterproof. The little clip above shows us dipping a bit in a bowl of water then lighting it!
Cutting the wood into small chunks before you start soaking them in the bacon fat will increase how waterproof they are - cutting afterwards exposes a face that will absorb water instead of repelling it.
I was pleasantly surprised with how well this worked. The firelighter burns long and slow, giving even the most fire-inept of us a chance to toast our marshmallows this summer :)

Second Prize in the
Fat Challenge


