

Introduction: Breadboard Wire Helper


This instructables show how to build a tool to help make breadboard prototyping easier and neater.
I call it Breadboard Wire Helper.
Step 1: Breadboard Wiring


There are 2 major types of wire for breadboard wiring:
Jump wire, usually Dupont wire, is handy to connect the pins. But it is clumsy when more pins connected.
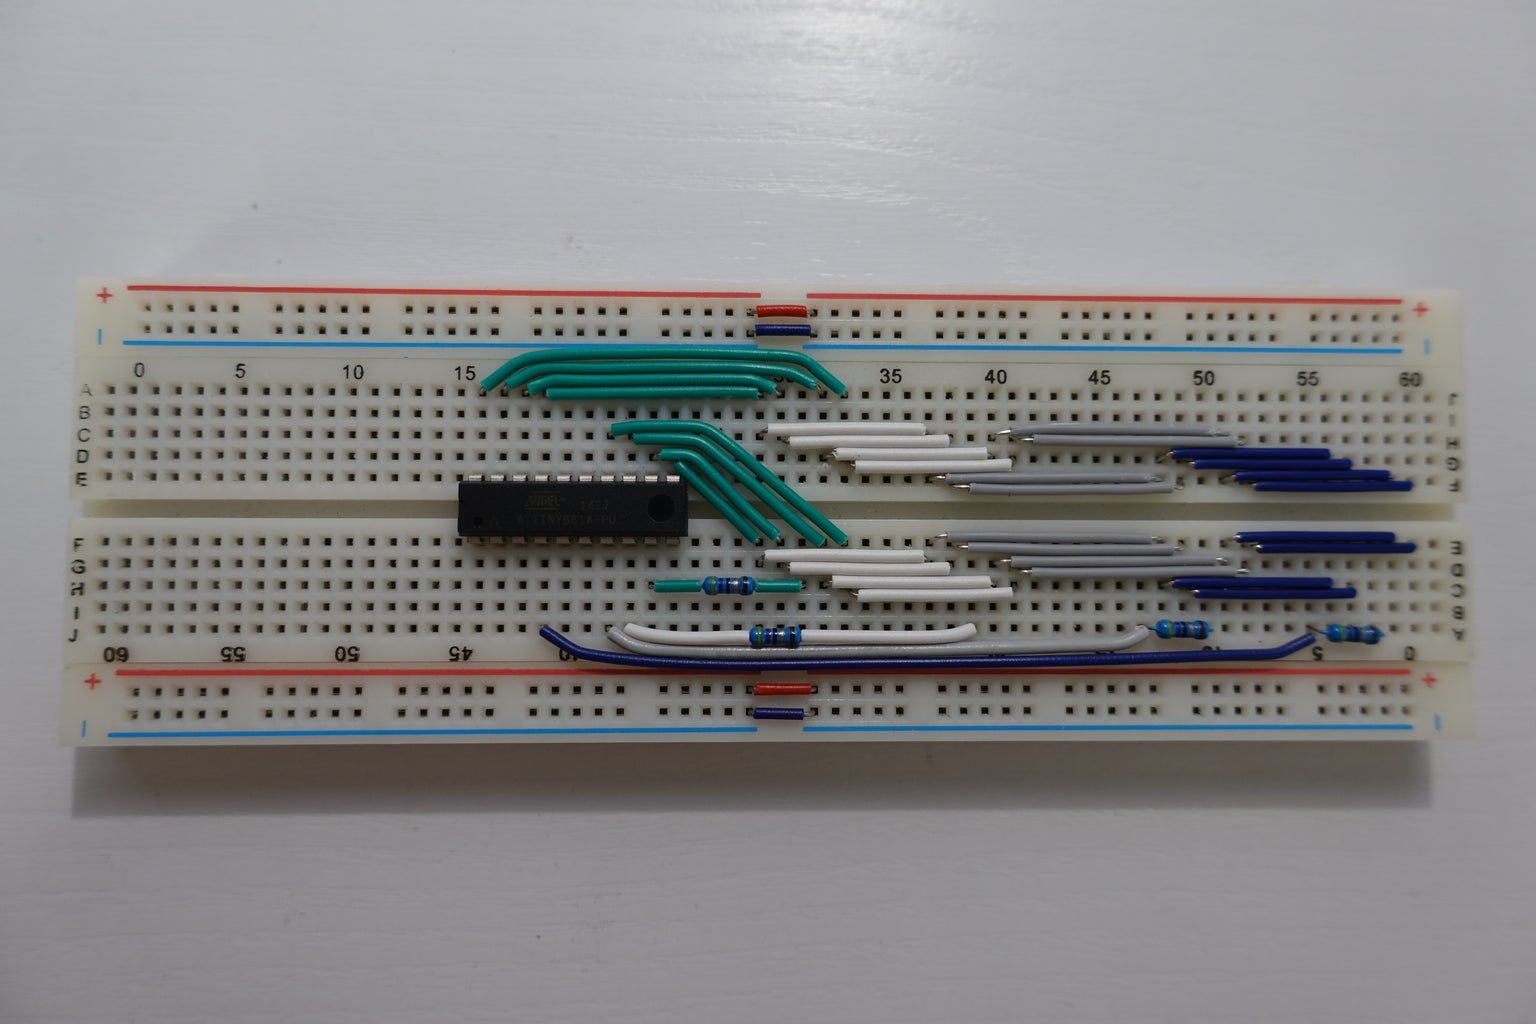
Solid core wire can be more neat if you can cut the wire just fit the length and make all connections straight. The following steps show how to make each breadboard wire just fit.
Step 2: 3D Print


Please download and print the 3D model from Thingiverse:
Step 3: Color Decoration


The 3D printed model is in single color but you can decorate it with color pens.
Step 4: Using Guide 1: Count Holes

Count the holes the wire should jump. Then count from left to right, put the wire in the hole.
Step 5: Using Guide 2: Strip Wire Cover

Strip the wire cover outside the left edge.
Step 6: Using Guide 3: Bend Wire

Bend the removed cover wire along the left edge groove.
Step 7: Using Guide 4: Cut Wire

Cut the wire part that over left edge groove.
Step 8: Using Guide 5: Done!

Take out the wire from the Breadboard Wire Helper, now you have a just fit breadboard wire.
Step 9: Take Alone With Your Breadboard Wire

I have modeled Breadboard Wire Helper in various sizes, some can fit into the breadboard wire case. This tiny tools can make the case more professional ;>
Step 10: Happy Breadboard Prototyping!


It's time to make many and many neat breadboard prototype!


![Tim's Mechanical Spider Leg [LU9685-20CU]](https://content.instructables.com/FFB/5R4I/LVKZ6G6R/FFB5R4ILVKZ6G6R.png?auto=webp&crop=1.2%3A1&frame=1&width=306)


