

Introduction: Camera Robot


This instuctables show how to use FSBrowserPlus web UI remote control an ESP32 camera robot.
Supplies
Camera robot dev board only: https://item.taobao.com/item.htm?id=631563745629
Or full camera robot: https://item.taobao.com/item.htm?id=631217920887
Step 1: What Is FSBrowserPlus?

ESP32 have a bundled example called FSBrowser. It is a simple web server that host the web source files copied to SPIFFS, it have a simple web editor for amend the source over WiFi and also it have a simple API to read the GPIO values.
I have enhanced this example to FSBrowserPlus in previous instructables.
Then I have further enrichment afterward:
- Added camera snap and stream API
- Added GPIO API
- Added Motor control API
Step 2: Building Robot
This instructables is actually a pure software project.
I have planned my next instructables after this instructables is a co-related hardware project strider camera robot. But before I built it, I need a complete hardware for this software project. So I bought a camera robot on the web. I know buying things in Taobao is not easy, but this should not a problem, any 2 motors ESP32 camera robot should be ok.
The robot maker have a video channel, you may visit it for more design details: https://space.bilibili.com/23600893
Step 3: Software Preparation
Arduino IDE
Download and install Arduino IDE if you are not yet do it:
https://www.arduino.cc/en/main/software
ESP32 Support
Follow the Installation Instructions to add ESP32 support if you are not yet do it:
https://github.com/espressif/arduino-esp32
Arduino ESP32 filesystem uploader
Follow the installation steps to install Arduino ESP32 filesystem uploader if you are not yet do it:
https://github.com/lorol/arduino-esp32fs-plugin
FSBrowserPlus
Download FSBrowserPlus: (press "Clone or Download" -> "Download ZIP")
https://github.com/moononournation/FSBrowserPlus
ESP Async Web Server Library
Download latest ESPAsyncWebServer libraries: (press "Clone or Download" -> "Download ZIP")
https://github.com/arjenhiemstra/ESPAsyncWebServer
Import libraries in Arduino IDE. (Arduino IDE "Sketch" Menu -> "Include Library" -> "Add .ZIP Library" -> select downloaded ZIP file)
Step 4: Configuration
Camera Type
In "FSBrowserPlus.ino", uncomment your camera model at around line 28 and comment out all others. E.g. CAMERA_MODEL_JSZWY_CYIS for my camera robot.
// Select camera model
// #define CAMERA_MODEL_WROVER_KIT // Has PSRAM
// #define CAMERA_MODEL_ESP_EYE // Has PSRAM
// #define CAMERA_MODEL_M5STACK_PSRAM // Has PSRAM
// #define CAMERA_MODEL_M5STACK_V2_PSRAM // M5Camera version B Has PSRAM
// #define CAMERA_MODEL_M5STACK_WIDE // Has PSRAM
// #define CAMERA_MODEL_ESP32_CAM // No PSRAM
// #define CAMERA_MODEL_M5STACK_ESP32CAM // No PSRAM
// #define CAMERA_MODEL_AI_THINKER // Has PSRAM
// #define CAMERA_MODEL_TTGO_T_JOURNAL // No PSRAM
#define CAMERA_MODEL_JSZWY_CYIS
#include "cameraAPI.h"
Motor Pins
CAMERA_MODEL_JSZWY_CYIS already defined motor pins in "camera_pins.h". You can define your pins before #include "motorAPI.h":
#define MOTOR
#define MotorR_A_Pin 9
#define MotorR_B_Pin 10
#define MotorL_A_Pin 18
#define MotorL_B_Pin 23

#ifdef MOTOR
#include "motorAPI.h"
#endif
LED Light Pin
The LED is direct controlled by web GPIO API. Currently it is GPIO 4, you can alter the LED pin at around line 616 of "camerarobot.htm":
const query = `${baseHost}/gpio?pin=4&val=${value}`;
Step 5: Compile & Upload
- Connect the camera robot
- Open Arduino IDE
- Open FSBrowserPlus.ino
- Edit the ssid and password to your own WiFi AP credential
- Select Board to "ESP32 Dev Module" in "Tools" menu
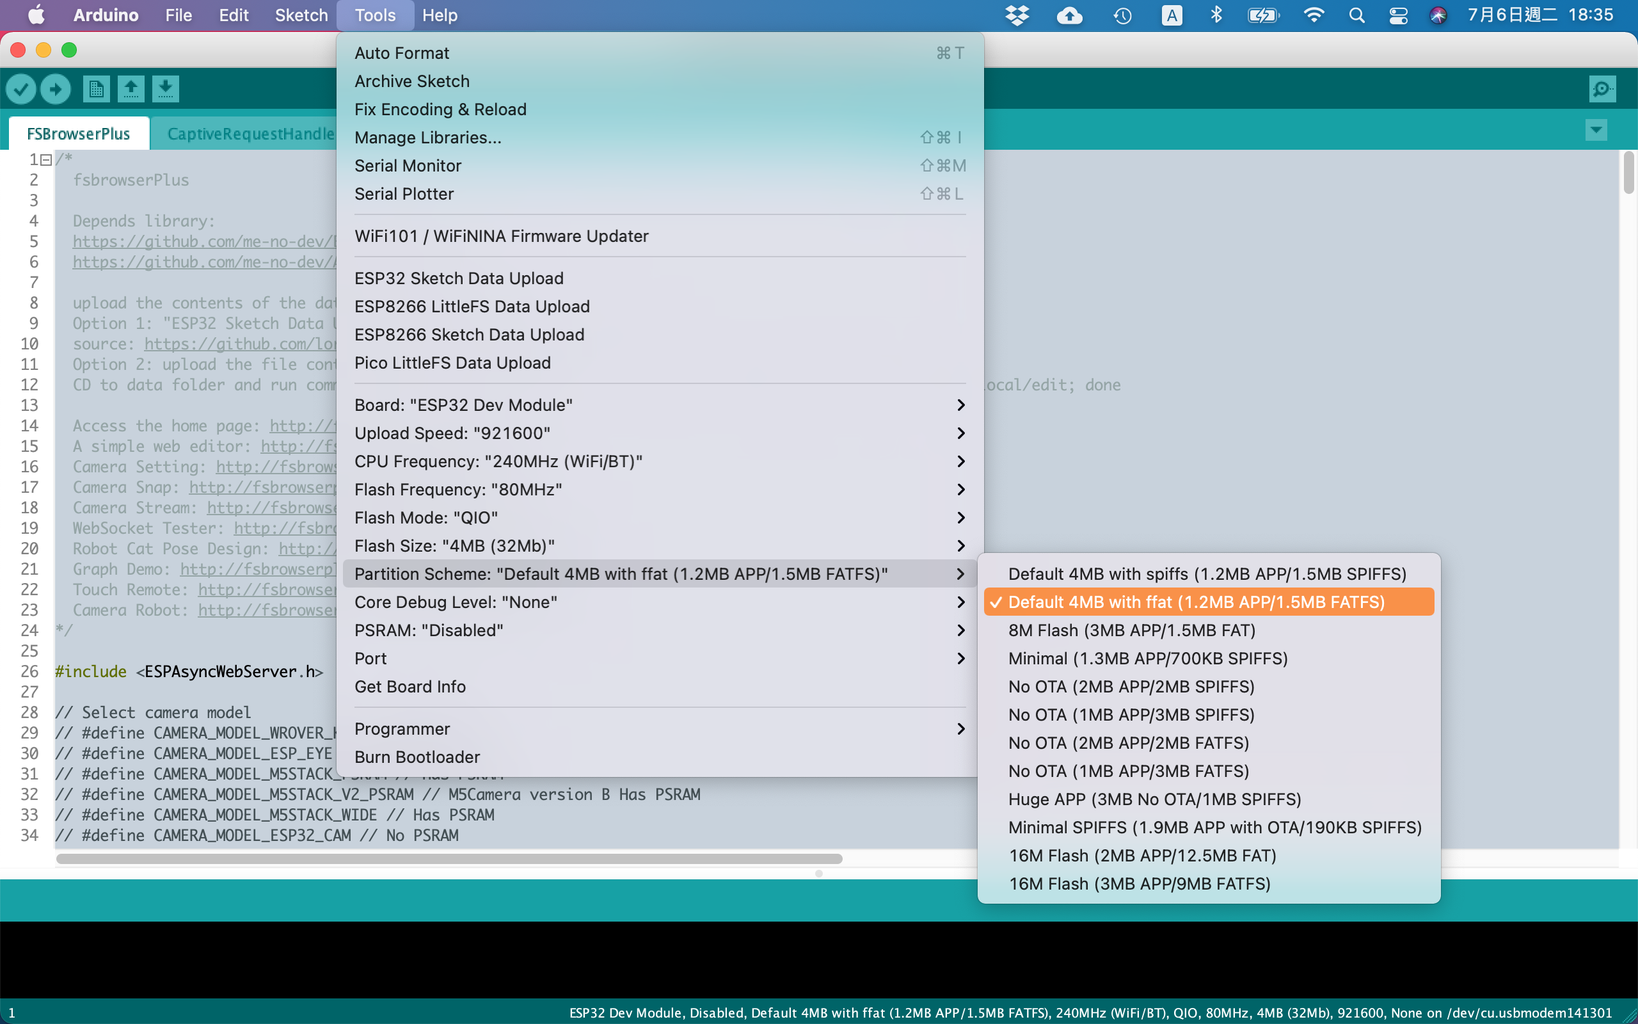
- Select Partition Scheme to "Default 4MB with fat (1.2MB APP/1.5MB FATFS)" in "Tools" menu
- Press Arduino IDE "Upload" button
- Select "ESP32 Sketch Data Upload" in "Tools" menu
- Select FS Type to "FatFS" and press "OK" button
Step 6: Connect & Play

FSBrowserPlus is running in AP+STA dual mode.
If you have inputted your WiFi AP and password, you can direct browse to http://fsbrowserplus.local access the FSBrowserPlus, but it is limited to the WiFi AP coverage area.
If you have bring the camera robot outside and out of WiFi AP coverage area, simply search WiFi AP called "fsbrowserplus" and input predefined password to connect. Once it is connected, a Captive Portal web page will pop up.
Then select the Camera Robot shortcut.
Step 7: What's Next?
Start my next instructables, a strider camera robot.

Participated in the
Arduino Contest


![Tim's Mechanical Spider Leg [LU9685-20CU]](https://content.instructables.com/FFB/5R4I/LVKZ6G6R/FFB5R4ILVKZ6G6R.png?auto=webp&crop=1.2%3A1&frame=1&width=306)


