

Introduction: Easy Embossed Moleskine


Like many people, I always carry a notebook around with me to keep my ideas and notes in one place. Unfortunately, most notebooks tend to look the same and can sometimes get mixed up when I'm at a meeting with other creative types who have a similar notebook to mine. Instead of stickers, customizing your notebook with an embossed pattern is super easy and looks very professional.
Making your own custom embossed notebooks takes only a few minutes, and makes great gifts for that creative person in your life (even if that person is you).

Ready to make your own custom embossed notebooks? Let's make!
Step 1: Supplies

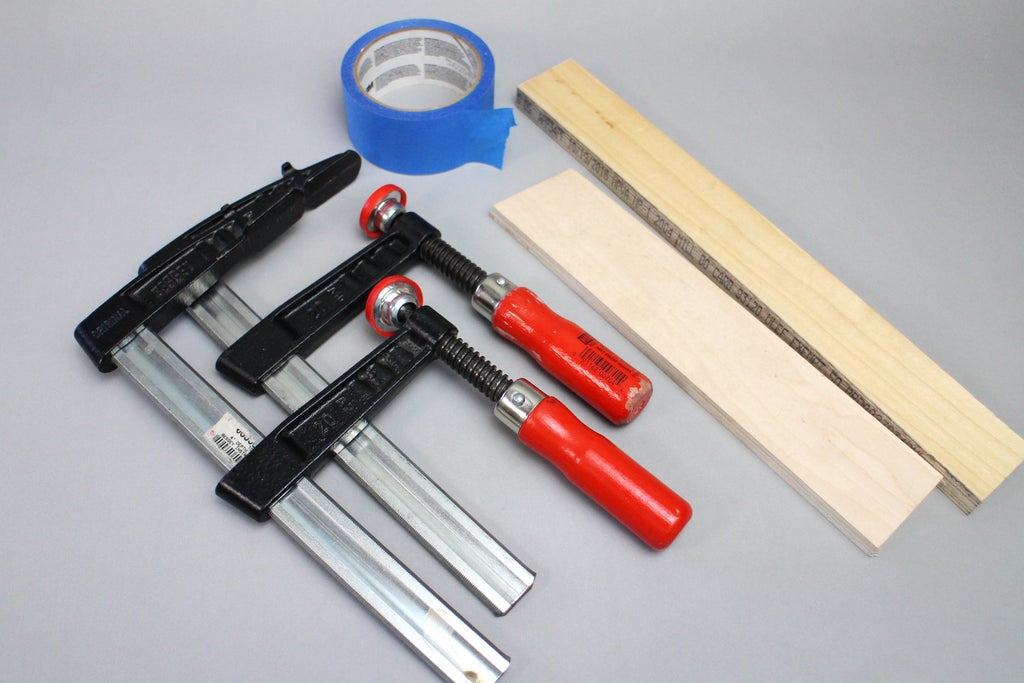
This technique can work on a whole bunch of notebooks that have a hardcover with a soft wrap. Probably the most common type is Moleskine, which is what I used. Here's what else you'll need:
- Hardcover Moleskine notebook
- Letterboard letters (almost any letting type that is stiff will work)
- Blue tape (or any non-sticky tape)
- Bar clamps
Step 2: Letter Modification

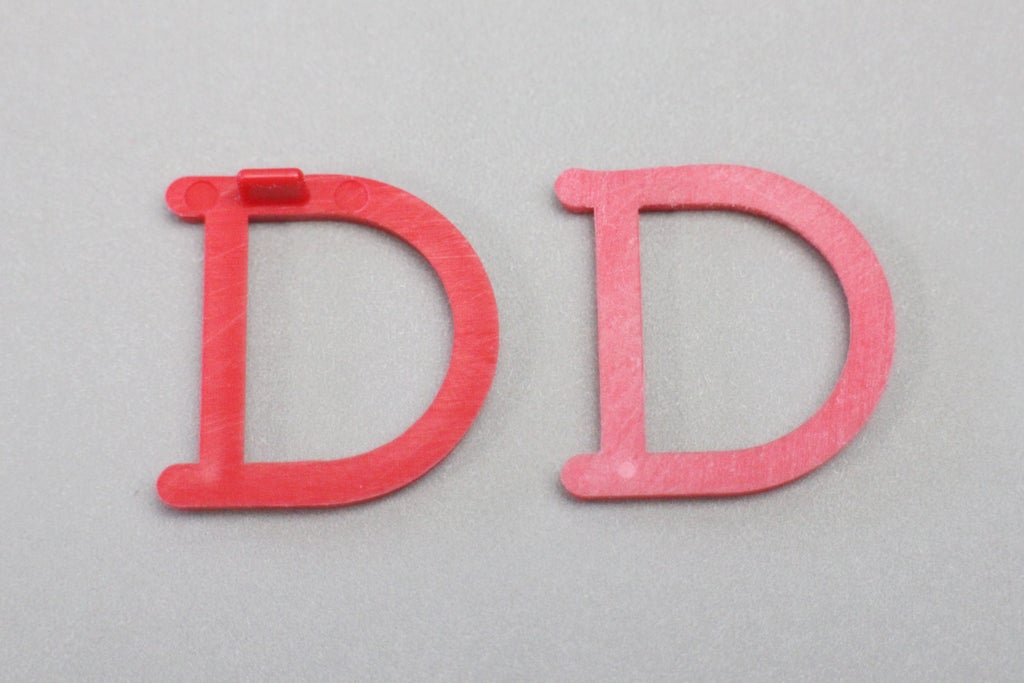
The letters will be pressed into the Moleskin cover oriented legibly. The letters I used were designed to be mounted on a board with slats, so had small spurs on the back of each letter that would have to be removed.
Depending on what type letters you find, you might be able to skip this step.
 |  |
The spurs on the back side of each letter was cut off, then the entire back was sanded smooth using 120 grit sandpaper.
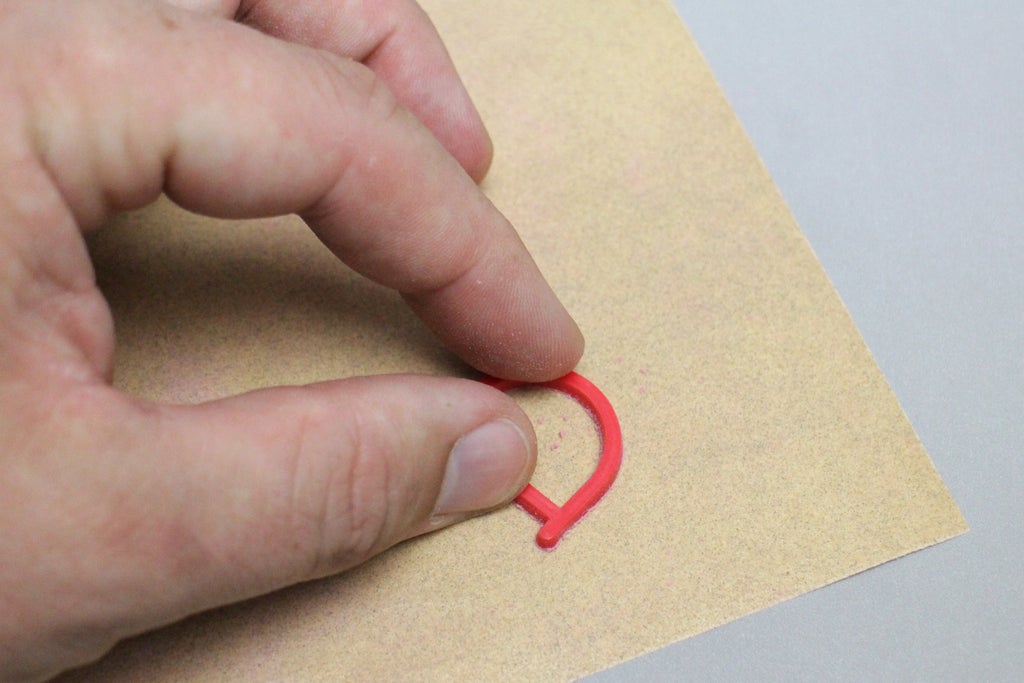
After a few seconds of sanding a letter inspect your work, it should be easily noticeable where the high and low spots are. Keep sanding until you have a smooth and consistent back of the letter.
Having a smooth backside to each letter will give you consistent and crisp letters when they're embossed.
Step 3: Letter Placement

To keep the most pressure on the letters when clamping I recommend doing one word at a time. Place your word wherever you like on your notebook. To help keep things lined up neatly I slide the straight edge of my scrap wood to push the letters down the notebook into place, leaving them all level with each other.
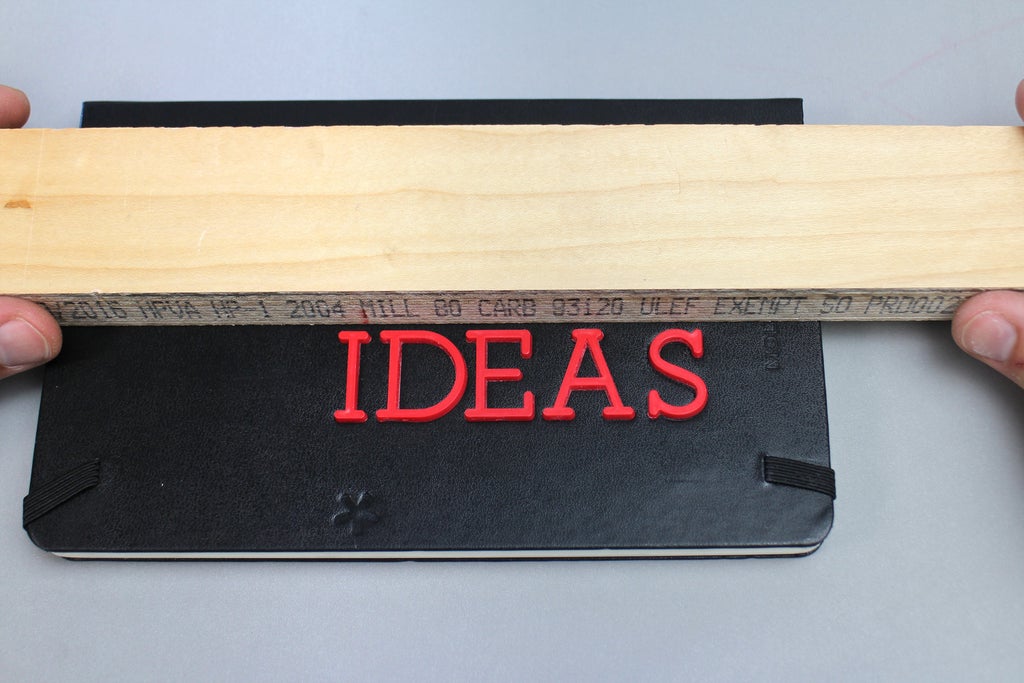
Once the letters are in place a small section of wide blue tape is used to hold the lettering in place.
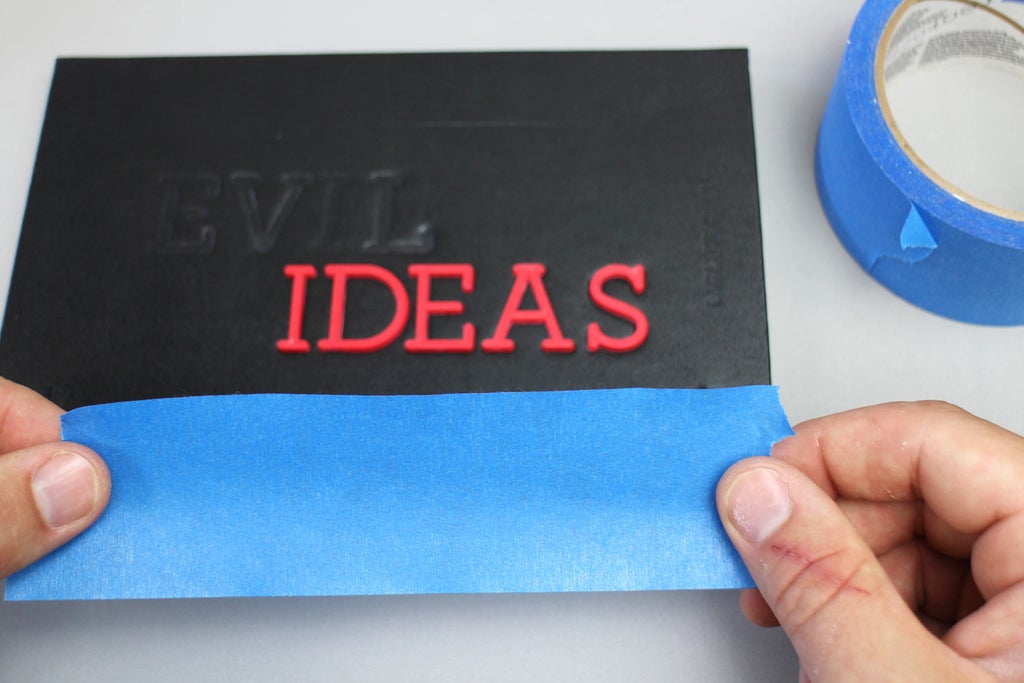
Having the letters move while you're trying to get the clamps in place is frustrating, so don't skip this part.
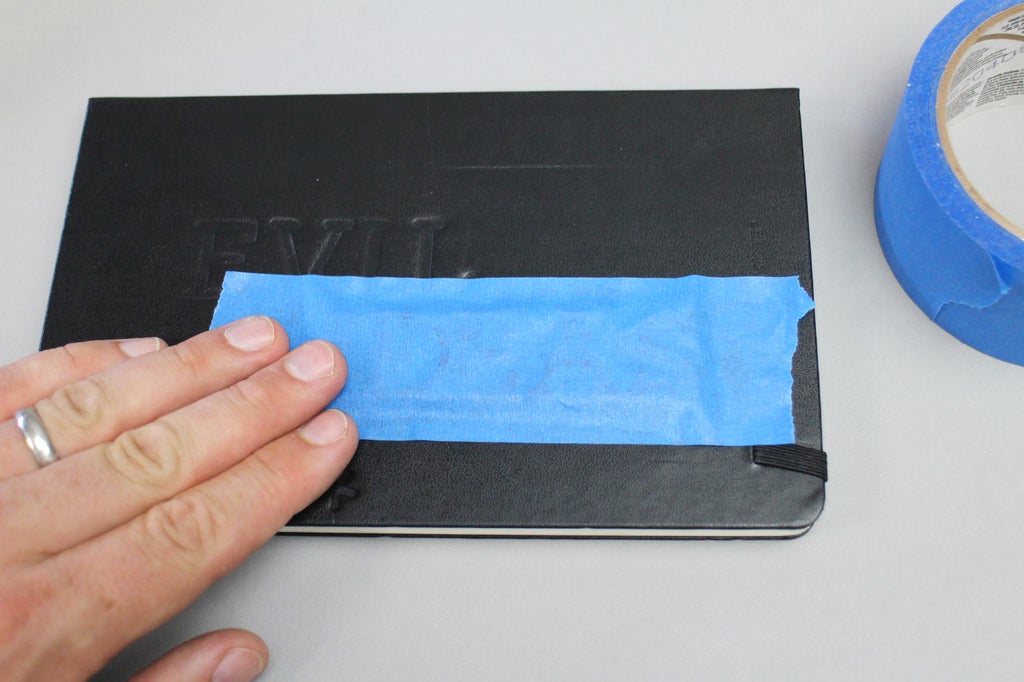
Smooth down the tape over each letter and along the sides.
Step 4: Start Squeezing!

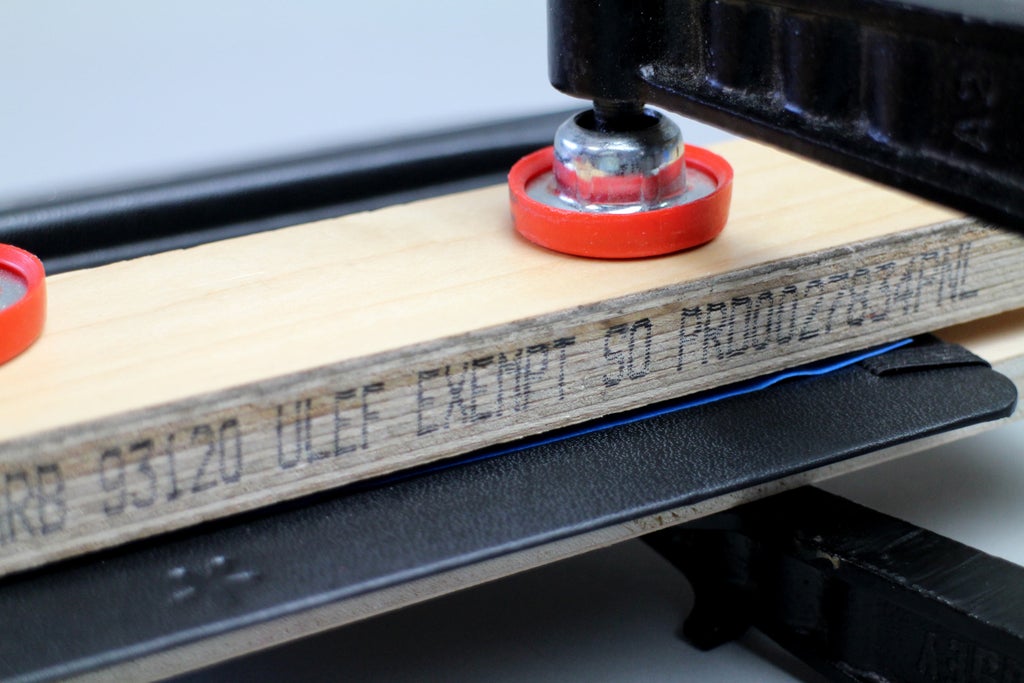
Open the notebook cover and place one scrap piece of wood on the underside of the cover, directly under the lettering. Place the second piece of wood over the lettering. The wood will help distribute the clamp pressure and protect the book from any clamping damage, leaving only the letters embossed.
Secure the notebook and scrap wood sandwich with one clamp over the letters, and gently tighten the clamp so it's held in place on its own. Move a second clamp into place and tighten it down as far as you can make it go, then move back to the first clamp and tighten that one completely.
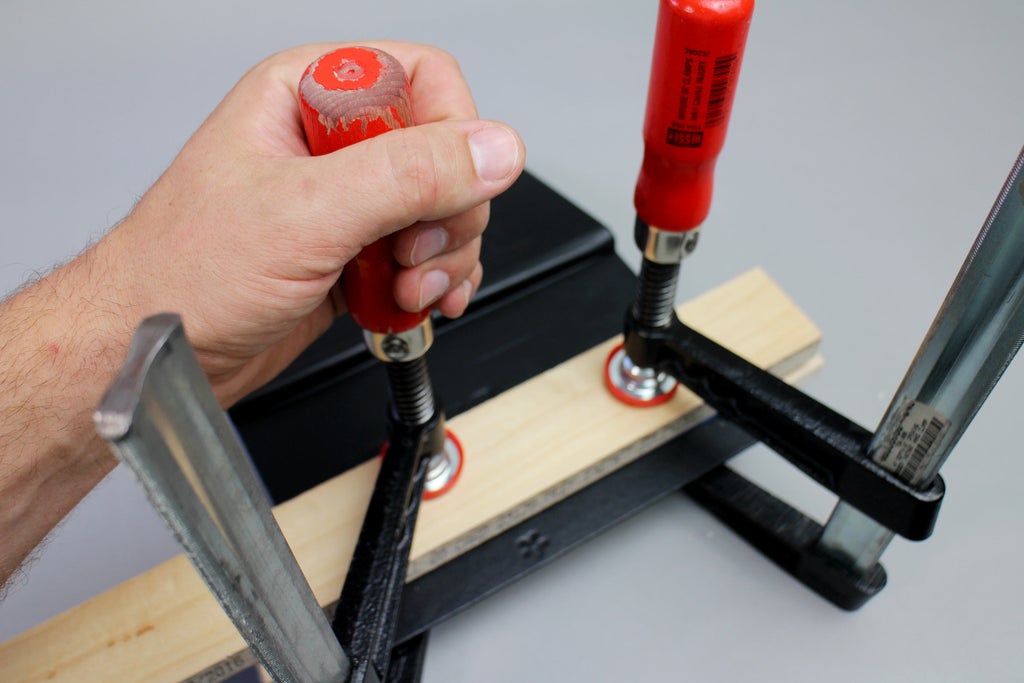
It's important to get the clamps as tight as possible, applying the maximum amount of pressure to the letters and embossing the notebook. Be mindful of the size and quantity of your lettering, as larger and more letters means more pressure will be needed to get a good embossing.
Leave the letters clamps for about 10 minutes.
Step 5: Peel Back

Release the clamp pressure on the notebook and peel back the tape holding on the lettering. If you're careful when peeling back the lettering you can peek underneath the tape and see if your embossing is deep enough to your liking without losing the registration. If your embossing isn't as deep as you like just lay the tape back down on the notebook and register the letters back into where you had them. Then, clamp again, ensuring very tight pressure.
When you're lettering is embossed you can discard the tape, but save the lettering for reuse. Clean any tape residue with a damp cloth.
Step 6: Go Forth, and Be Awesome!

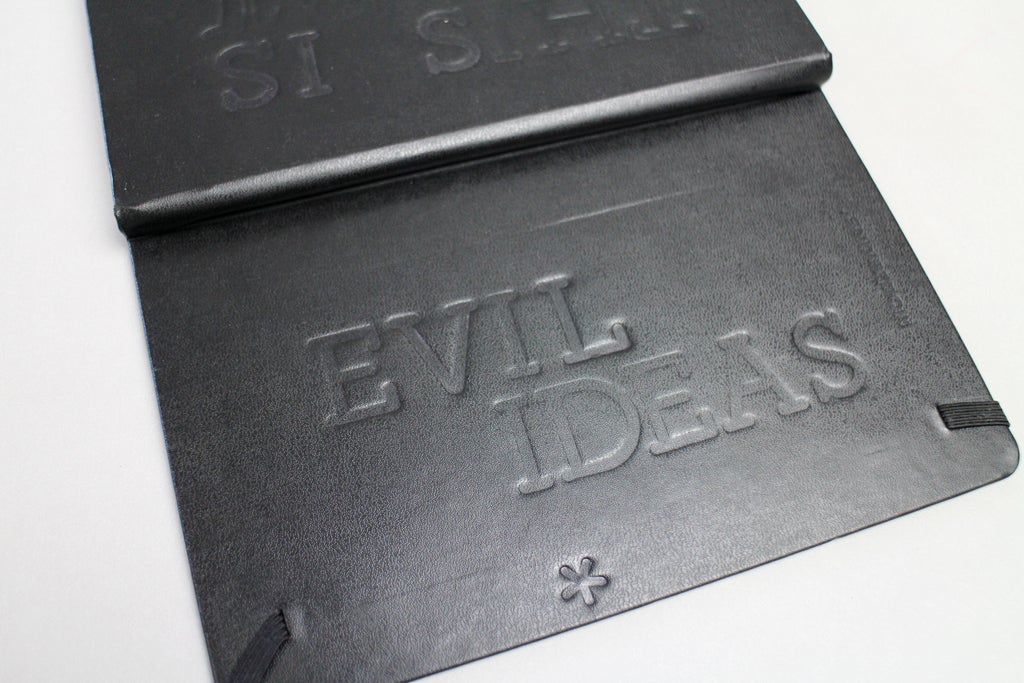
There's no limit to the combinations you can create with this technique. Working in small letter batches gives the deepest impressions, and the best results. So go slow, and clamp down tightly!
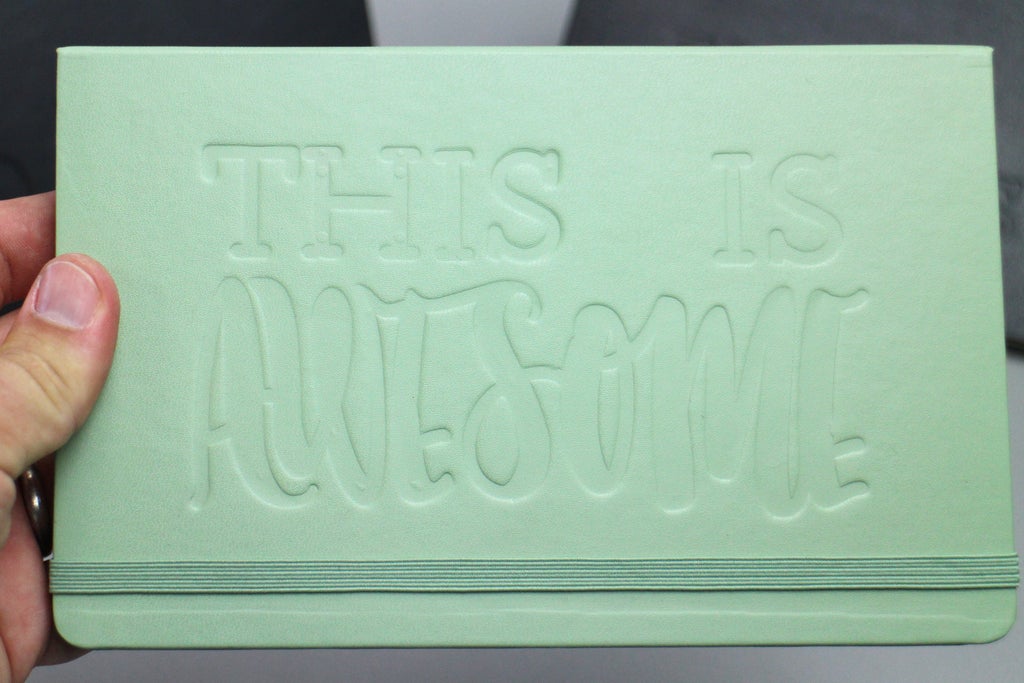
These notebooks make great personalized gifts, or just a great way to customize your own notebook and be the envy of everyone else!
Happy making! :)
Have you made your own embossed notebook using this technique? I want to see it!
Happy making :)


