

Introduction: Finishing and Framing in Hoops


In this lesson, we'll cover a few different ways to finish your embroideries in a hoop!
I prefer to have my embroideries in framed in wooden hoops, as they're easy to hang and don't require my customers to buy a frame.
A hoop can be a permanent or temporary frame depending on which techniques you use.
Step 1: Finishing in Hoop With Glue

This is my preferred method! It's easy, works VERY well, and it's durable. I have hoops that are several years old and still just as taut and glued as they were the first day.
Also, I like to see the stitches on the back, so I prefer to leave them uncovered! :)

To do this, you'll need:
- Your finished embroidery
- Your choice of hoop for framing
- Fabri-Tac glue
- Pinking shears

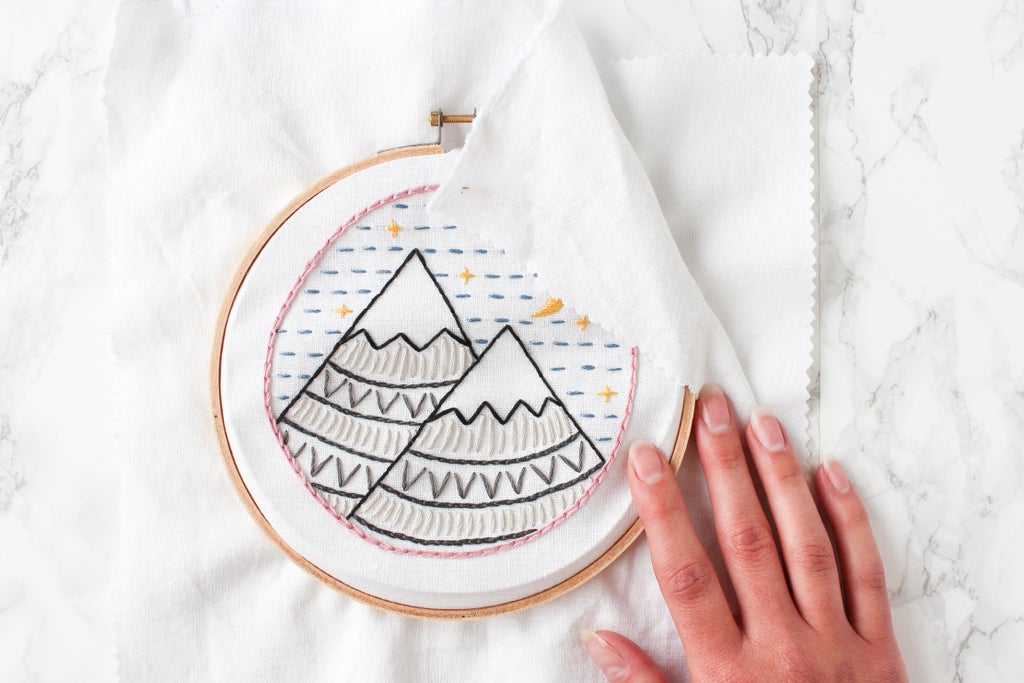
Once the fabric is in the hoop and the embroidery design is centered and taut, flip the hoop over and trim all around the outside of the hoop using pinking shears.
Here's a quick video of me trimming:
Typically, I like to rest the edge of my pinking shears against the hoop and that cuts the fabric at the perfect length.

Leave about 1/3-1/2 inch of excess fabric. Don't cut the fabric edges to be longer than the height of the inside edge of the hoop. This will cause the excess fabric to lay against the fabric in the hoop and be visible.
Apply Fabri-Tac all around the outer edge. Go around the hoop, folding the fabric over and pressing it into the inner ring of the hoop. Go around the hoop one more time, pressing as you go, holding the fabric briefly to make sure it stays adhered.
Go back around and apply excess glue to any spot that looks loose.
P.S. Make sure to close the Fabri-Tac right away - it dries out really quickly and gets thicker and harder to work with!
Step 2: Backing the Hoop With Fabric

You can also cover the back of the hoop really easily! The only caveat here is that backing your embroidery with darker fabric can allow the backing fabric to show through. Also, if your stitching is going all over the hoop back, it's easier to see with a backing!
Here's what you'll need to back your hoop with fabric:
- Your finished embroidery
- A second piece of fabric to back the hoop
- Pinking shears
- Fabri-Tac glue
Place a piece of fabric under the fabric with the embroidery on it and hoop both pieces of fabric together.


Pull on the backing piece of fabric first to make it tight, and then focus on getting the embroidered fabric into position.

Trim the backing fabric with the pinking shears and glue it down.


Repeat with the front fabric and you've got a nicely backed hoop with little fuss. :D
Step 3: Adding a Felt Backing to Your Embroidery

A felt backing is a very nice way to back an embroidery. It feels quite nice and also gives a good opaque surface if you'd like to add tags or a signature to the back of your pieces.

To add a felt backing to your embroidery, you'll need:
- Fabri-Tac glue
- Scissors
- Craft felt
- Pen


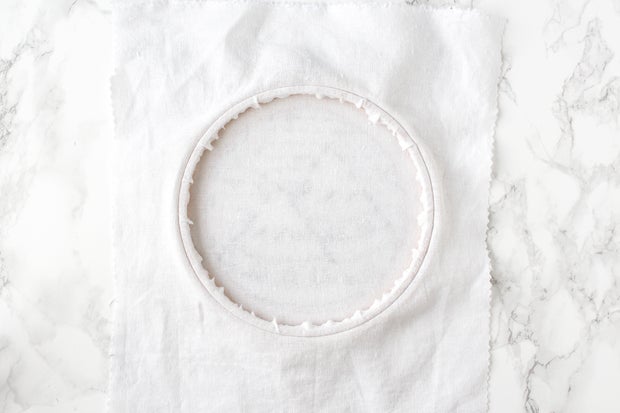
First, place the hoop on the felt and use a pen to trace right outside the edges all around. Use the scissors to cut right inside the drawn line so you don't end up with any marker on the felt - you wouldn't want it to get on your hands or the hoop!


Now we'll dry fit the felt without glue and trim off the excess felt.
Press the felt circle into the back of the embroidery, creasing the felt into the edges of the hoop. Remove the felt and cut 1/4 inch away from that crease line all around.


Add a line of Fabri-Tac alllll around the inside edge of the hoop, on top of the glued fabric already there.
Press the trimmed felt circle into the hoop and hold it against the edges to secure it. And there you go - a lovely felt backed hoop!
Step 4: Finishing in Hoop by Sewing

I am not a huge fan of this method, because hanging a hoop that's been finished this way makes it sit a little wonky. It's never flat against the wall!
But it's nice to do if you don't want to make the hoop an embroidery's permanent home - say you want to display it now, but later you may want to remove it from the hoop and use it in another project.

To finish your hoop this way, you'll need:
- A needle
- All purpose thread
- Pinking shears
- Your finished embroidery

Instead of trimming the fabric very close to the hoop, trim all around the hoop with pinking shears leaving between 1.5 - 3 inches of fabric. How much fabric you leave all depends on the hoop. I tend to leave about 1.5 inches for a 6 inch hoop, and 3 inches for a 10 inch hoop.

Double thread a sewing needle with enough thread to go all the way around the cut edge. Sew all around the edge using a running stitch. Sew about 1/4 inch away from the edge.
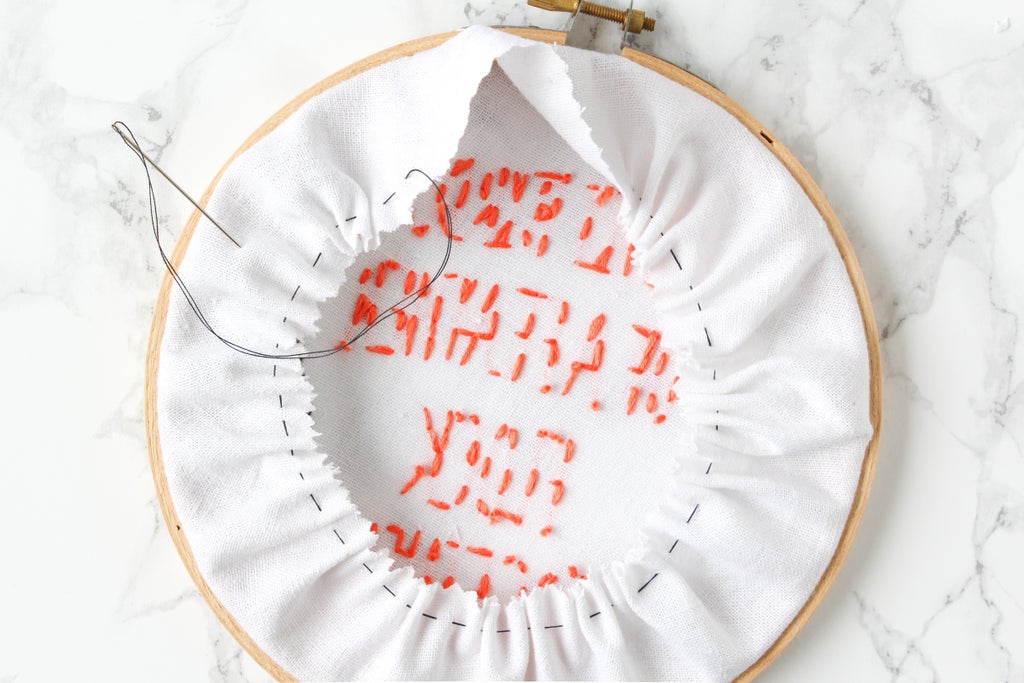
Once you've gone all the way around the fabric, pull on the thread to gather the back of the hoop.
Adjust the gathers with your fingers and secure the gathers with a few tiny stitches. Then knot your thread and trim the excess.
Be careful and don't pull too hard - it's easy to pull the knot right through the fabric!


