

Introduction: Gameboy Cartridge Battery Replacement
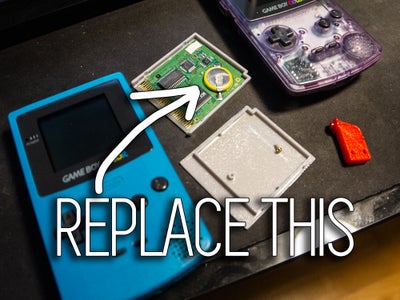


I learned recently that there is a small battery in Gameboy cartridges that is required to save games. If this battery is original, its probably at least 15-20 years old by now. This also means its probably dead. If its dead you can't save, and some games will lose their time because the low power crystal inside also no longer has a voltage. Lucky for you it only takes a few minutes and a soldering iron to replace them! Follow along!
Step 1: Watch the Video
All of the information is in the video, watch that first. Then get the step by step below.
Step 2: Parts and Tools
Not much is needed for this but for parts you will need this battery: http://bit.ly/2Hd1WEn
For the tools you can either buy a gamebit like this - Game Bit on Amazon
Or you can make your own(like I do).
Other tools:
- Soldering Iron.
- Flux.
- Possibly more solder.
Step 3: Unscrew the Cartridge Cover


If you bought a gamebit, this should be easy. If not you will need to make your own. Take a plastic pen, in my case I took a piece of screw 3D printer plastic. Heat it up until the plastic is soft. When you think its soft enough push it into the screw. It will form around the screw and create a perfect fit. Wait for it to cool off and harden.
Step 4: Remove the Cover

Once the screw is removed slide the cover down to lift off.
Step 5: Check the Battery


Before you remove the battery, check to see if its actually the battery that is broken. With a voltmeter, measure the leads of the battery, if you see 0V, its dead.
If its still working, check the date, it might be a good time to replace it anyway. Mine was 18 years old!
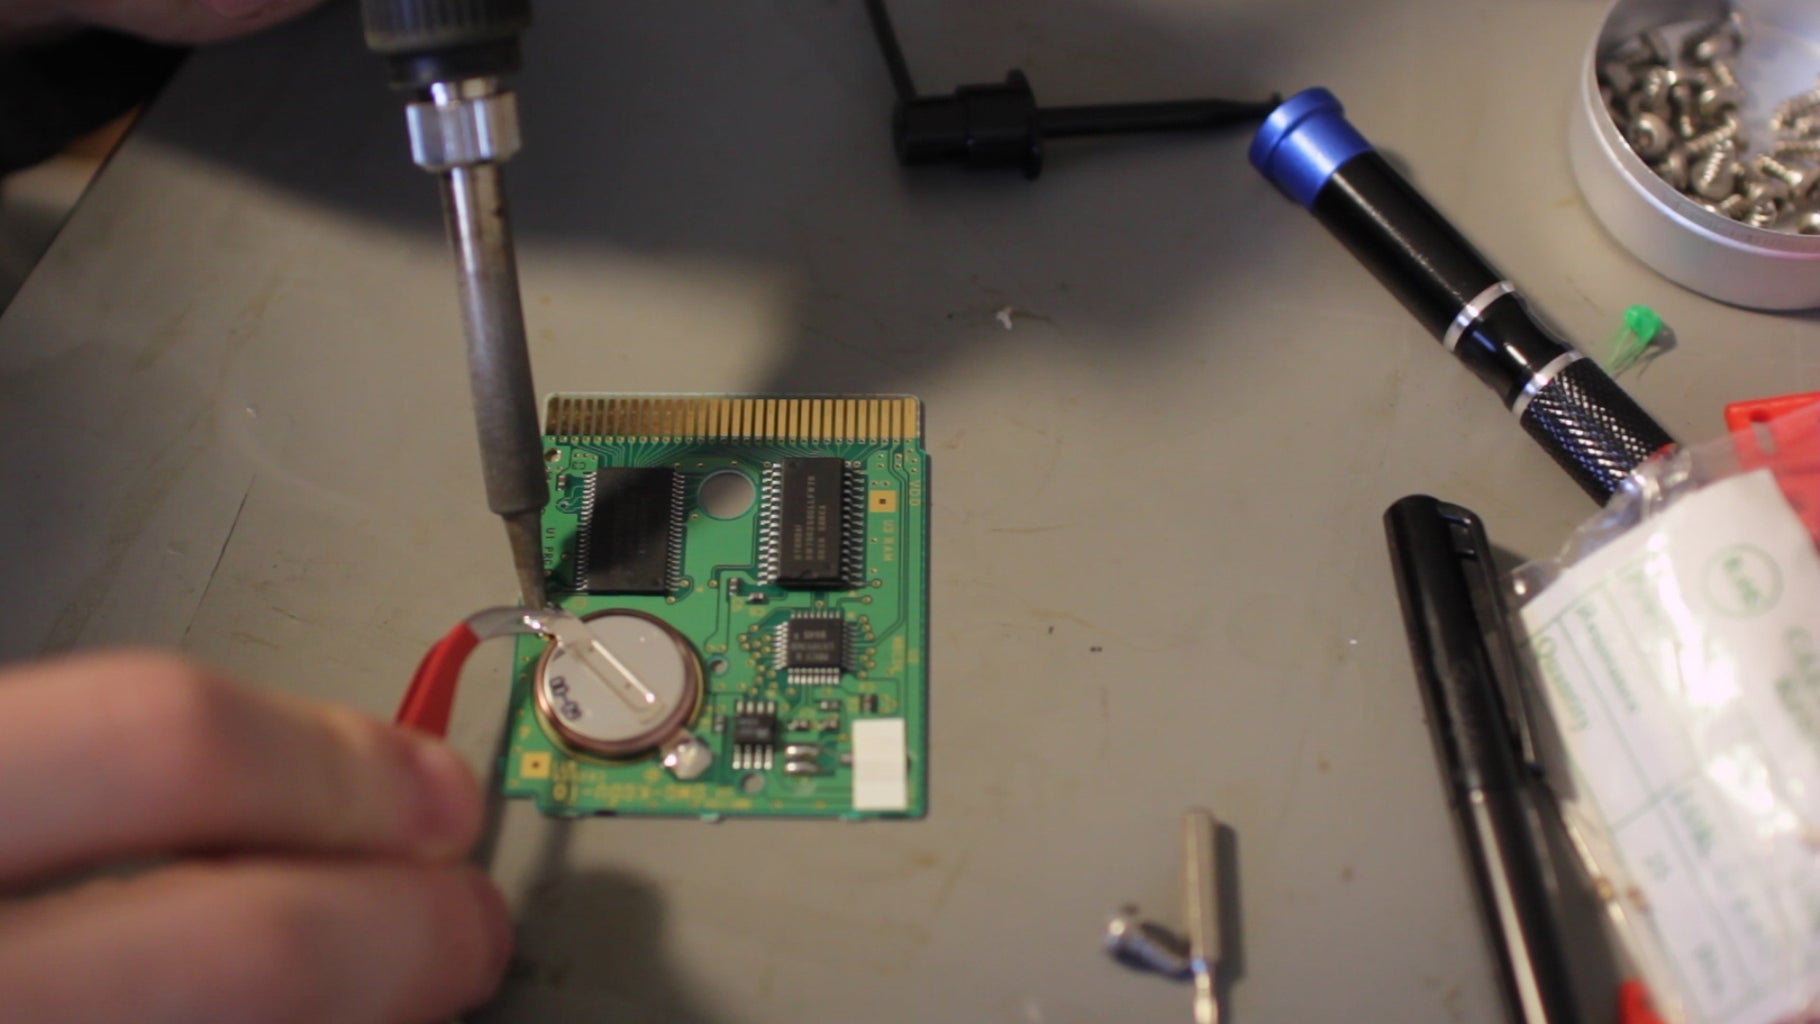
Step 6: Remove the Battery

If the battery is not dead and you have a saved game, you will lose it when you remove the battery.
If the battery is dead, start to remove it. Apply some flux to make things easier. Heat up one side with your soldering iron and lift it off the pad. Then turn it around and do the same for the other side. Battery should easily come off.
Step 7: Add New Battery and Check Voltage

Solder on the new battery and make sure you have the correct polarity. There is positive and negative markings on the PCB and on the battery.
You can reuse the solder on the pads if you have some flux handy. No new solder needed.
Check the voltage once everything is on. You should see around 3V again.
Step 8: Clean the Board!

Use some isopropanol to clean the flux off of the board and make it look new again.
Step 9: Start a New Game!

Put the cartridge back together, your done! Enjoy your ability to save games again.
Step 10: Subscribe!

If you like electronics and open source project, check out and subscribe to my YouTube.

![Tim's Mechanical Spider Leg [LU9685-20CU]](https://content.instructables.com/FFB/5R4I/LVKZ6G6R/FFB5R4ILVKZ6G6R.png?auto=webp&crop=1.2%3A1&frame=1&width=306)


