

Introduction: Homemade Sausage


Making your own sausage at home is easy, and you can create a flavor profile that hits your taste buds in all the right ways.
I've been on the hunt for a sausage that satisfies my craving for the perfect balance of spicy and savory. Most store-bought sausages come close, but if you have discerning tastes (like I do) then you know the feeling when something is not quite there food-wise. Knowing I could easily spend forever searching for something that only I could describe, I took matters into my own hands and made sausage from scratch and exactly the way I wanted it to taste.

Making your own sausage is a great way to connect with what you eat, understanding what goes into your food, and making it just the way you like. Not satisfied with just making the food, I also crave to understand the process and science behind such an everyday activity like cooking. If this sounds like you then head on over to my Meat Class (it's free!) where I take an in-depth look at meat and explain the best ways to prepare meat - starting with easy basics and working up to some techniques that will make you a master chef in no time.
Ready to hit the links? Let's sausage!
Step 1: Ingredients + Supplies

The base of any good pork sausage starts with pork shoulder (also called the butt). This cut is nicely marbled and usually has a nice fatty cap which gives lots of flavor.
Once of the greatest things about sausage is that you can put all kinds of spices in them, anything you like to suit your tastes. In this recipe I'm making a traditional Italian style sausage with fennel and a dash of coriander, here's the measurements:
- 5 lbs. pork shoulder (a.k.a Boston butt, or pork butt)
- 40g Kosher salt
- 10g black pepper
- 30g sugar
- 20g fennel seeds
- 8g coriander
- 10g red pepper flakes
- 4 cloves garlic
 |  |
Great sausage requires a good method to grind the pork. There are inexpensive hand crank grinders, but you'll tire out very quickly. Instead a great option is a stand mixer which is a kitchen staple and most have a socket you can add mixing attachments to, like this grinder and sausage stuffing horn combo. Once you see how much work this combo saves you will realize the value.
 |  |
A few other things that you'll need are a thermometer, a baking sheet, a few nesting mixing bowls, and sausage casings to stuff your meat into. You're also going to need a medium-sized cutting board and a sharp kitchen knife.
Step 2: Remove Fat Cap

To start we'll need to break down the pork shoulder into separate fat and meat portions. Separating the pork now allows a more even mix of fat when we start grinding.
Using a sharp kitchen knife begin cutting into the shoulder at the seam where the fat joins the meat. Work the knife along the seam separating the fat cap from the meat, peeling the fat back as you go - kind of like turning the page on a book.
Since all this is going to get ground up later the cut doesn't have to be perfect, if there's meat on your fat cap or fat still on the meat it's all good. Once separated set the fat cap aside.
Next we'll work on getting the bone out of the shoulder cut.
Step 3: Remove Bone (If Yours Came With One)

Some butchers will remove the bone of the pork shoulder if you ask them, and sometimes they come with bone-in if you don't specify. You can skip to the next step if your shoulder cut doesn't have a bone to remove.
Depending on the cut you get from the butcher your bone might look a little different. My bone was a T shape and ran about 3/4 of the way through the shoulder cut.

Using a kitchen knife I was able to slice laterally along the shoulder and cut strips of meat away to reveal the bone, and then remove it.
Step 4: Cube Fat and Meat

Bring the fat cap and meat back together on the cutting board and cut both into 1" cubes, keeping them separated after cutting. Even though they'll be mixed together later by keeping them separate now we can mix them more precisely later and achieve a better mix of ingredients.

After cubing place on a large cookie sheet, put in the freeze for a few hours to harden up. We're not looking to freeze them completely, but slightly frozen cubes are much easier to grind.
Step 5: Hydrate Casings

While the pork is chilling out in the freezer we can prepare the rest of the setup for grinding.
Sausage casings come in packs packs with salt to preserve them. If you didn't know, hog casings are made from a thin layer of the hog's intestines. Natural casings consist mainly of naturally occurring collagen, which should not be confused with collagen casings which are made from cattle skin. It's best not to think to much about this.
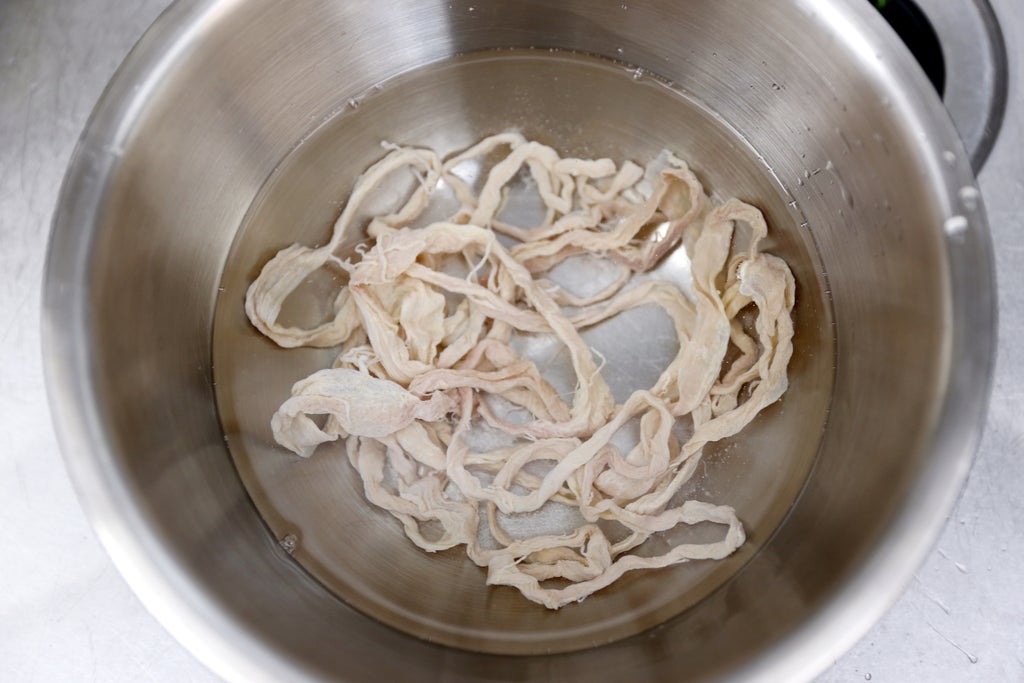
Before we can use the casing they need to be hydrated to allow them the elasticity to be stuffed. Fill a small bowl about halfway with warm (not hot) water and add as many casings as you'll need. Casings will vary in length, for my 5lb pork shoulder I needed about 20' of casings. The remainder of the casing can be sealed in the packaging with the salt and refridgerated.
Step 6: Grinder Setup

Stand mixers are incredibly versatile, with an attachment port at the nose there's all kinds of attachments you can add on. The grinder attachment is easily slotted into the port opening and secured with the set screw.

Grinding attachments come with more than one grinding plate, a coarse and fine plate (large or small openings). We'll start with the coarse grind then move onto the fine grind later when all the spices are added.

Align the coarse plate notches to the grinder and secure with the front ring. Your grinder attachment is now ready to use. The last step before grinding is to set up a chilling bowl to keep the pork cold as we're grinding.
Step 7: Keep It Cool

It's important to keep your pork cold while preparing it for grinding, keeping it cold will prevent bacteria from multiplying on your pork and making you sick.

To keep the pork cold while grinding we'll set up a set of nesting bowls with ice in the bottom bowl. When nested together, the bottom bowl will hold the ice and keep the top bowl cold. When we're ready, the pork cubes will stay chilled in the top bowl without direct contact with the ice - keeping them cold with getting wet.

It's a good idea to keep a thermometer in the top bowl along with the pork so you have have a read on what temperature is at while you're working. Ideally you want to keep the pork around 39°F (4°C) or below. If you go above this temperature replace the ice to bring the temperature back down again.
Step 8: Coarse Grind

Once your pork cubes have been freezing for about an hour they should be firm but not totally frozen.
Place your ice bowl under the nozzle of the grinder and then turn on the mixer to start the grinder auger turning. Begin putting a few meat cubes into the hopper opening, then follow with one cube of fat. Continue the process of adding meat and fat to achieve an even distribution of fat throughout the grind.

Grinding attachments will come with a plunger that will help press the meat and fat down the hopper and into the auger and through the grinding plate. Once you start keep adding meat to ensure you're not allowing the meat to warm up too much before being chilled again in the ice bowl.
Step 9: Add Flavorings

Your sausage can have any flavor combination of spices you like, and as much or little of each as you like. Having the spices portioned out before makes quick work of adding and mixing the spices into the grind, keeping the pork as cold as possible.

Once all the flavors have been added mix by hand to ensure even distribution. Place the bowl into the fridge or freezer for now while the grinding plate on the mixer is changed from coarse to fine.
Step 10: Fine Grind

Remove the securing ring on the nozzle of the grinder and swap the coarse grind plate for the fine grind plate, then attach the outer ring to secure the plate in place.

Turn on the mixer and push the coarse grind mix with the flavorings back into the hopper to grind the mix again into a much finer consistency. Place bowl back in the fridge or freezer to keep cool while we test out the taste before moving on to stuffing.
Step 11: Test

This is the time to test your flavorings before it's encased. Fire up a pan on the range and drop a small piece of the fine grind into the pan to cook it up. Remove and allow to cool, then taste!
Do you like it? Would you add more flavors? Is it good enough that you could eat another 5lb of sausage? Now is the time to make any small changes to your flavor profile.
Step 12: Prepare Casing

By now the casings have had plenty of time to hydrate. Dump the water from the bowl and rinse the casings, then clean the insides by running a gentle stream of water through each casing to ensure they are clean.

Feed the end opening of a casing over the narrow end of the stuffing horn, gently pushing the casing up the horn. Continue adding casings to the horn until it can't hold any more.

Tie a knot in the end of the last casing after it's been fed onto the stuffing horn, this knot will close the casing and be the beginning of your first sausage.
Step 13: Stuffing

Turn on the mixer and begin pushing the grind through the hopper, the pork mix will be extruded out the end of the horn and start filling the end of the casing.

Holding the casings on the horn slowly release the casings off the horn as the sausages are stuffed, ensuring that the casings are completely stuffed with the grind before allowing more casing to slide off the horn. You want maximum stuffing along the entire casing.

As you stuff the sausage you may notice small air bubbles enter into the casing, this is caused by air in the stuffing horn being pushed through with the mix. If you're getting lots of air while stuffing try pricking the casing and allow the air to escape.
Step 14: Prick Air Bubbles

You may also have small air bubbles trapped along the casing. You want no air inside your casings, so prick small bubbles with the point of a knife and allow the air to escape. Make the pricks in the casing very small, as we want to have the casings intact to hold all the juices when cooking.
Step 15: Emptying the Hopper/Auger

After stuffing there's still going to be some of the mix inside the hopper and auger. This represents at least 2 sausages worth and can easily be saved by feeding any bread into the hopper to push out the remaining sausage grind.
Stop adding bread when you can see bread being stuffed into the casings.
Step 16: Tie and Coil

Once you run out of casing or sausage grind you're done!
Remove any casting still on the stuffing horn and tie the loose end of the casing to finish the sausage coil.
Step 17: Make Links

If you have a grill large enough you can leave the sausage as one long coil, cook it up and then serve it family-style. However, making the sausage into links is a great way to portion it out.
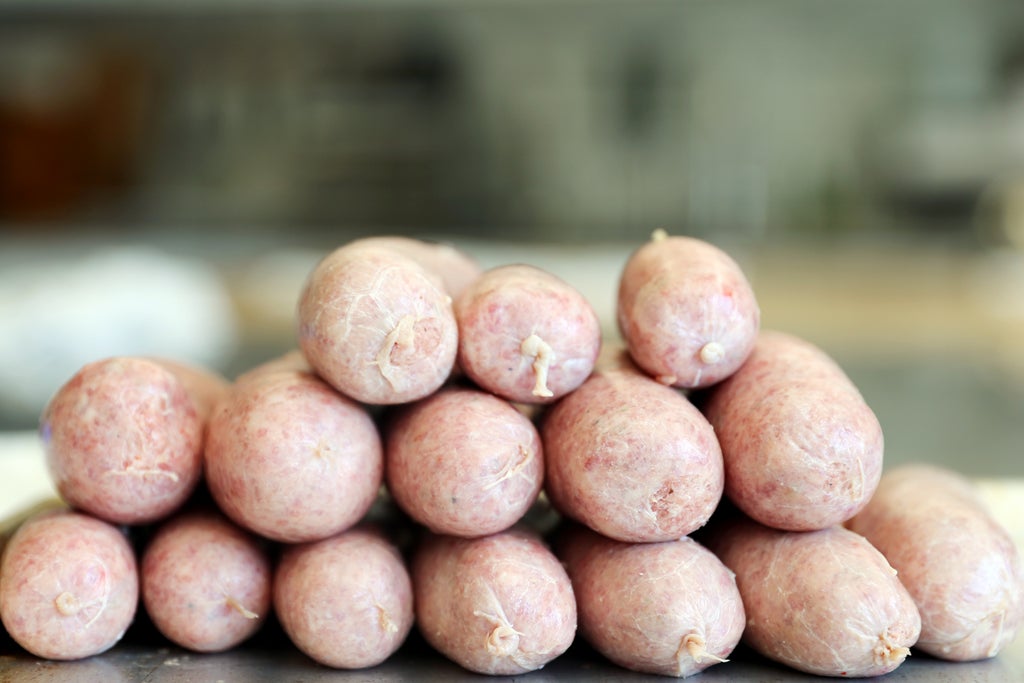
The standard method of portioning links is to take about 4 inches from the end of the sausage and twist a few turns to create a link, then go another 4 inches and twist a few turns in the opposing direction to create the next link. Alternating twists prevents the links from becoming unraveled. If you're feeling extra fancy, every 3 links the sausages can be folded together and twisted to create a tidy segment, creating a bunched string of sausages that take up less room.
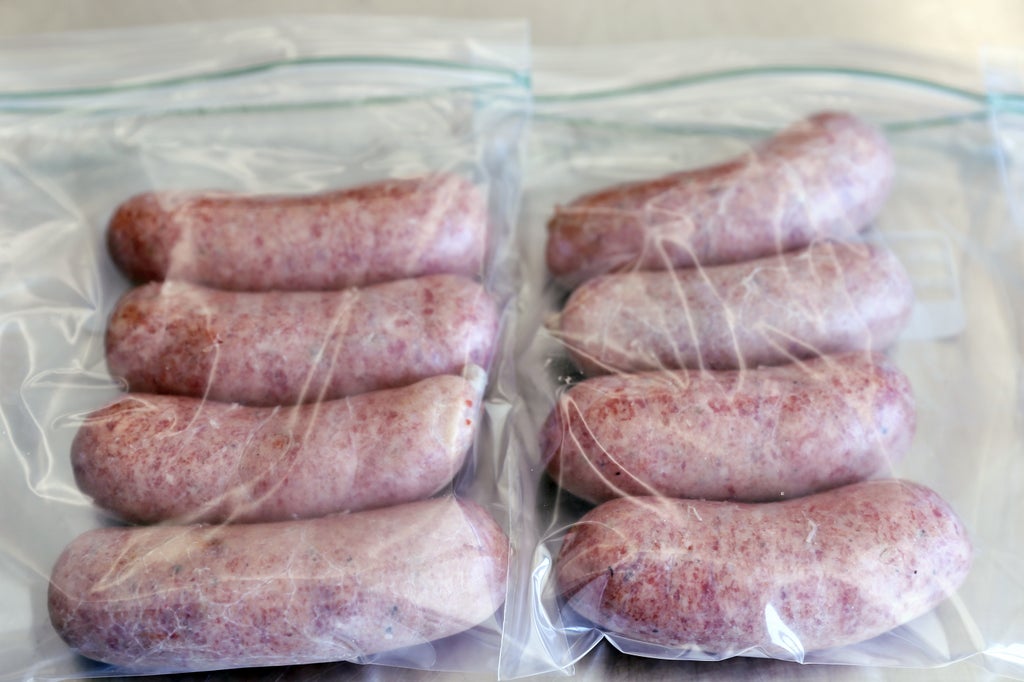
If you want you sever the chain and cut at each twist to separate the links into individual portions. Sausages can be stored in an airtight container in the refrigerator or freezer....but let's be honest, you should probably just fire up the grill and cook them right now!
Step 18: Enjoy!

There's a certain pride that comes with serving something you made from scratch, more so when you have an understanding of what it takes to bring it all together. These sausages are ready to cook on the grill or skillet, and make a perfect addition to any meal.
The work that goes into making sausage isn't hard, put there's definitely a process to observe. The small 5 lbs. portion I started with is probably the minimum amount to make the process worthwhile, however scaling up and sharing the bounty with a few friends is definitely the way to go. The amount of work to make 20 lbs. of sausage isn't much more than making 5 lbs., since a lot of the time spent is in preparation.

Have you made your own sausage inspired by this Instructable? I want to see it!
Happy making :)


