

Introduction: How to Make a Shirt Bigger by Adding Side Panels


Whether you've outgrown a shirt, ordered the wrong size, or find a shirt you love but it doesn't quite fit, here's an easy way to make a shirt bigger by adding coordinating side panels.
So Women's clothing is tricky! Sizing at one store is different than at another store, and different depending on the brand, which can make ordering online a little hard.
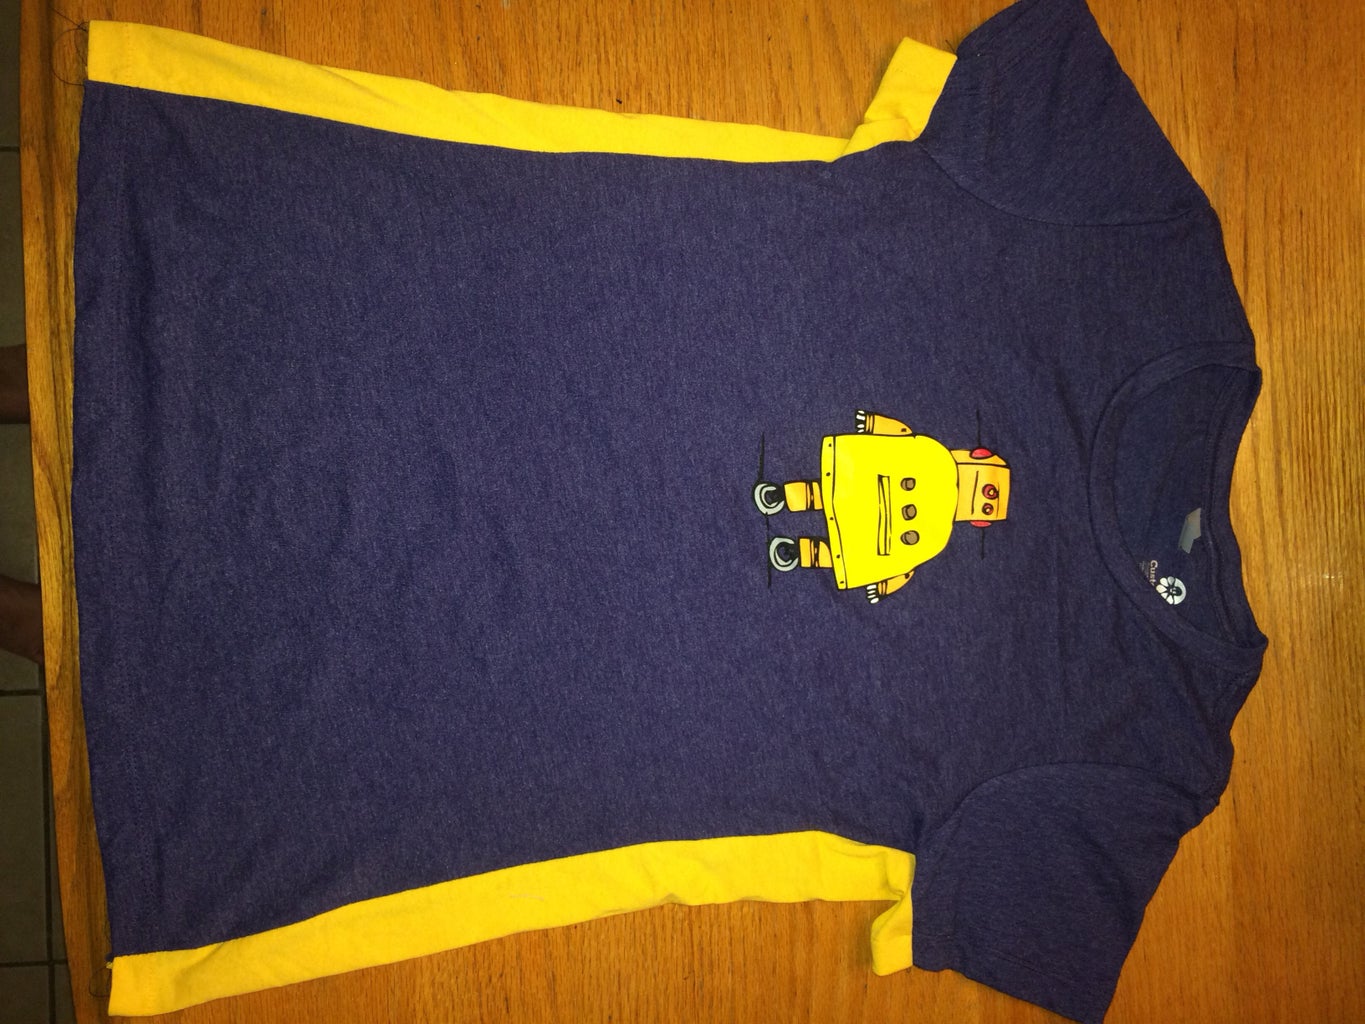
I recently won an Instructables shirt and was so excited! I ordered my regular women's size, but when it came it was way too small. Bummer right. I really like the shirt, and want to wear it, and therefore am making this tutorial to show how I made it bigger, hooray!
(P.S. I secretly think that Instructables Women's shirts are actually Juniors sizing. That or my family reunion eating is totally catching up to me ?. So keep this in mind when ordering a shirt.)
Step 1: Gather Supplies

Supplies Needed:
-Shirt that's too small
-Coordinating knit fabric (I cut my fabric from an old sports shirt)
-Sewing machine
-Measuring tape
-Scissors or Rotaty cutter
-Thread that matches your shirt
It took me about an hour for this whole process.
Step 2: Prepare Panels and Shirt


-Measure the side of your shirt from the bottom of the hem up through the hem of the underarm.
-Add two inches to your measurement for the hems and that will be the length you'll cut your panels.
-My shirt measured 20 inches long, so I cut my panels 22 inches long.
-Decide how much extra you need to add on the sides of the shirt for it to fit. That will be the width of your panels. Add an extra inch to the width for seams.
-Cut two panels length by width from your coordinating fabric.
I wanted to add 2 inches to each side so I cut my panels 3 inches wide by 22 inches long.
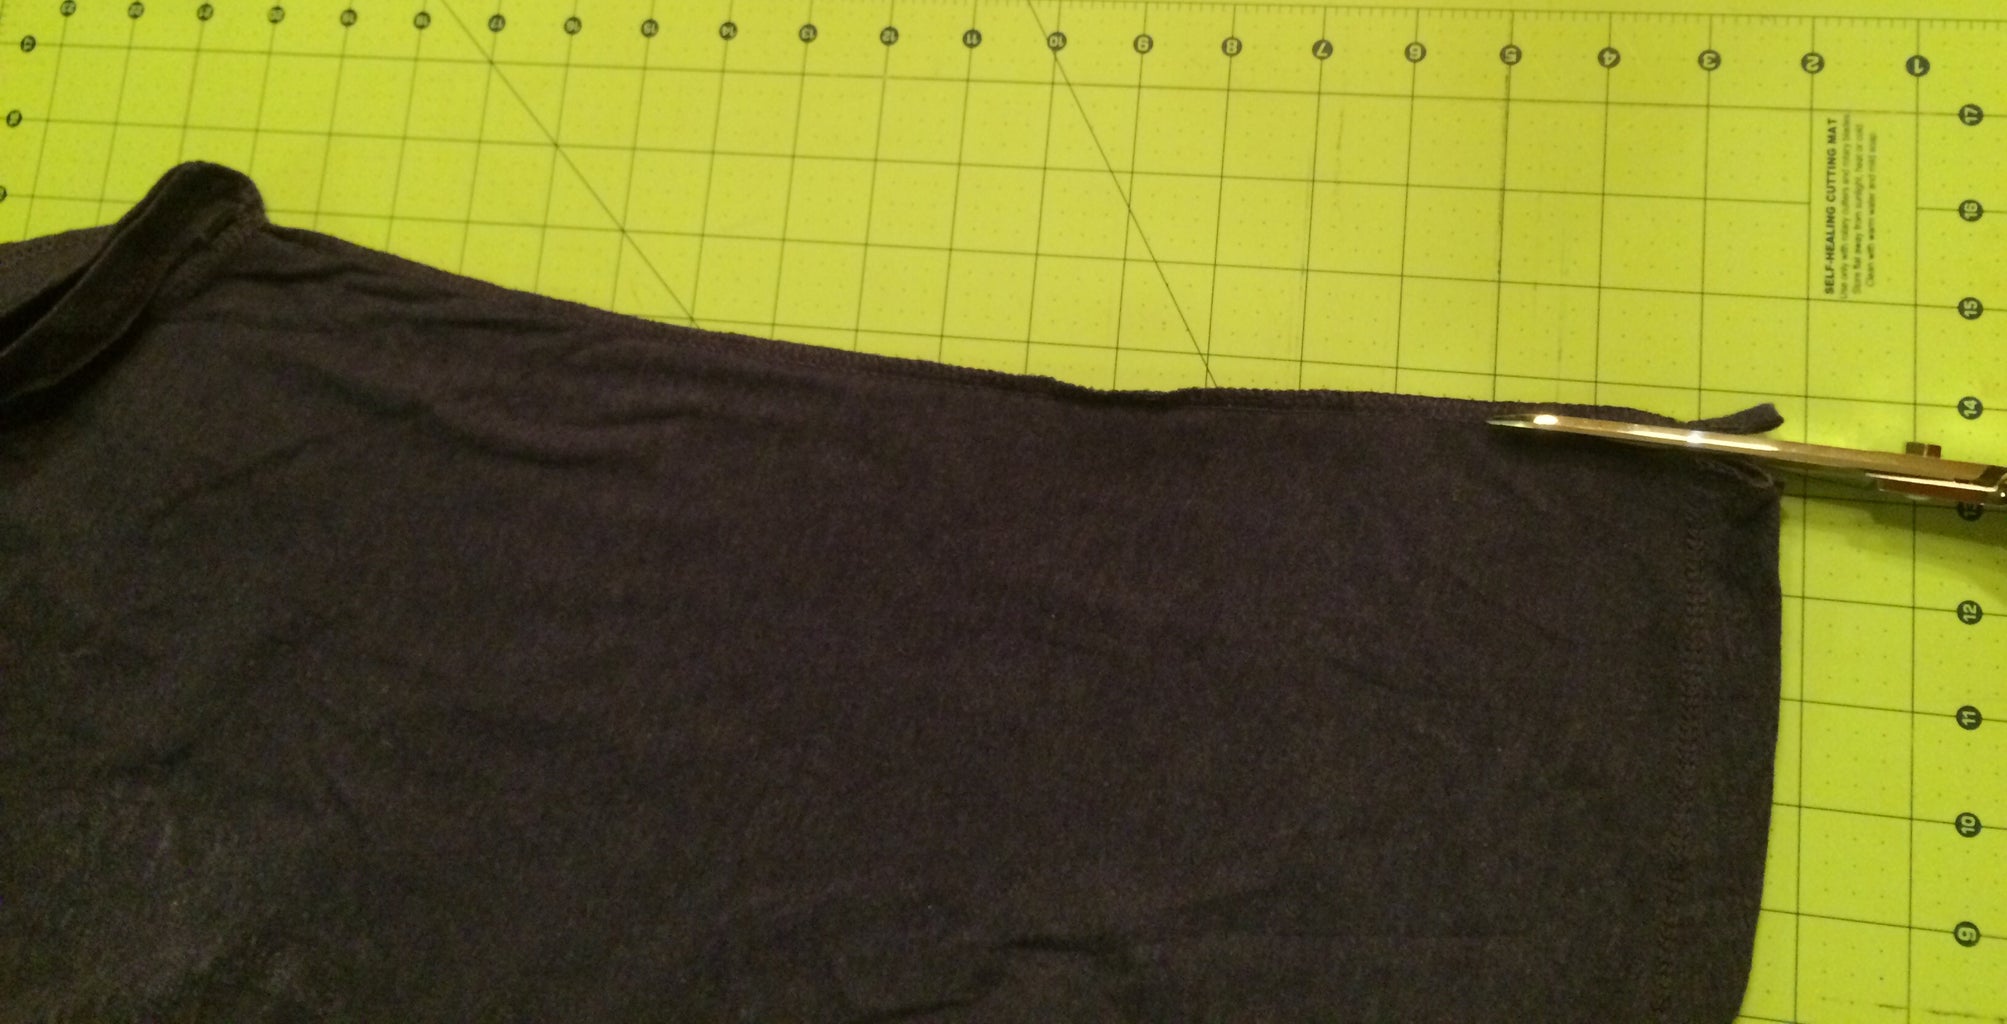
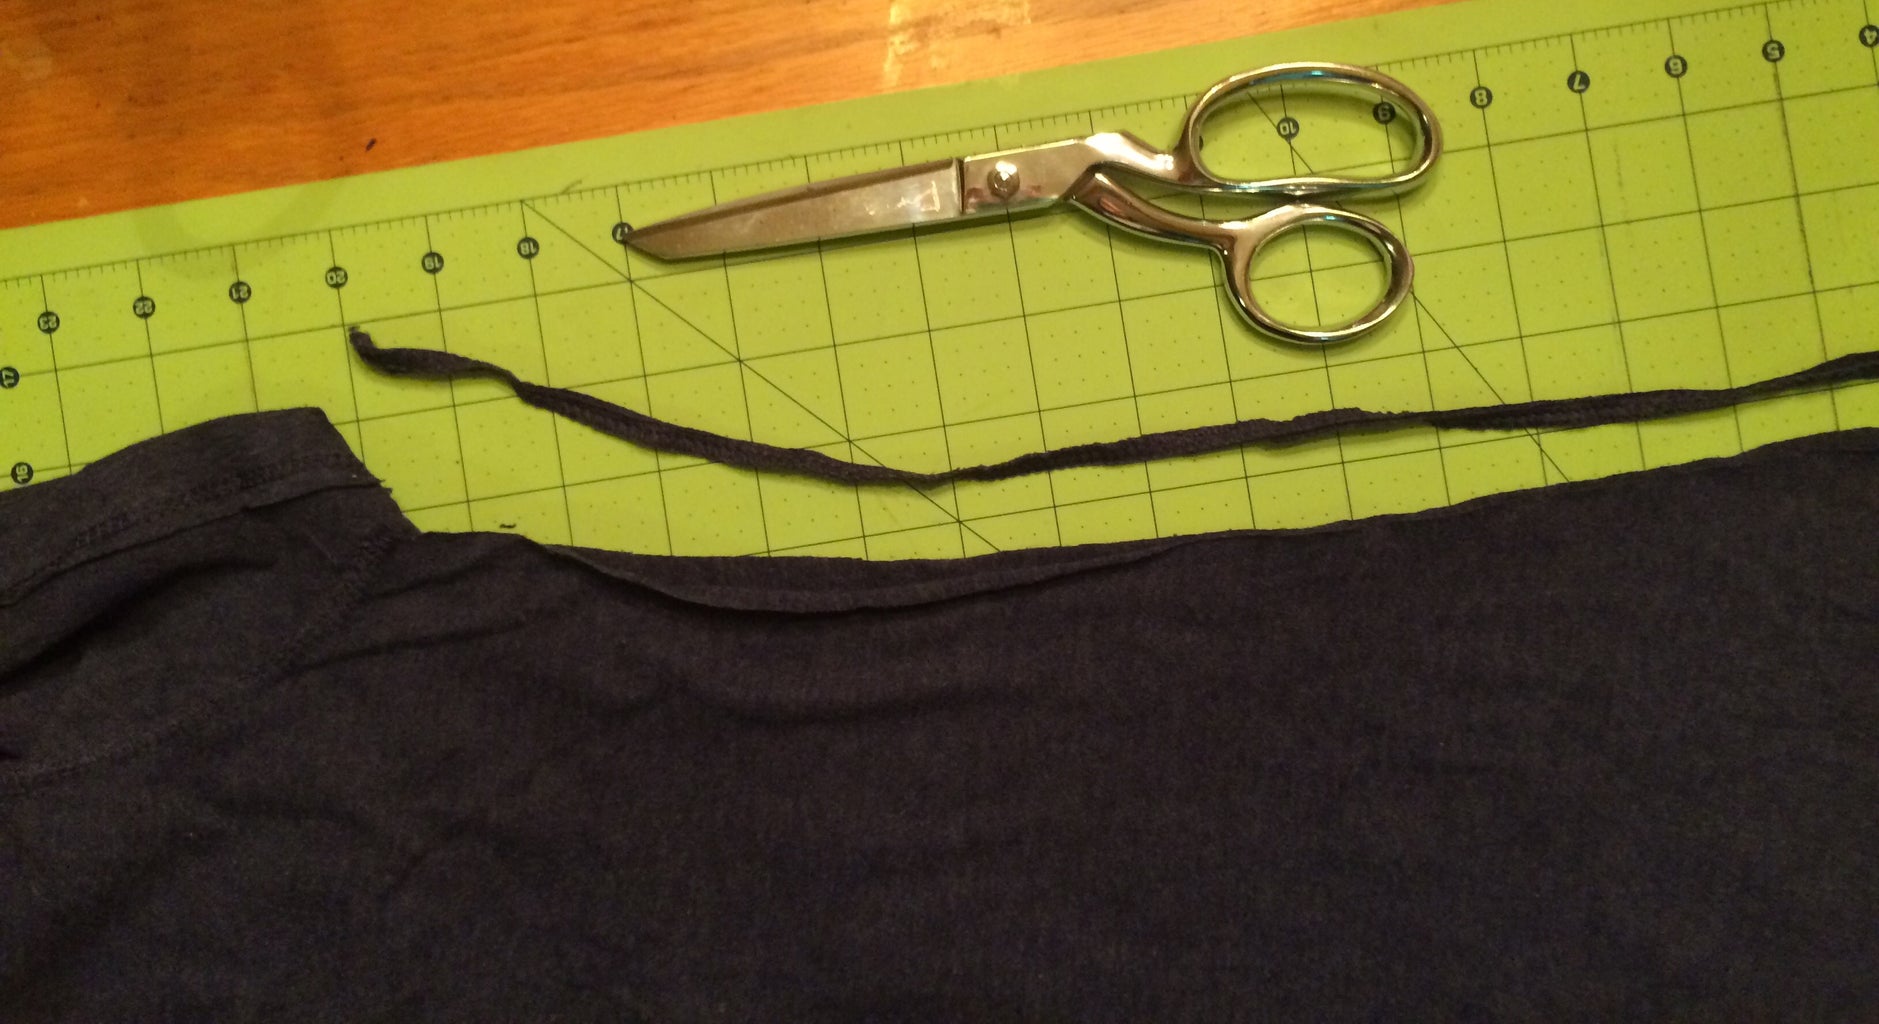
-Cut open the sides of your shirt along the side seam from the bottom hem up through the hem of the underarm.
The way my shirt was stitched made it so it was easier for me to cut off the seam rather than deal with unpicking. Do whichever is the easiest way to open up the side of your shirt.
Step 3: Sew the Panels to the Shirt


-You can choose to hem the ends of your panels before you sew them into your shirt, or hem it as you sew. I chose to hem as I sewed.
-Pin your panel to one side edge of your shirt with the right side of your fabric against the right side of the shirt. Fold up the end of the fabric on each end to match the hem of the shirt and hem of the underarm.
-Baste stitch the panel to the shirt using a long basting stitch. Sew 1/4 inch to 1/2 inch from the edge of the fabric.
-Flip the shirt and baste right sides together on the other edge.
-Baste the other panel into the other side of the shirt following the same procedure as above.
-Try your shirt on to check the fit. If it fits right, awesome, nice job! If it's still too small take the panels out and cut wider one and sew them in. If it's now too big, make your panels thinner and re sew them back in.
Step 4: Finishing Up


-Once your shirt fits how you would like it, sew over your basting stitch with a regular length straight stitch.
-Sew the bottom hem and underarm hem to match the hem of the shirt.
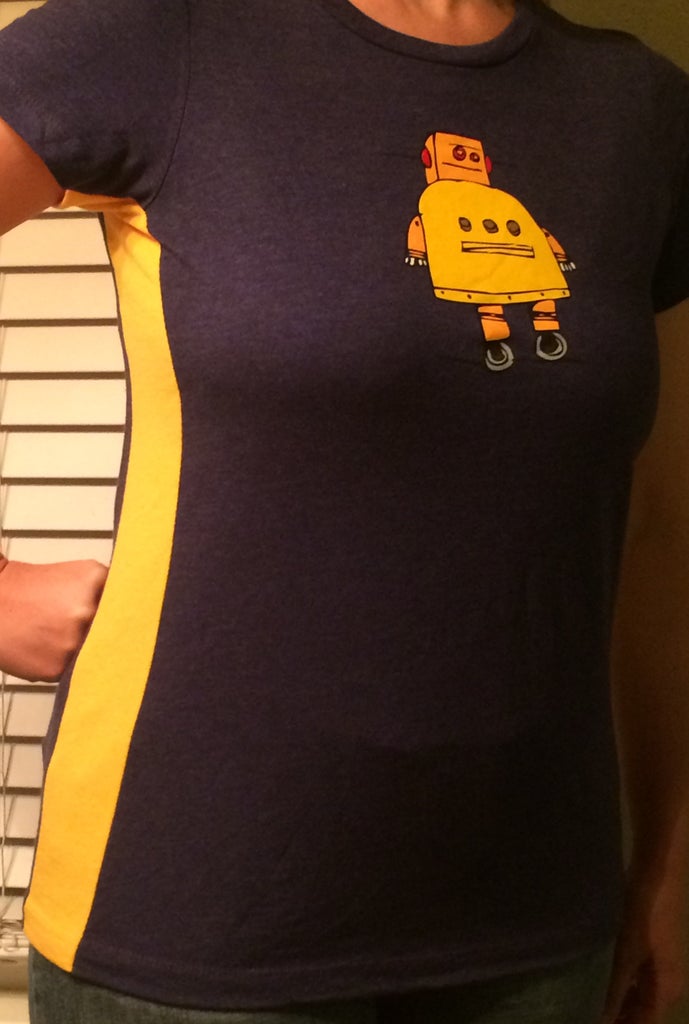
-Hooray, you're done! Enjoy wearing your new shirt!

Runner Up in the
T-Shirt Transformations Challenge

Participated in the
Trash to Treasure Challenge


