

Introduction: How to Transfer an Image to Wood - Laser Vs. Inkjet


I have been looking for different ways to transfer my logo to the projects I make as a way of signing them.
I had read that laser prints are much better than inkjet prints when you try to transfer them. I decided to investigate and see if there was much of a difference.
I you would like to watch the video here it is:
Materials Used:
- Laser Print on regular paper
- Inkjet Print on regular paper
- Modge Podge Image Transfer
- Water
- Spray Polyurethane
- Wood to transfer too
'Tools' Used:
- Clean Rag
- Scissors
Step 1: Prepare the Image


Remember to flip your image before printing. Especialy if you have text on the image. If printed normaly the image will be back to front so it has to be flipped first.
If you dont want a white boarder around your image then remember to cut as close to the image as you can. You could experiment with different edge styles but I just prefer a clean cut look. White boards can look good though.
I cut out my logo on both the laser and inkjet version leaving no white paper showing.
Step 2: Apply Mod Podge Image Transfer


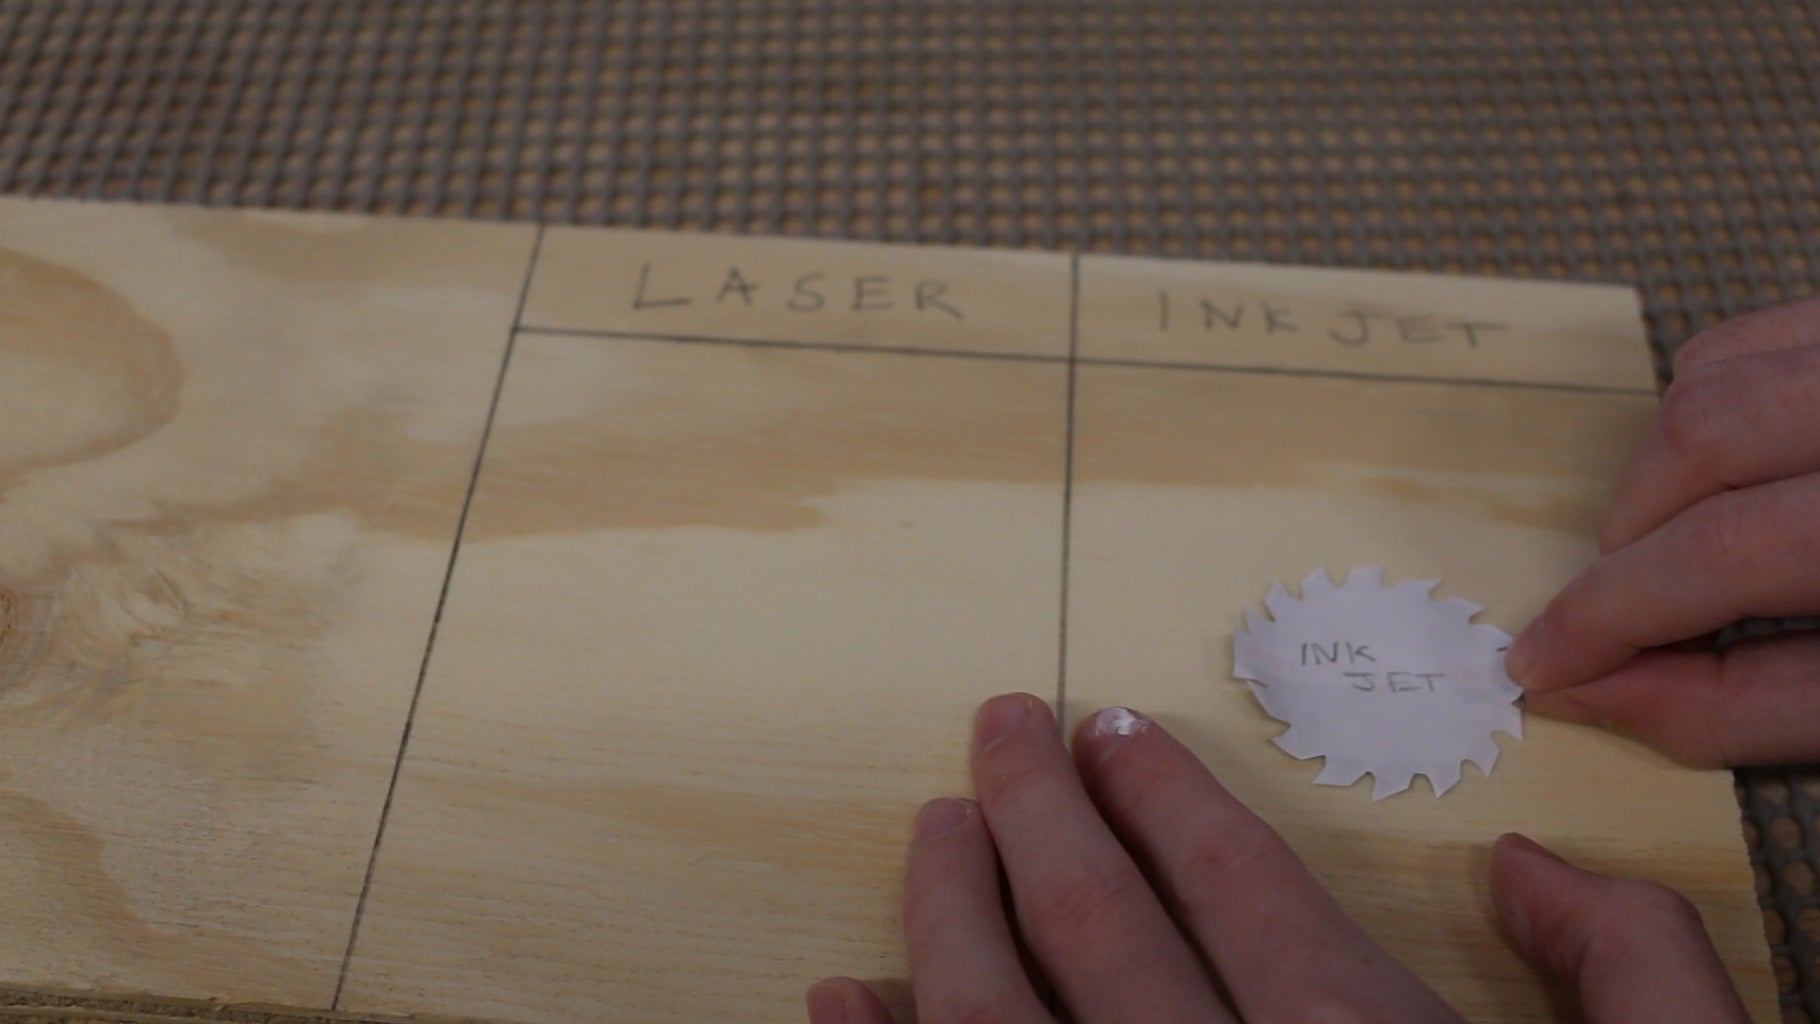

All I did next was to paint a thick (but not too thick) layer of Mod Podge image transfer onto the image itself. I could barely see the image through the white Mod Podge when I was done.
I could then apply the image to the piece of wood. I had split the wood to show the difference between laser & Inkjet versions. I placed both images face down and smoothed them out using my fingers to make sure they were flat and had no creases or bubbles. I could leave them to dry overnight.
Step 3: Remove Paper Backing


To remove the paper backing from the images all I did was use some clean water and a clean rag (I used a piece of old T-Shirt).
I lightly dampened the rag and wet the paper back of the images. I left them a short while to soak, then I began to lightly wipe away the wet paper from the image. Be careful at this stage because you could remove the image itself if you arent careful.
I removed a lot of the paper and left them to dry to see what was left. There was quite a bit of paper left behing so I repeated the previouse step of using the wet rag to remove the paper. I did this 3 times for the laser version and just twice for the inkjet version.
The laser print held up great but the inkjet version didnt. It began to fade very quickly and I wasnt able to remove the paper fully.
To seal the images to the wood I used spray polyurethane. This will help protect the images and stop them from peeling or getting scratched off.
I think you will agree that the laser version is a lot better quality when compared to the inkjet version. You can use an inkjet print though as you can see but I would highly recomend using a laser print if possible.
I hope you found this instructable useful.


