

Introduction: Making Sewing Awl


I made this awl because I'll need it in upcoming project.
I's made from file handle and a neadle from industrial sewing machine (neadle from regular sewing machine can be used too).
With this awl you can stitch leather and other materials. It's especially handy for repairing shoes and bags because can be used in inconvenient spots, where saddle stitch can not be performed.
Step 1:


As a basis for the awl I used wooden file handle of smaller size (I have small hands). Those can be easily found at hardware stores or fleamarkets. Initially it had a hole for the file's tail. It was too large so I had to plug it with a dowel first, so I widened the hole to the size required.
Step 2:


Then I glued the dowel in and whet the glue was dry, I sanded the surface flush androunded the edges.
Step 3:

To protech the handle from dirt and scrathes during the process I wrapped it with a masking tape. I guess I should of done it earlier.
Step 4:


With an awl I'm marking a centre and drilling new hole of a slightly bigger diametre than the basis of a neadle. Notice that instead of fixing the handle and holding a drill, i'm doing opposite. This way it's easier to drill sraight along the axel.
Do not make the hole too deep, it's better when the neadle rests against the bottom while in working position.
Step 5:


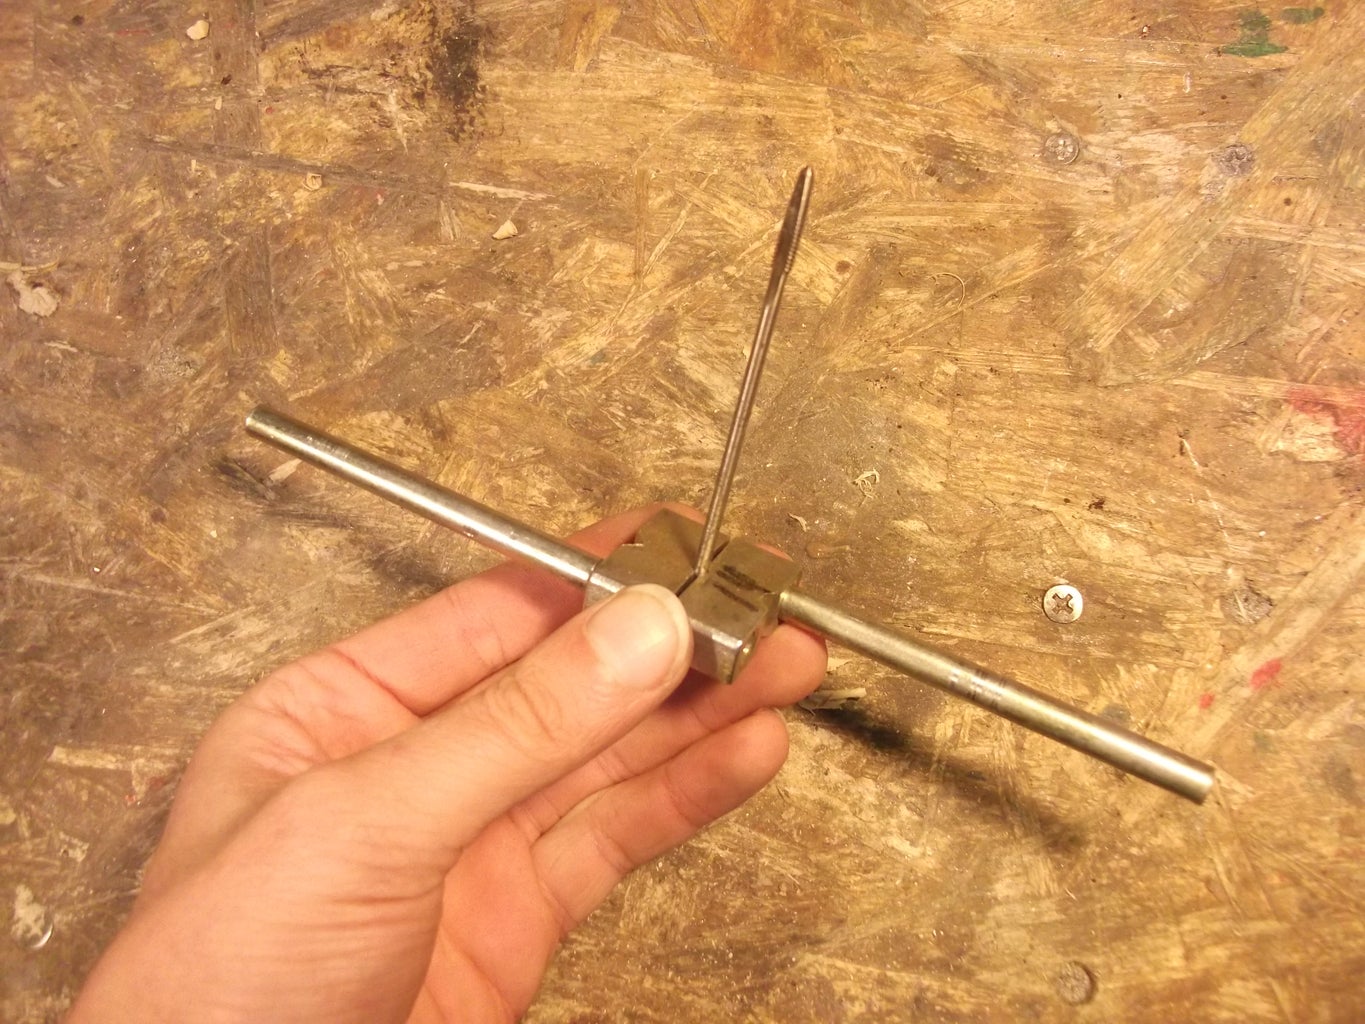


To install the screw that will fixate the neadle I'm drilling hole at the end of a handle first. I have thick enough copper collar in this spot, so I can cut threads right through it and through the wood as well. If you have a cap of thinner metal in this place, I can recommend to glue a nut into recess carved into wood and hide it than under the cap (the hole for the screw goes throug the cap, nut and wood), Or use some other threaded insert.
I'm drilling the hole deaper than it needs to be to reach the neadle so that the threading tap I'm using was able to operate at it's full diametre at the surface. After thethread is cutten the screw is installed. When scrwed down it holds the neadle in the handle.
Step 6:
Step 7:


Ok, I know, this is not how the drill should be used, and I'll burn in special type of hell for this, but it's my only option here, so I'm polishing the copper collar on a felt wheel with polishing compound. The masking tape is removed than.
Step 8:


To make a feeding channel for the thread I'm drilling a hole that starts at the centre of the back of an awl and goes out at the side. Take your time to align it precise. Do not align the channel in one line with the screw on other end. Go with few additional passes with the drill to make sure the channel is smooth inside. Sand the openings to meke them smoth.
Step 9:

Continuing the line of the channel cut a notch for guiding the thread at the front end of a handle.
Step 10:


After some sanding I'm covering the handle with a coat of boiled linseed oil. (Yes it's very old).
Step 11:


Now the awl is ready. To prepare it for the working position, pull the thread through the feeding channel and then through the hole on the neadle (notice it's position in respect to the handle). Other preparations can vary according to some aspects (look for tutorials on using the sewing awl). You can regulate the tension of the thread wlile sewing by pushing it against the handle with a thumb and the notch helps to keep it in position.
I'm not going to show different sewing techniques here - there's a lot of tutorials on this theme out there - just a litle seam for an example.
So this is it for now, thank you for your attention, and have a nice sewing.
If you like what I'm doing and want to see more projects from me with with increasing qualitie, please considere to support me on Patreon: www.patreon.com/WaldemarSha

Participated in the
Leather Contest 2017


