

Introduction: Portable IoT Display


This instructables show how to use a 2 inches LCD and ESP32 to make a portable IoT Display.
Supplies
TTGO T7 V1.0
https://www.aliexpress.com/item/32998388114.html
2 inches IPS LCD
https://www.aliexpress.com/item/32949052390.html
402035 Lipo
https://www.aliexpress.com/wholesale?SearchText=40...
D-Ring Locking Carabiner Clip Keychain
Step 1: 3D Print Case
Please download and print the case at thingiverse:
Step 2: Soldering Work


Follow the LCD datasheet connect the pins. Please read through the datasheet before connection especially if you are not ordered same LCD model.
Here are the connection summary:
ESP32   -> LCD
GND     -> Pin  1 GND
        -> Pin  2 LED K
3v3.    -> Pin  4 Vcc -> 20 Ohm -> Pin 3 LEDA
GPIO 27 -> Pin  7 D/C
GPIO  5 -> Pin  8 CS
GPIO 18 -> Pin  9 SCK
GPIO 23 -> Pin 10 MOSI
GPIO 33 -> Pin 11 RST
Step 3: Seal Wires

Use some tapes to seal the soldered wires and exposed pins.
Step 4: Assembly
Please follow the video to assembly.
Step 5: Program
Arduino IDE
Download and install Arduino IDE if you are not yet do it:
https://www.arduino.cc/en/main/software
ESP32 Support
Follow the Installation Instructions to add ESP32 support if you re not yet do it:
https://github.com/espressif/arduino-esp32
Arduino_GFX Library
Download latest Arduino_GFX libraries: (press "Clone or Download" -> "Download ZIP")
https://github.com/moononournation/Arduino_GFX
Import libraries in Arduino IDE. (Arduino IDE "Sketch" Menu -> "Include Library" -> "Add .ZIP Library" -> select downloaded ZIP file)
Compile & Upload
- Connect the device with USB cable
- Open Arduino IDE
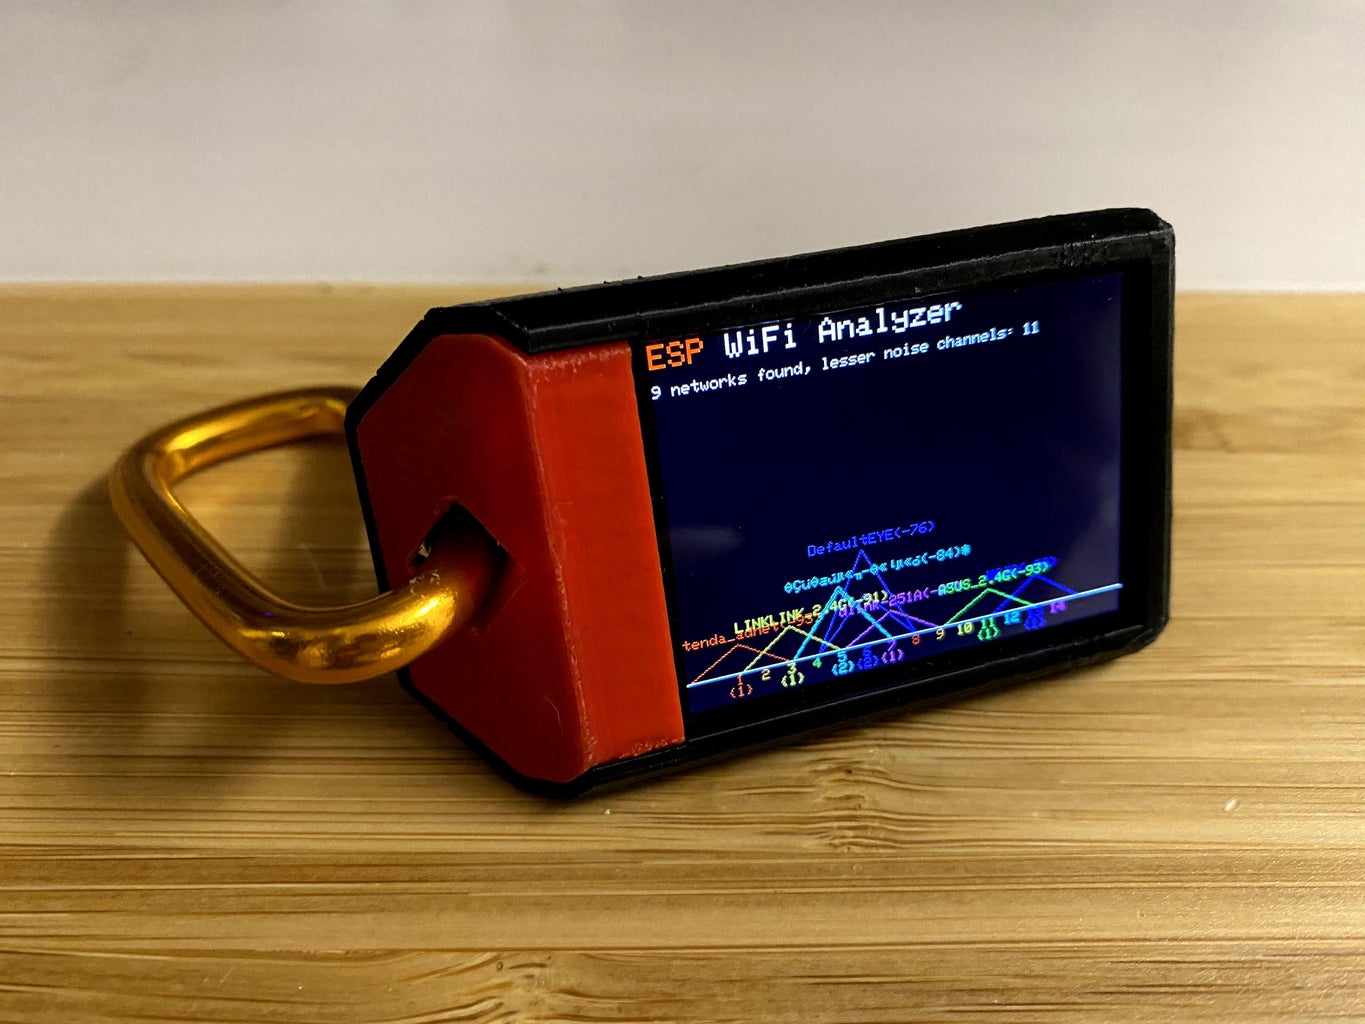
- Open ESPWiFiAnalyzer sample code ("File" -> "Example" -> "Arduino_GFX" -> "ESPWiFiAnalyzer")
- Press Arduino IDE "Upload" button
Step 6: Enjoy!

This 2 inches IoT display not only a simple ESP WiFi Analyzer, ESP32 have much more possibilities. It's time to use your imagination to develop your unique IoT device!


![Tim's Mechanical Spider Leg [LU9685-20CU]](https://content.instructables.com/FFB/5R4I/LVKZ6G6R/FFB5R4ILVKZ6G6R.png?auto=webp&crop=1.2%3A1&frame=1&width=306)


