

Introduction: RC Car Chassis for 1/43 Scale Bodies


This is a chassis for 1/43 scale bodies like Carrera Go, SCX Compact or other bodies.
With this chassis you can convert almost every 1/43 scale car to a RC car.
Find all parts on printables.com as well
https://www.printables.com/model/364941-rc-car-chassis-for-143-scale-body
Follow me on Instagram for latest news
Step 1: Parts to Print
All parts are printed in PLA.
1x chassis (select the correct width and with front mount or just side mount)
2x front rim (select right size)
2x rear rim (select right size)
2x front tire
2x rear tire
1x motor pod
1x t-plate
1x front bracket
1x push rod
1x rear standoff
1x front standoff
1x top plate
1x steering hub left
1x steering hub right
2x side mount (if you have the chassis with just side mount, you'll need 4)
1x front mount part 1
1x front mount part 2
Attachments
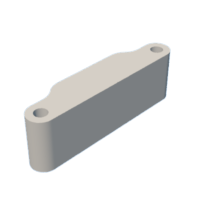
 Chassis side 39.stl
- Chassis front 39.stl
- Chassis side 38.stl
- Chassis front 38.stl
- Chassis side 37.stl
- Chassis front 37.stl
- Chassis side 36.stl
- Chassis front 36.stl
- Rear rim 11x7.stl
- Front rim 11x4.5.stl
- Front tire 12.5x4.5.stl
- Rear tire 12.5x7.stl
- Rear rim 12.5x7.stl
- Front rim 12.5x4.5.stl
- Rear tire 11x7.stl
- Front tire 11x4.5.stl
- Rear tire 12x7.stl
- Front tire 12x4.5.stl
- Rear rim 12x7.stl
- Front rim 12x4.5.stl
- Front mount part 2.stl
- Front mount part 1.stl
- Steering hub right.stl
- Steering hub left.stl
- Front bracket.stl
- Push rod.stl
- Front stand off.stl
- Rear standoff.stl
- Top plate.stl
- Side mount.stl
- Motor pod.stl
- T-Plate.stl


Step 2: Parts You Need (BOM)
1x MG90 Servo (Use these or search for "MiToot" as you have to drill one gear with a 2mm drill. Others might break)
2x M2 lock nuts
5x M2 washer
1x 1s Battery and charger (take care of the dimension of your chassis and order the correct battery)
1x Spring Steel 0.7mm or 0.8mm
1x Transmitter (if you don't already have one)
1x Micro Receiver (if you don't already have one)
1x AIO FPV camera (optional)
2x Resistors (2.7K should work an all Servo)
Drill bits with 1.7mm, 1.8mm, 1.9mm, 2.0mm
Step 3: Assemble Main Plate


Assembling the main plate is straight forward. You just need the parts and six M2 x 6mm screws.
Step 4: Steering Servo


Attach the steering servo to the front bracket. Attach the smallest servo horn to the servo.
Use a 0.7mm or 0.8mm push rod for steering.
Step 5: Prepare Servo As Motor


This chassis is driven by a MG90 servo. I've found out, that there are a lot of different MG90 servos. Try to buy the one from the BOM, as the different servos have different gears.
From the servo we need the motor, control board, the gear directly next to the motor, the pin from this gear and the gear on the bottom right.
Drill the hole from the bottom right gear CAREFULLY to 1.9mm. If the gear is not made from aluminum/brass, it might be difficult to drill the hole to 1.9mm.
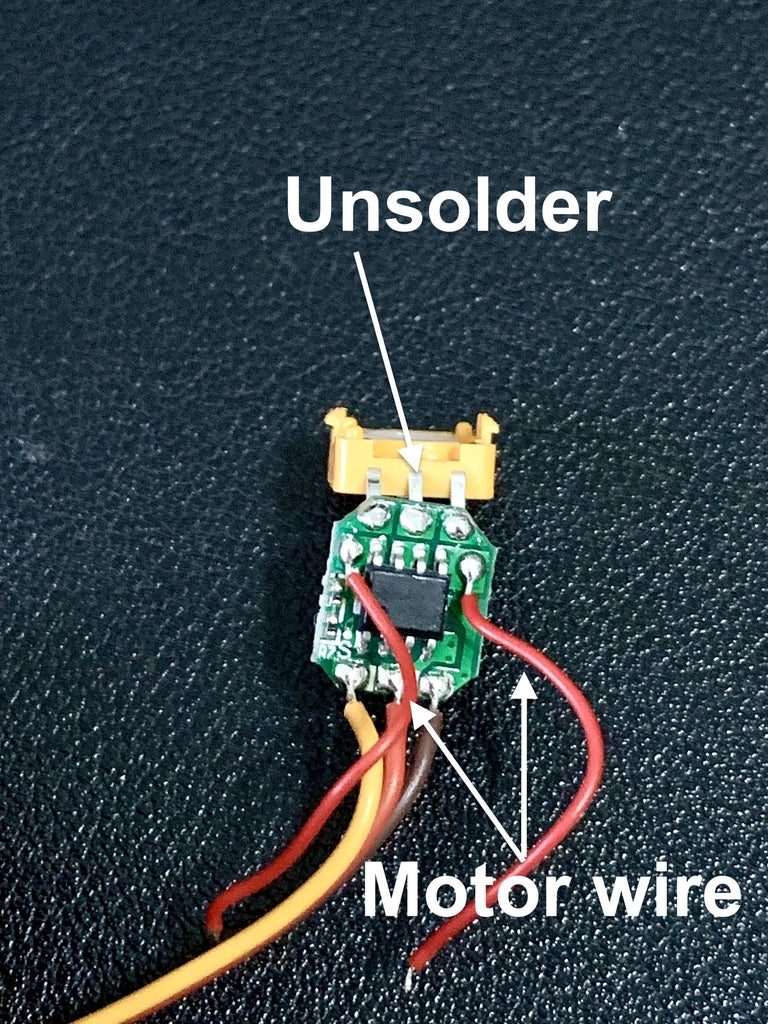
Use the controller board from the servo as ESC. As the servo isn't meant to function as a standard motor, we have to prepare the controller board for this.
Therefore you have to unsolder the potentiometer from the board and solder two resistors between the pins. (Yes, you can leave the potentiometer there and glue it to secure the position. But this takes a lot of space.)
Here you can find another guide how to convert the servo (https://www.circuitbread.com/tutorials/how-to-make-a-360-degree-continuous-rotation-servo-motor)
Step 6: Motor Pod


Add two bearings (left and right) to the Motor Pod. Add the gear from the servo which was next to the motor to the Motor Pod and secure it with the pin.
Cut a M2 rod to the correct length and attach it with the other gear to the motor pod. Don't forget to add a spacer, so that the gear with the rod will stay in place. Secure the gear with some CA-Glue or Loctite to the rod.
Step 7: Front Wheels


Step 8: Mounting Points on Body


Depending on your body, you might have to shorten the front mount.
Step 9: Electronics


There is not much to say about the electronics. I've glued the receiver with some hot glue to the top plate and the "ESC" to the motor pod. Depending on the body you are using, you might have to find another place.
Step 10: Ready to Run


Attach the body to the chassis and that's it. You can also add a small AIO FPV camera to the body :-D


