

Introduction: Sewing Curved Seams


Seams are not just a way to attach two pieces of fabric together, they are also a way to give shape and dimensionality to the object you are creating. When you are using seams to create rounded shapes as opposed to square ones, you have to use some different techniques to sew and finish your seams correctly.
In this lesson we'll learn about two different kinds of curved seams, how to sew them, and how to finish them. Then I'll suggest some great project that will help you practice your curved seaming skills.
Step 1: Curved Facing

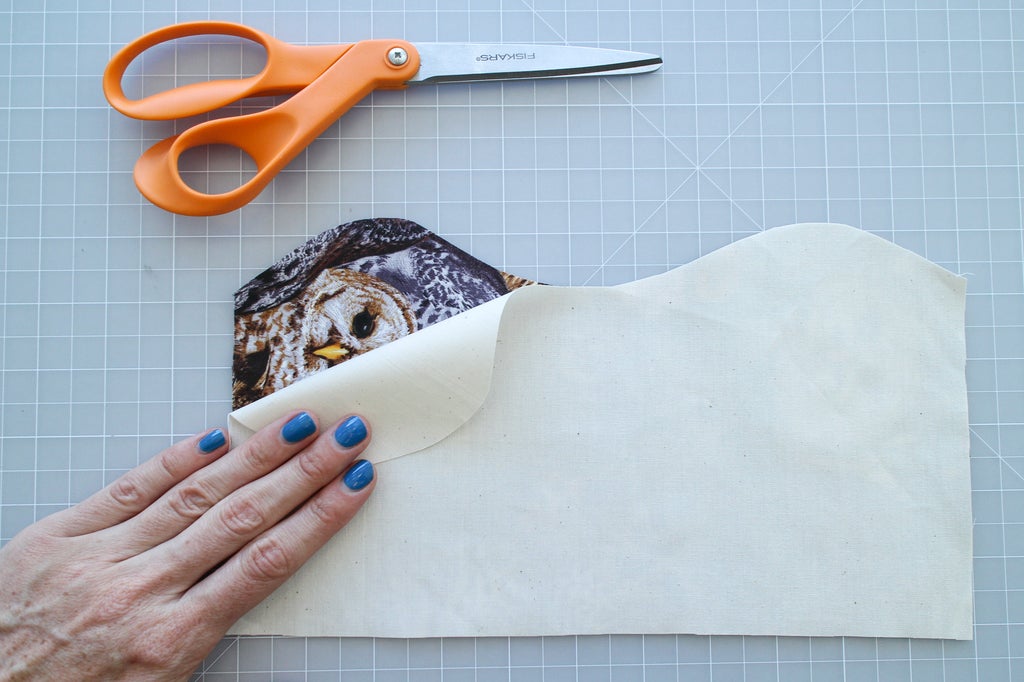
Say you wanted to create a collar on a jacket with a curved edge, or sew a pot holder with an interesting shape that was a different kind of fabric on both sides. To sew a finished edge like this we need to create a facing by sewing a curved seam that we can turn right-side-out and press together to create a clean finished edge. To practice this, let's cut ourselves a double layered piece of fabric that looks something like this:

I used a plain muslin on one side, and my owl patterned fabric on the other.
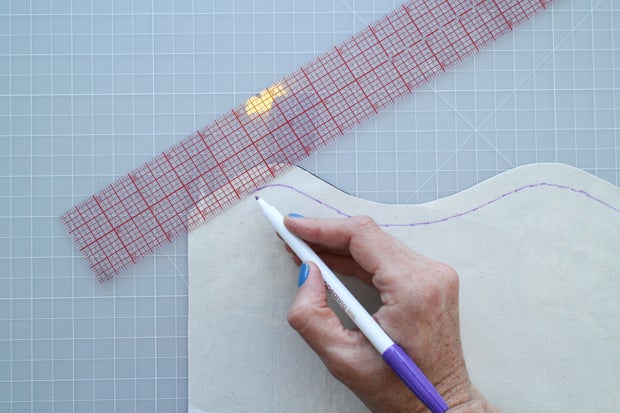
Now, use your ruler and marker to mark a seam allowance 1/2" in from the curved edge (or, if you're feeling confident using the seam guides, just pin your curved edge).

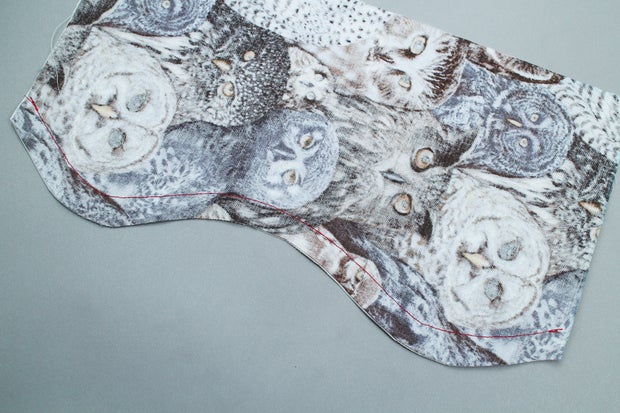
Now sew along the 1/2" sewing line, guiding the fabric around the curve with your fingers and using the seam guides to keep your stitching parallel to the edge of the fabric. Lock your stitches on both ends.

Sewing around curves can be tricky, especially when the curves get tight, but there are a few tricks that can really help make it easier.
- First of all, it helps to use a short stitch length because your machine will sew more slowly and be more maneuverable.
- Don't be afraid to go slowly, and when you get to really sharp curves, you can stop pressing the foot pedal and just turn the hand wheel to move the needle around curves.
- If you start to really get off track, lower the needle, raise the presser foot, and rotate the fabric slightly to get yourself going back in the right direction.
Now we are going to flip the fabric so the right sides are facing out, but before we do this, we need to do something else to the seam allowances so they will lay flat.
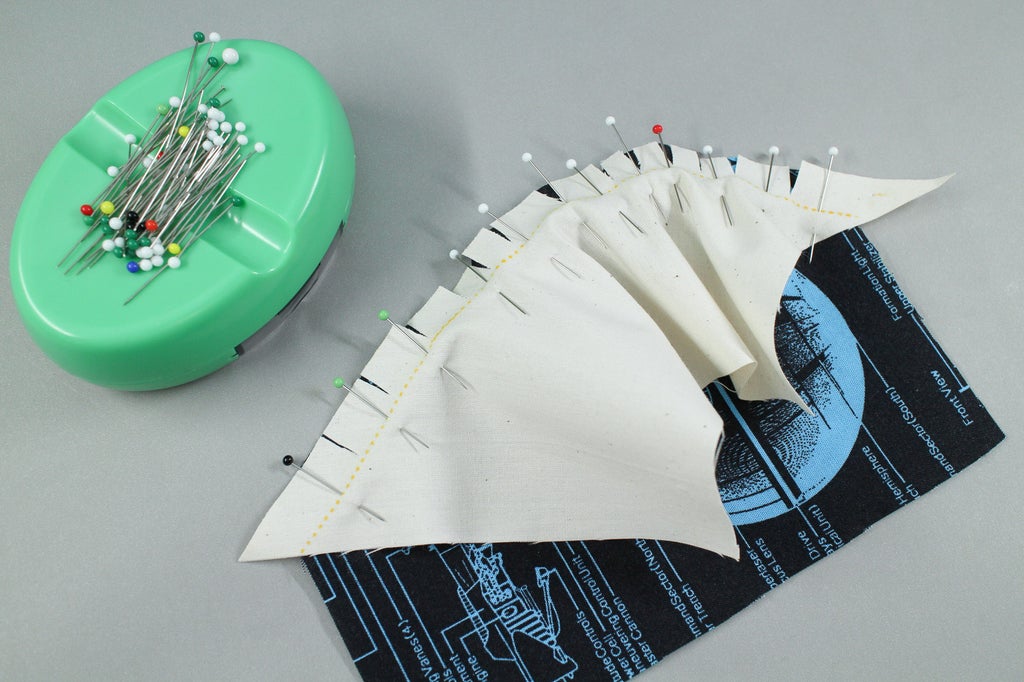
On the convex areas of curve, the wider area of seam allowance will have to fit inside the smaller area on the other side of the seam once we flip the fabric, and it will end up bunched up. So in these areas we need to clip little triangles out of the seam allowance to make more room. You can do this with scissors, cutting right up to the stitching line, but not through it. The more clips you make, the flatter your seam will lay.

On the concave areas of curve, the smaller area of seam allowance will have to stretch to fit around the larger area on the other side of the seam once we flip the fabric. So in these areas we just need to cut slits in the seam allowance so it can spread. The more times you snip, the flatter your seam will lay, but no need to get too carried away.

Now flip the whole thing right side out. Use something pointy like the end of a pencil or a ruler to push out the seam from the inside and round the curves.

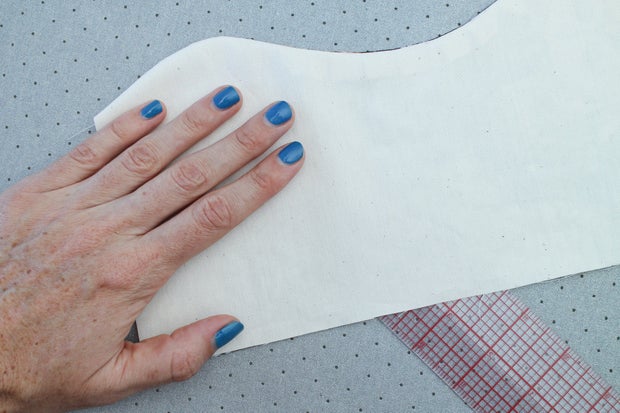
Press with your iron to create a neat, smoothly curved edge.


If you look in between the two layers, you will see where the seam allowance is spreading and squeezing together on the two different kinds of curves.

Step 2: Curved Paneling

Now say you wanted to create a flat surface where two different fabrics meet in a curved or shaped line. This is a technique that is often used in quilting, but you'll use it sometimes for other things too.
To show you how to do this, I'm going to use a very simple pattern. The pattern is attached at the bottom of this section if you want to download and print it, or just create your own.

Cut out the two paper pattern pieces and pin them onto the right sides of two different kinds of fabric, lining them up with the grain. It helps to put pins close to the edges of the paper, to hold it down as you cut.


Use your scissors to cut around the edges of the paper.

Now we're going to mark our seam allowances using a transfer wheel and transfer paper. Spread the transfer paper out face up and lay your pattern pieces on top of it with the patterns still pinned on (if you're using light fabric, use dark transfer paper and visa versa). Trace the sewing lines of the curves with the tracing wheel, pressing down fairly hard.


You should see a line of dots on the wrong side of the fabric. This is how you will usually mark seam allowances when you're using a sewing pattern.


To create our seam we need to sew these two pieces of fabric together with wrong sides facing out, but as you can see, when we lay them on top of each other they don't match up at all! In fact, they are the opposite of each other! So what do we do about that?

Much like we did with the curved facing, we need to snip our concave seam allowance so it will stretch around the convex one. Cut slits in your concave seam allowance, about every inch, stopping 1/8" away from the sewing line.

Now lay the concave piece over the convex piece, with right sides facing and start pinning them together so the sewing lines match up. The concave piece will end up bunched up beyond the seam allowance, and that's ok.


Now sew along the sewing line, pushing the bunched fabric out of the way as you sew and being careful not to sew any folds into the seam.

When you're done the two pieces should open up and lay flat. Press them with your iron with the the un-snipped convex seam allowance over the snipped concave one.


Trim the ends of your seam allowances and you have a nice paneled square!

Attachments

Step 3: Quiz
{
    "id": "quiz-1",
    "question": "True or false, when you are sewing a curved seam, using a large stitch length makes it easier to get around tight curves.",
    "answers": [
        {
            "title": "True",
            "correct": false
        },
        {
            "title": "False",
            "correct": true
        }

    ],
    "correctNotice": "Well Done! A small stitch length is what will help you sew around curves.",
    "incorrectNotice": "Try Again"
}
{
    "id": "quiz-2",
    "question": "When you are sewing a curved panel, you need to clip the:",
    "answers": [
        {
            "title": "convex curve",
            "correct": false
        },
        {
            "title": "concave curve",
            "correct": true
        }
    ],
    "correctNotice": "Well Done!",
    "incorrectNotice": "Try Again"
}
Step 4: What's Next?

If you want to practice sewing curved seams there are all kinds of great projects you can try. My Instructable on how to Make a Custom Stuffed Animal is a good example. This little project will let you see how both curved facing and curved paneling are applied to a real life sewing situation. I'll also talk a little about how to create and use a simple pattern, and when and how to use fusible interfacing to reinforce your fabric. Plus, by the end you’ll have a cute friend to keep you company while you finish the rest of this class :)
In the next lesson we're going to learn how to use our machines to sew stretch fabric!


