

Introduction: Simple Shoe Rack
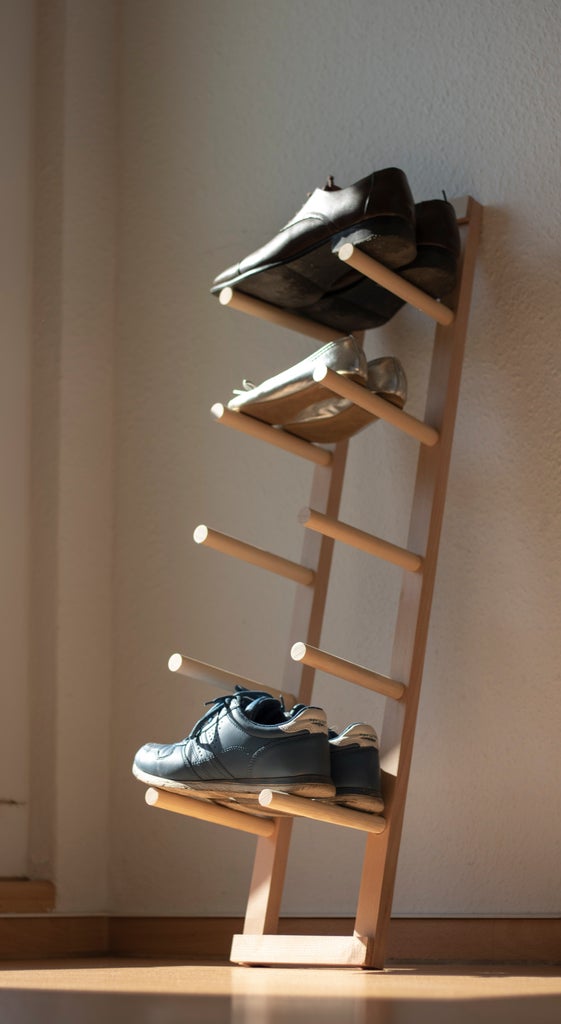


I designed this simple shoe rack because I needed a place to storage our foot gear but I know we are going to move very soon so I did not want to make anything big. I also like about it that I can uninstall it easily.
The disadvantage is that it is not strong. But it is always possible to add glue or screws to make it more durable. Right now is the strength not too important to me.
Supplies
Disclosure: Following text includes affiliate links which means that by making a purchase through one of these links, I may earn a small commission without any extra cost to you.
Cordless drill https://amzn.to/3dpWcTg
Orbital sander https://amzn.to/2zJZ2nE
Sanding pads https://amzn.to/2TZN8Nc
Drill bit https://amzn.to/3cjdUq8
Miter saw https://amzn.to/3053Pui
Step 1: Cutting the Wood


Cut the wood into the measures you want to build your shoe rack.
Mine has following measures:
10 x round sticks 200 x 5 x 30 mm
2 x square sticks 900 x 5 x 30 mm
Step 2: Drilling the Holes

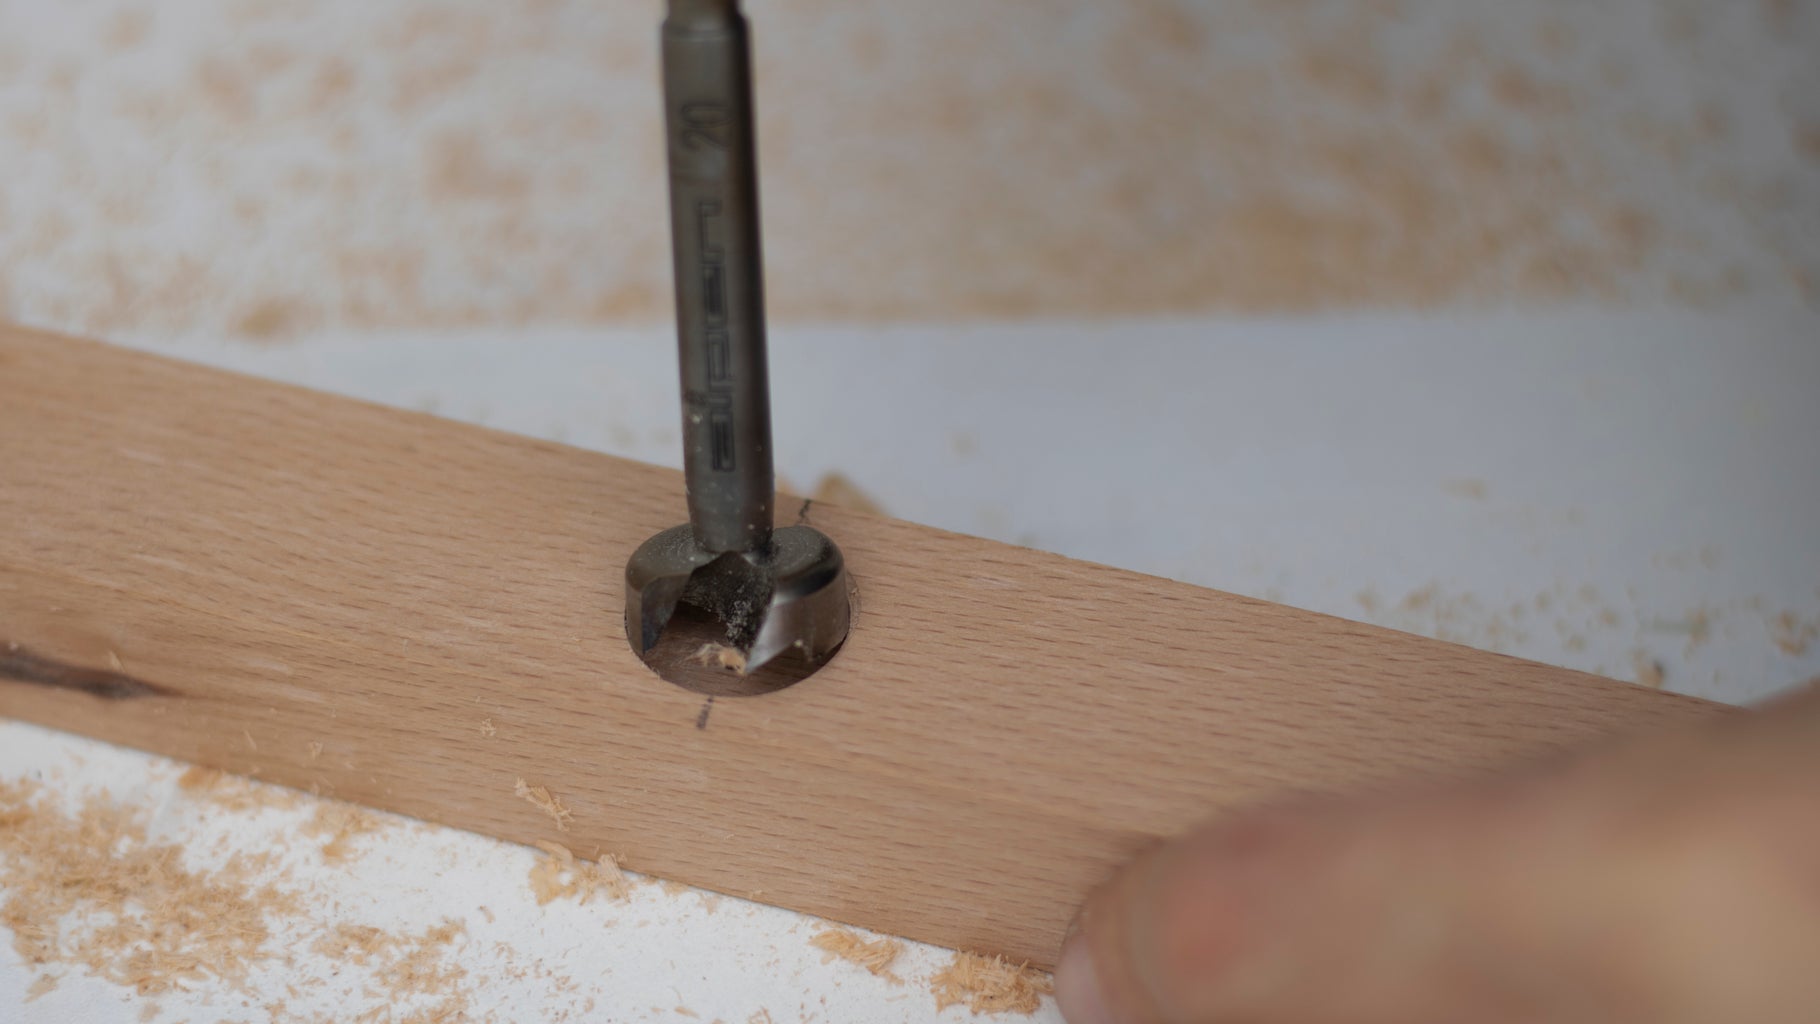
Using the drill which has the diameter of the stick. Mine is nr 20.
Make it not deeper than 5 mm.
Step 3: Connecting Plugs


Cut the tiny plugs to connect the sticks.
Step 4: Sanding


Sand all the surfaces until they`re perfectly smooth. No connect all the parts to eachother.

Participated in the
Woodworking Contest


