

Introduction: Translucent Wood Panels


If you cut a wooden board very thin it will become translucent, and light shining through it will show the beautiful color and grain of the wood. But very thin boards of wood are also very fragile. So why not glue the thin board to a transparent acrylic panel or sheet of glass to add strength. I will show you how to make a translucent wood panel in your workshop.
The video shows a hickory and cherry panel under various lighting conditions using a flashlight.
The pictures above include a sample made of 7 different wood species (l to r): pecan, cherry, hickory, wormy maple, walnut, curly maple, and oak. The sample panel is shown with 3 different backlighting situations. Some of the sample wood was sanded too thin or accidentally sanded away.
Light colored woods are obviously a better choice for translucency.
You can use these panels to make lamp shades, night lights, backlit signage, translucent window hangings, art pieces, candle light boxes, transom window, etc.
Supplies

- Hardwood of your choice. Light colors are better. If you want to save the effort of making your own very thin boards you can buy and use veneer sheets.
- Acrylic (plexiglass) sheet, or glass sheet. For an inexpensive 'test run' you can buy a 5” by 7” or 8” by 10” sheet commonly used in picture frames. For larger or more durable translucent wood panels use 1/4" thick acrylic.
- Two-part epoxy
- Wax paper
- Veneer tape or blue tape
- Table saw or bandsaw
- Sander
- Clamps
Step 1: Make Your Own Thin Wood Boards

Select some hardwood with an attractive grain pattern. I am using cherry and hickory in this Instructable. Cherry gives a beautiful warm glow when backlit, while the hickory is more translucent and shows its grain nicely.
From a thicker board (i.e. 3/4") cut off thin strips or slices with a bandsaw or table saw. Try to cut them to about 1/16" (~2mm) thickness. Plane or sand off the saw marks on the remaining (thicker) board before cutting off the next slice. This assures that you have one flat/clean/planed side on each thin slice. This clean side will be glued to the acrylic/glass.
Step 2: Layout
Lay out the thin boards to create a grain pattern you like. Then stack two adjacent boards and using a sharp new blade cut a straight edge through both pieces along the side. This will ensure a perfect match when butting the pieces together. Repeat for all edges that need to match. Lay out the piece(s) and if necessary use veneer tape (blue tape also works) to hold them together for the gluing process.
I my example I am showing just a single 7” wide piece of cherry wood with no seam. Anything wider than that will probably require more than one piece butted together.
Use 150 grit sandpaper to lightly roughen one face of the acrylic sheet. This will help the epoxy make a stronger bond.
Prepare a work area for the glue-up, it can be messy.
Step 3: Gluing and Clamping


You should be clamping (or weighing down) the acrylic/wood ‘sandwich’ for the glue-up. Start with a piece of MDF or plywood as a base. Cover it with a piece of wax paper. Lay down the acrylic sheet (roughened side up) and optionally tape it down to keep it from moving. Mix the two-part epoxy and spread thinly and evenly on the acrylic sheet, avoiding bubbles. Then add the wood/veneer piece with the clean/planed side down. Put down another sheet of wax paper, and finally a second piece of MDF/plywood for clamping.
Apply clamps starting from the middle. Make sure your wood/veneer piece does not shift too much, the epoxy is slippery. Apply more clamps evenly across the ’sandwich’.
Then you will just have to wait about 24 hours for the epoxy to cure. Be patient.
Step 4: Sanding


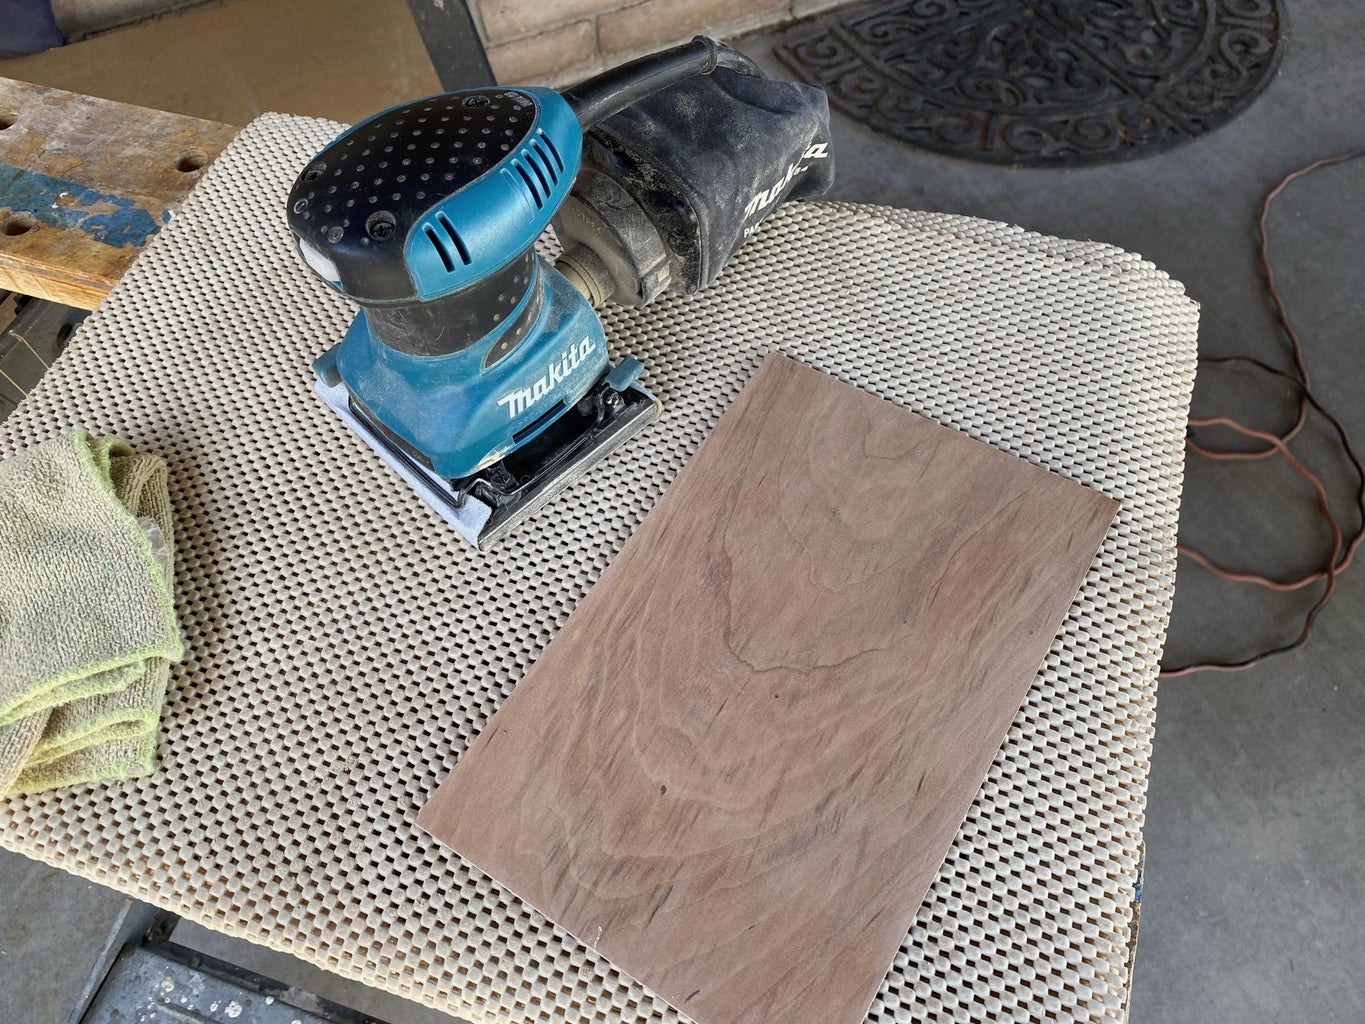


When the epoxy is fully cured it is time to sand the wood panel. No matter what kind of sander you use (palm sander, thickness sander, hand sanding block) go easy as you can quickly (and accidentally) go through the whole wood layer. Obviously, the thinner the final wood layer the more translucent it becomes. Start with 150 grit paper, it is not too agressive. Check your progress frequently with a lamp or flashlight. Try not to flex the acrylic as that may cause the wood to delaminate. Again, be patient and careful; and don't sand through the wood layer!
Sand to 220 grit and finish with clear polyurethane or varnish.
Step 5: Finish!

The final step is to trim the panel and fit it into your project. This could be a lampshade, a nightlight, a candle light box, a window hanging, transom windows, etc.
Laser cut or engrave the panel and use for a backlit sign.
I decided to put my hickory panel in the window. When backlit by the sun it has a pretty glow showing off the grain pattern. The cherry panel is better suited for dark rooms and backlighting.
This is work in progress, so stay tuned!


