

Introduction: WiFi WebSocket Remote Robot


This instructables show how to use ESP8266 module as a HTTP + Web Socket server to build a low lag time (fast response) WiFi remote robot.
Step 1: Why WebSocket?

There are tons of WiFi remote robot on the web. Most of them have a simple web interface that can control the robot by a few arrow buttons. It is good enough for demonstrating the circuit works. However the response time is too slow even compare it with a few bucks RC car :(
Every remote control command can be only 1 or 2 bytes, but a single HTTP request introduce hundreds bytes overhead and require wait establish a new connection each time. WebSocket can eliminate this overhead and get over 10 times of performance gain.
You may not familiar with Web Socket, but the implementation can be very simple. This Arduino source code file only 5 KB in size, already included client side HTML + Javascript and server side HTTP + Web Socket server. It is a good starting point for learning Web Socket.
Ref.:
https://blog.feathersjs.com/http-vs-websockets-a-p...
https://medium.com/platform-engineer/web-api-desig...
http://blog.arungupta.me/rest-vs-websocket-compari...
Step 2: Preparation


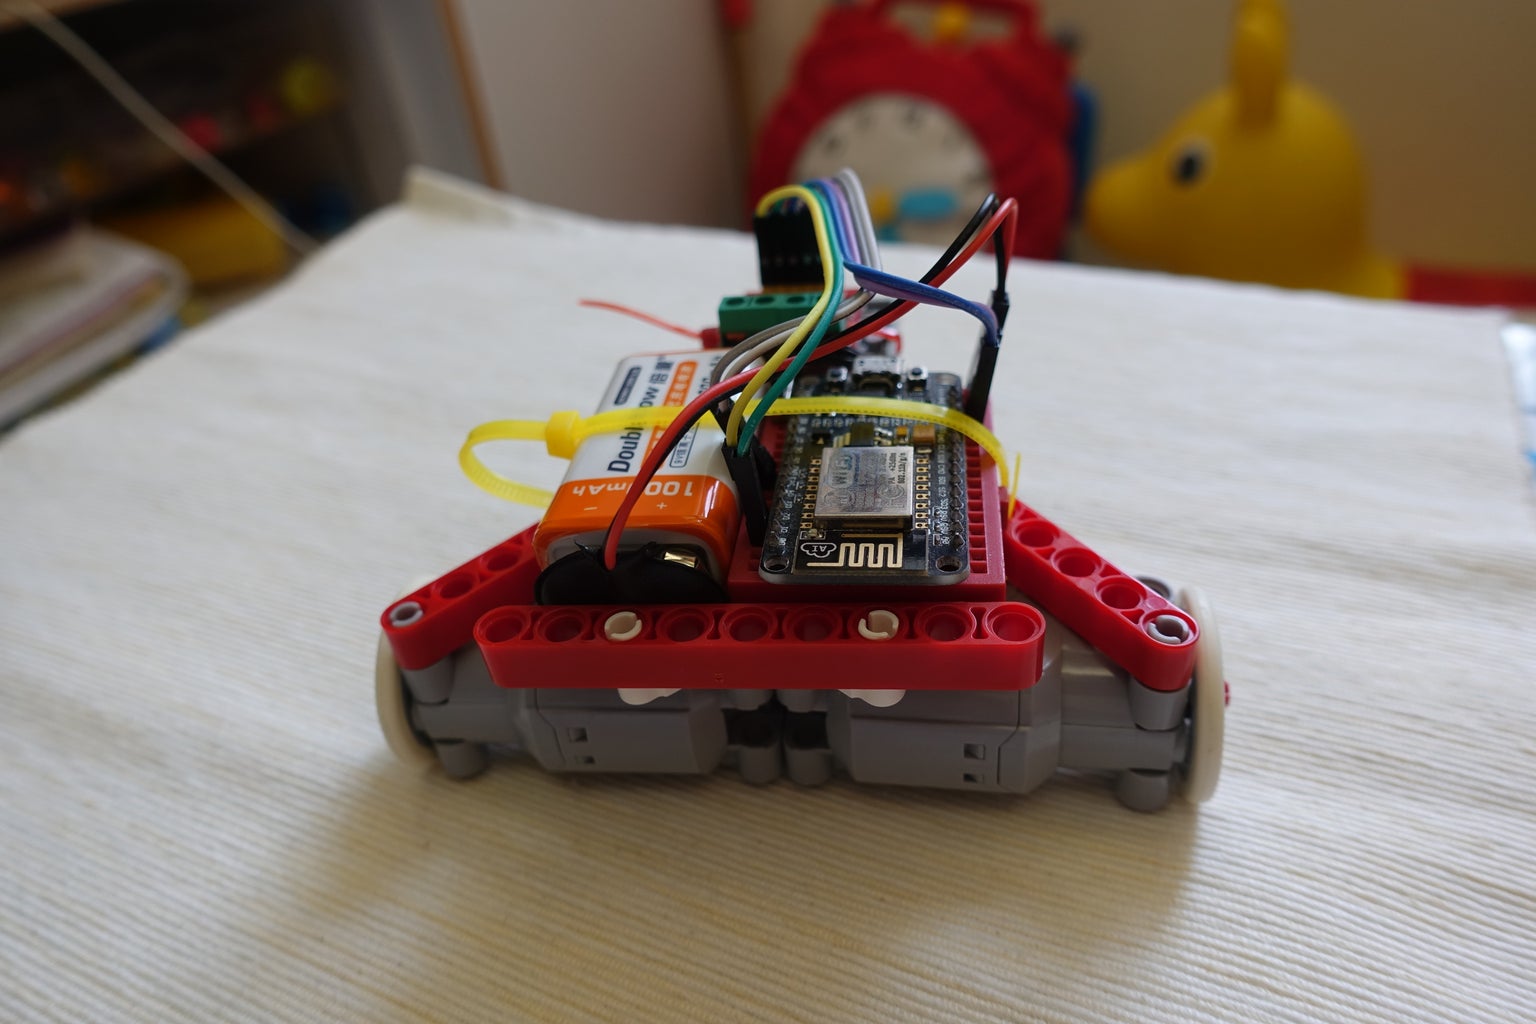
ESP8266 Dev Board
Any ESP8266 Dev Board should be ok, this time I am using NodeMCU.
Motor Driver Board
Any 2 motors driver board should be ok, this time I am using L9110S.
2WD Robot Chassis
Any 2WD Robot Chassis should be ok, I have no one in hand, so I simply use some LEGO to make one.
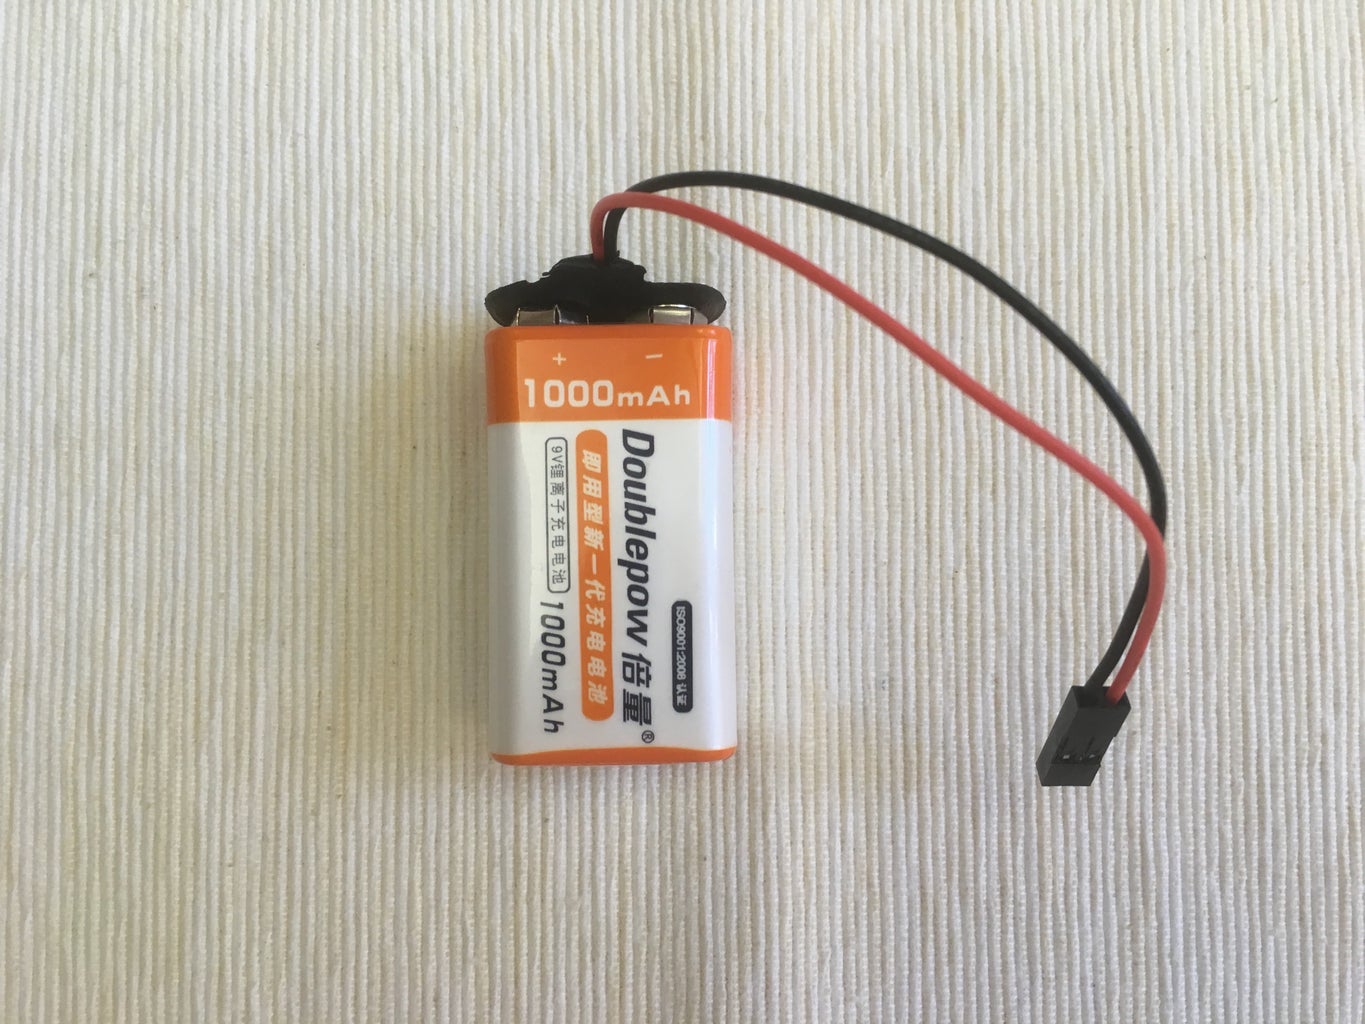
Battery
ESP8266 operate at 3.3V, most Dev Board have a regulator to make it. In most case it can powered from the range of 5V - 12V. I am using a 8.4 V rechargeable battery with battery holder this time.
Step 3: Software


Arduino IDE
Download and install Arduino IDE if not yet:
https://www.arduino.cc/en/Main/Software
ESP8266 Support
Follow the ESP8266 official steps to add ESP8266 support if not yet:
Step 4: HTML & Javascript


The Web Socket remote can break into 2 parts, client side and server side. Client side is a simple webpage for the mobile phone. The main area is a canvas, once you touch and swipe on it, the x and y coordinates values will pass to server side via the established Web Socket connection. Below is the complete web page source code, it has minified to a single line string value in Arduino source code:
<p><!DOCTYPE html><html><head><br><meta name='viewport' content='user-scalable=no,initial-scale=1.0,maximum-scale=1.0' />
<style>
body{padding:0 24px 0 24px;background-color:#ccc;}
#main{margin:0 auto 0 auto;}
</style>
<script>
function nw(){return new WebSocket('ws://'+location.hostname+':81/',['arduino']);}
var ws=nw();
window.onload=function(){
document.ontouchmove=function(e){e.preventDefault();};
var cv=document.getElementById('main');
var ctop=cv.offsetTop;
var c=cv.getContext('2d');
function clr(){
c.fillStyle='#fff';
c.rect(0,0,255,255);
c.fill();
}
function t(e){
e.preventDefault();
var x,y,u=e.touches[0];
if(u){
x=u.clientX;
y=u.clientY-ctop;
c.beginPath();
c.fillStyle='rgba(96,96,208,0.5)';
c.arc(x,y,5,0,Math.PI*2,true);
c.fill();
c.closePath();
}else{
x=128;
y=128;
}
x=x.toString(16);
y=y.toString(16);
if(x.length<2){x='0'+x;}
if(y.length<2){y='0'+y;}
if(ws.readyState===ws.CLOSED){ws=nw();}
ws.send('#'+x+y);
}
cv.ontouchstart=function(e){
t(e);
clr();
};
cv.ontouchmove=t;
cv.ontouchend=t;
clr();
}
</script>
</head>
<body>
<h2>ESP TOUCH REMOTE</h2>
<canvas id='main' width='255' height='255'></canvas>
</body>
</html></p>
Step 5: Pins Connection

Here is connection summary:
ESP8266 Dev Board -> Motor Driver Board
Vin               -> Vcc                -> Battery +ve
GND               -> GND                -> Battery -ve
GPIO4  (D2)        -> A-IA
GPIO0  (D3)        -> A-IB
                      Motor A           -> Left motor
GPIO14 (D5)        -> B-IA
GPIO12 (D6)        -> B-IB
                      Motor B           -> Right motor
Step 6: Upload Program

- Download ESP Web Socket Remote source code at Github: https://github.com/moononournation/ESPWebSocketRem...
- Open ESPWebSocketRemote.ino in Arduino IDE
- Connect your ESP8266 Dev Board
- Select your ESP8266 Dev Board type and Port at Tools Menu
- Press Upload
Step 7: First Time Setup Steps


Most WiFi robot ask you connect to it from your mobile, but I don't think it is the right method. Because it means anyone's mobile can connect to your own robot. And also every time you need to wait your robot WiFi AP start and then use your mobile search the WiFi and connect it, it is a little bit time consuming.
I think the right method should be the robot auto connect to your mobile hotspot while boot up.
But I still don't want to store my hotspot credential in source code, WiFiManager can help me solve this.
WiFiManager will auto try to connect last connected WiFi. If failed, start a AP and captive portal wait you input the WiFi details and then reboot.
So the first time setup steps are:
- Turn on ESP8266 Robot
- Connect to "espweremote" AP
- Fill in your mobile phone hotspot details
Step 8: Connection Steps

- Turn on mobile phone hotspot
- Turn on ESP8266 Robot
- Wait ESP8266 Robot connect to mobile phone hotspot
- Open mobile web browser and browse to http://espwsremote.local/
- Touch and swipe on the canvas (the white square) to control the robot
Step 9: Happy Remote!


It's time to play your low lap time remote robot!
Step 10: What's Next?

ESPWebSocketRemote is a very simple example, you can do much more on it.
E.g.:
- use PWM change both motors speed while swiping on different coordinates
- add more control such as robot light, arm and even launch rockets :>
- decorate the HTML layout
- build a bigger robot

Participated in the
Electronics Tips & Tricks Challenge


![Tim's Mechanical Spider Leg [LU9685-20CU]](https://content.instructables.com/FFB/5R4I/LVKZ6G6R/FFB5R4ILVKZ6G6R.png?auto=webp&crop=1.2%3A1&frame=1&width=306)


