

Introduction: DIY Arduino CNC Drawing Machine
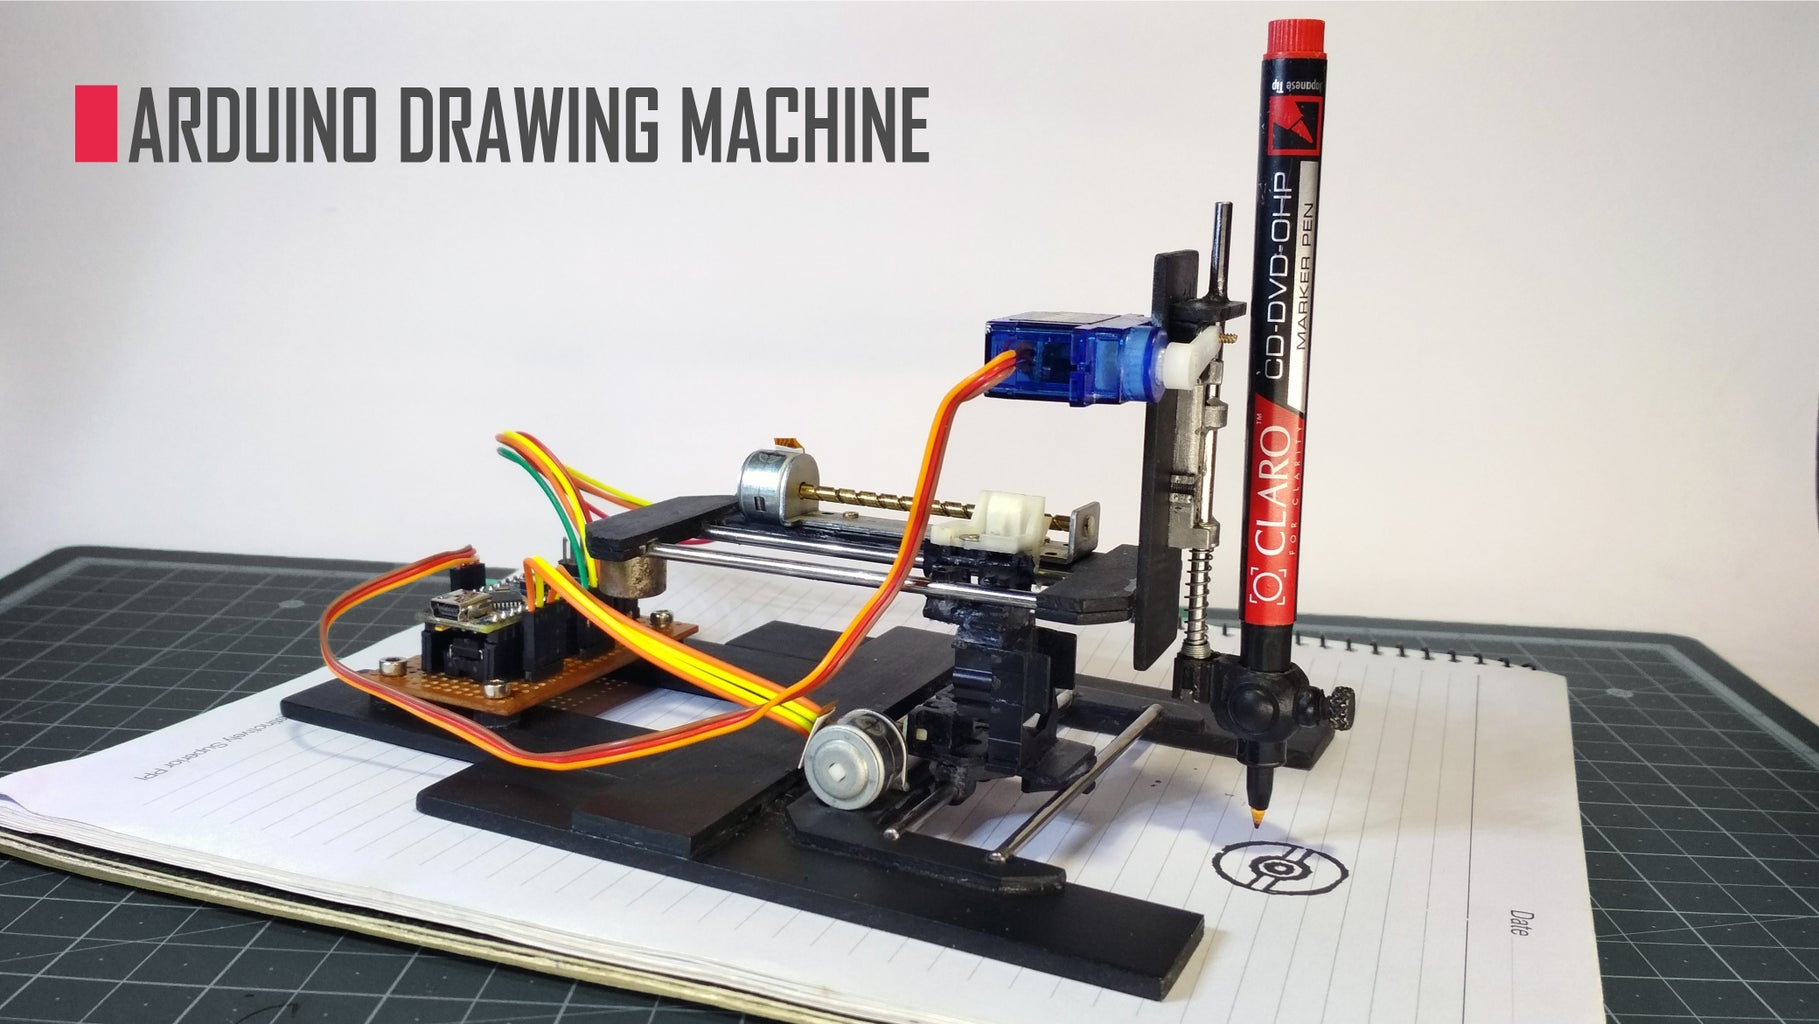


Hello Guys, In this instructable I'm going to show you how to make an Arduino CNC plotter from old DVD writers. This is an amazing machine. You can make this machine for your school, college science project. It can write and draw anything. This is also very easy to make. So let's get started.
If you like this project then please do vote for me guys. I really need your support :)
Here's the demonstration and tutorial video.
Step 1: Parts List


We need this following parts to make this CNC plotter.
Parts list:
- Old DVD writer (2x)
- Arduino Nano.
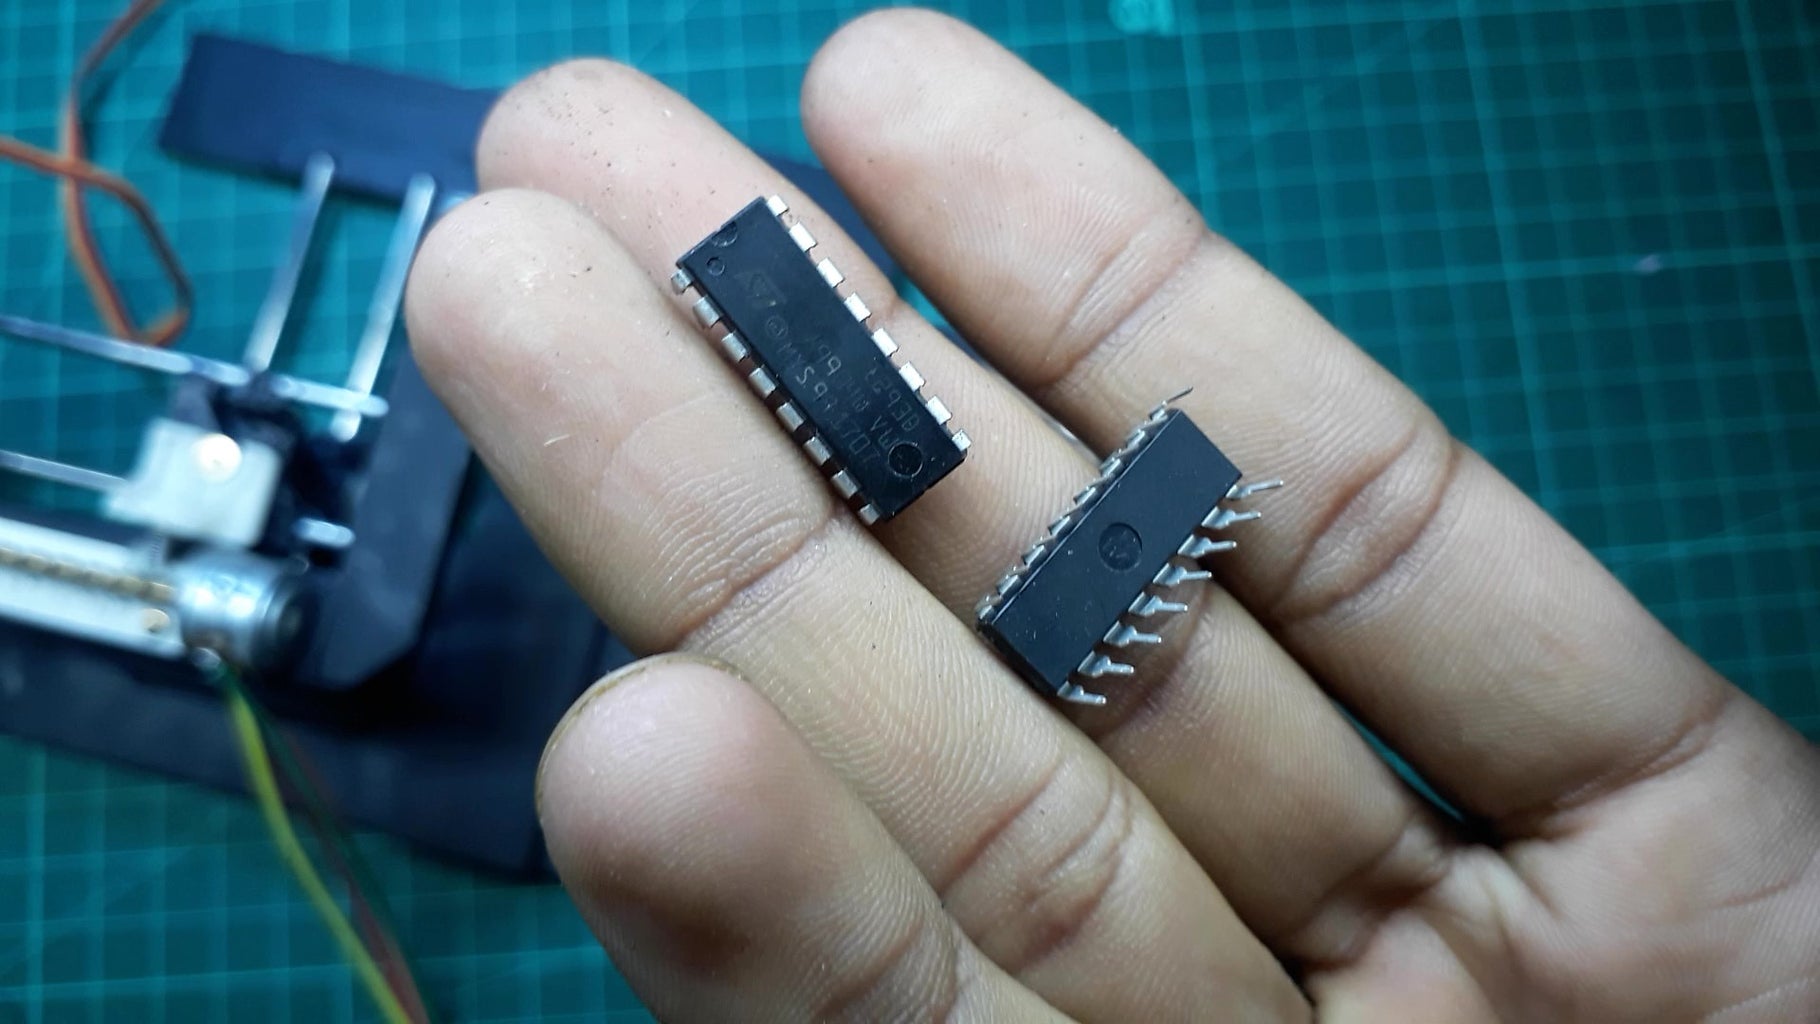
- L293D Motor Driver IC (2x)
- IC Base (2x)
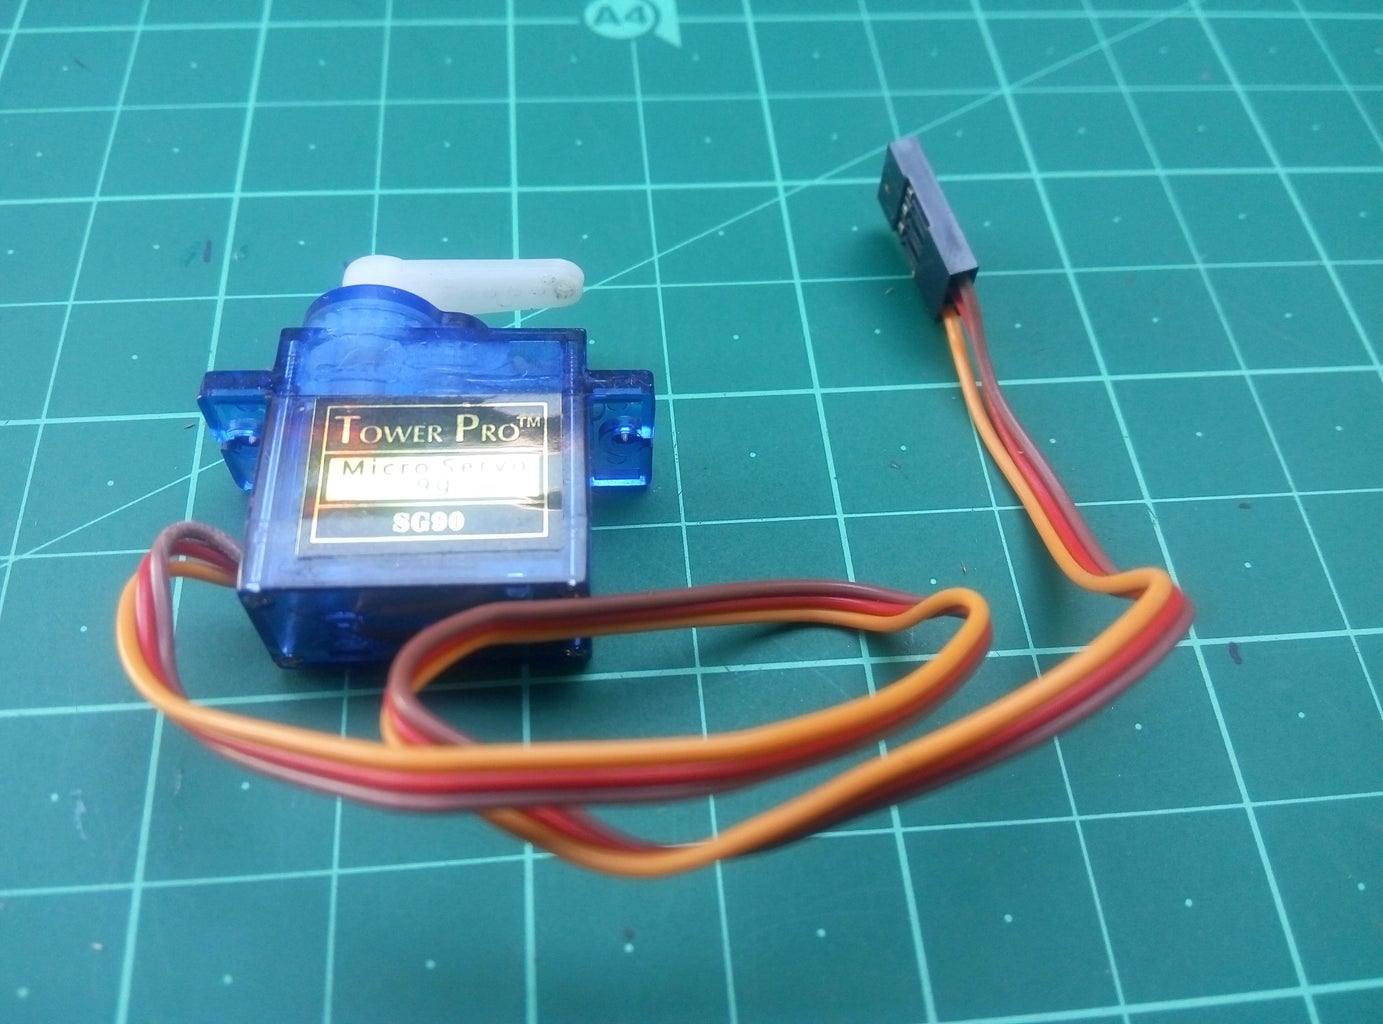
- Micro Servo Motor.
- PCB Board
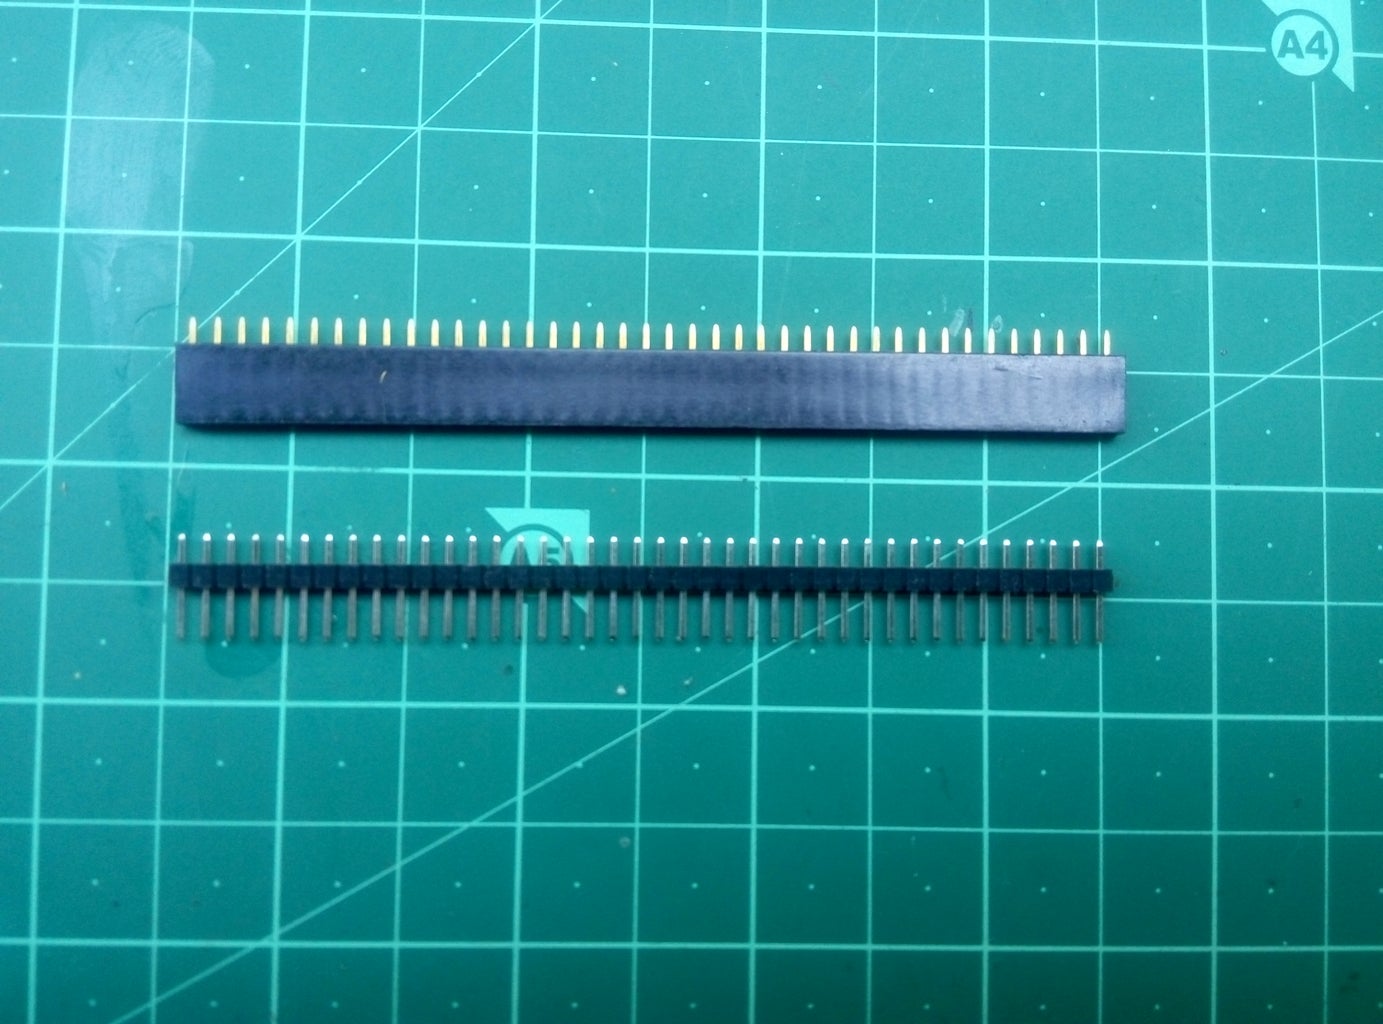
- Male And Female Header Pin.
- Barrel Socket.
- Acrylic Sheet 3mm
Tools List:
- Solder iron.
- Super Glue.
- Mini Handsaw.
- Sandpaper.
- Ruler.
- Marker Pen.
Step 2: Making the Pieces for Frame


Here I'm using the acrylic sheet to make the frame for the CNC plotter. It is a very good choice for making the enclosure for every DIY Project. Personally, I frequently use this sheet to make the enclosure for my DIY Projects. It is easy to cut, bend and sand. It is also so affordable.You can use the following process to make pieces for the frame.
- Take the measurement of the acrylic sheet for the enclosure to your need and mark it with a marker pen.
- Then use your handsaw to cut the pieces.
- Use sandpaper to smooth the pieces.
Attachments

Step 3: Making the Base


In this step, I'm going to make the base for my CNC plotter. So follow the step carefully.
- First, apply super glue on one piece of acrylic then attach this piece with another two pieces.
- Again use the super glue to attach the X-axis frame.
- Then attach another two pieces for better support.
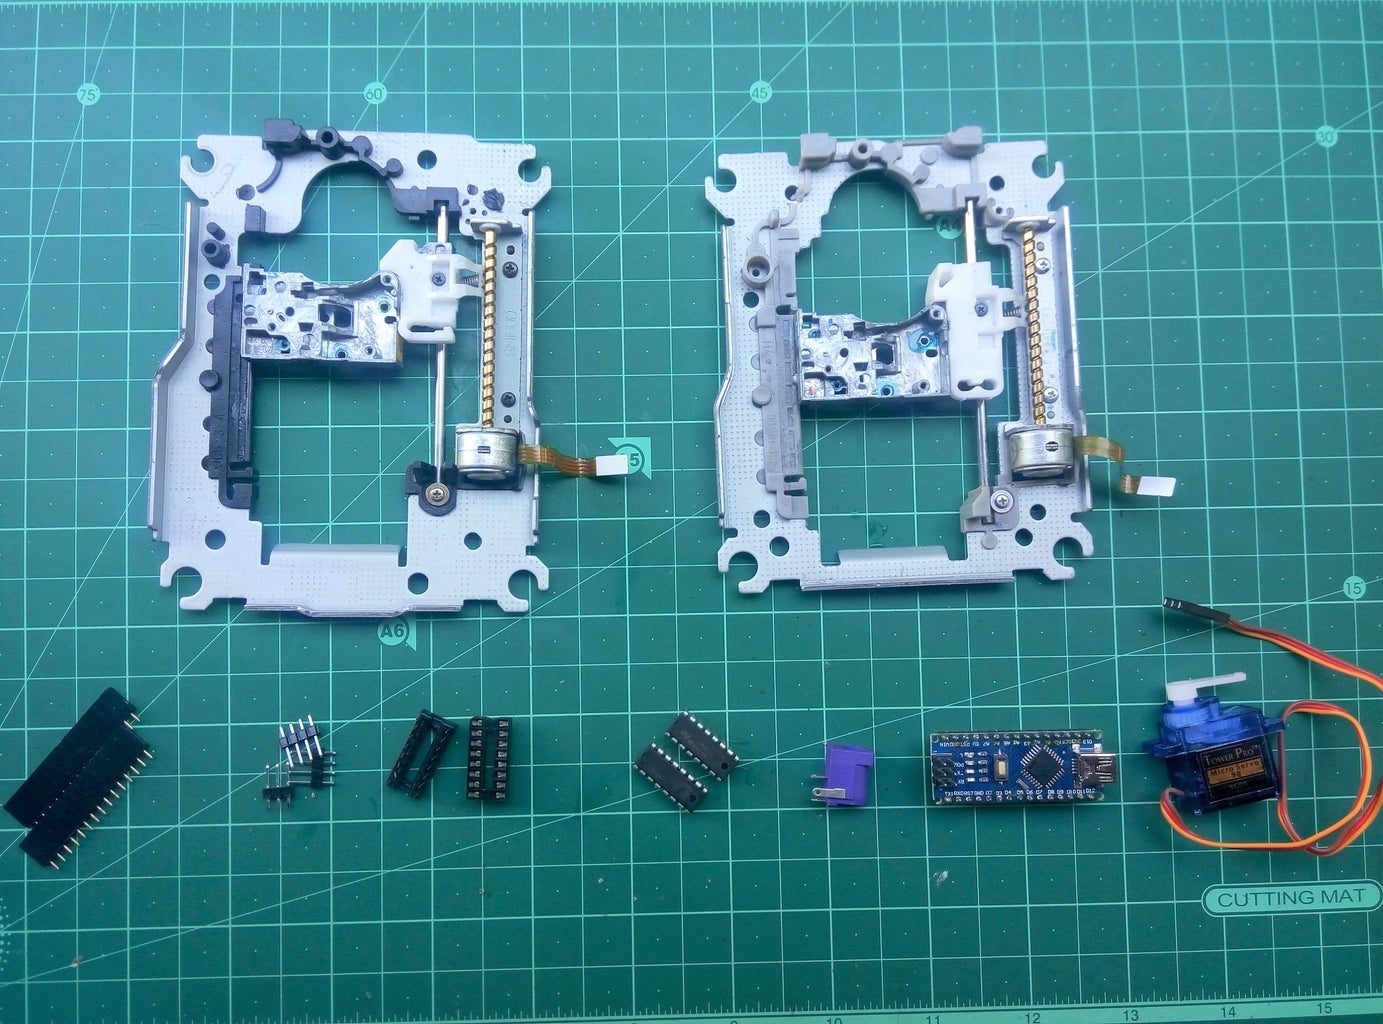
Step 4: Removing the Stepper Motor
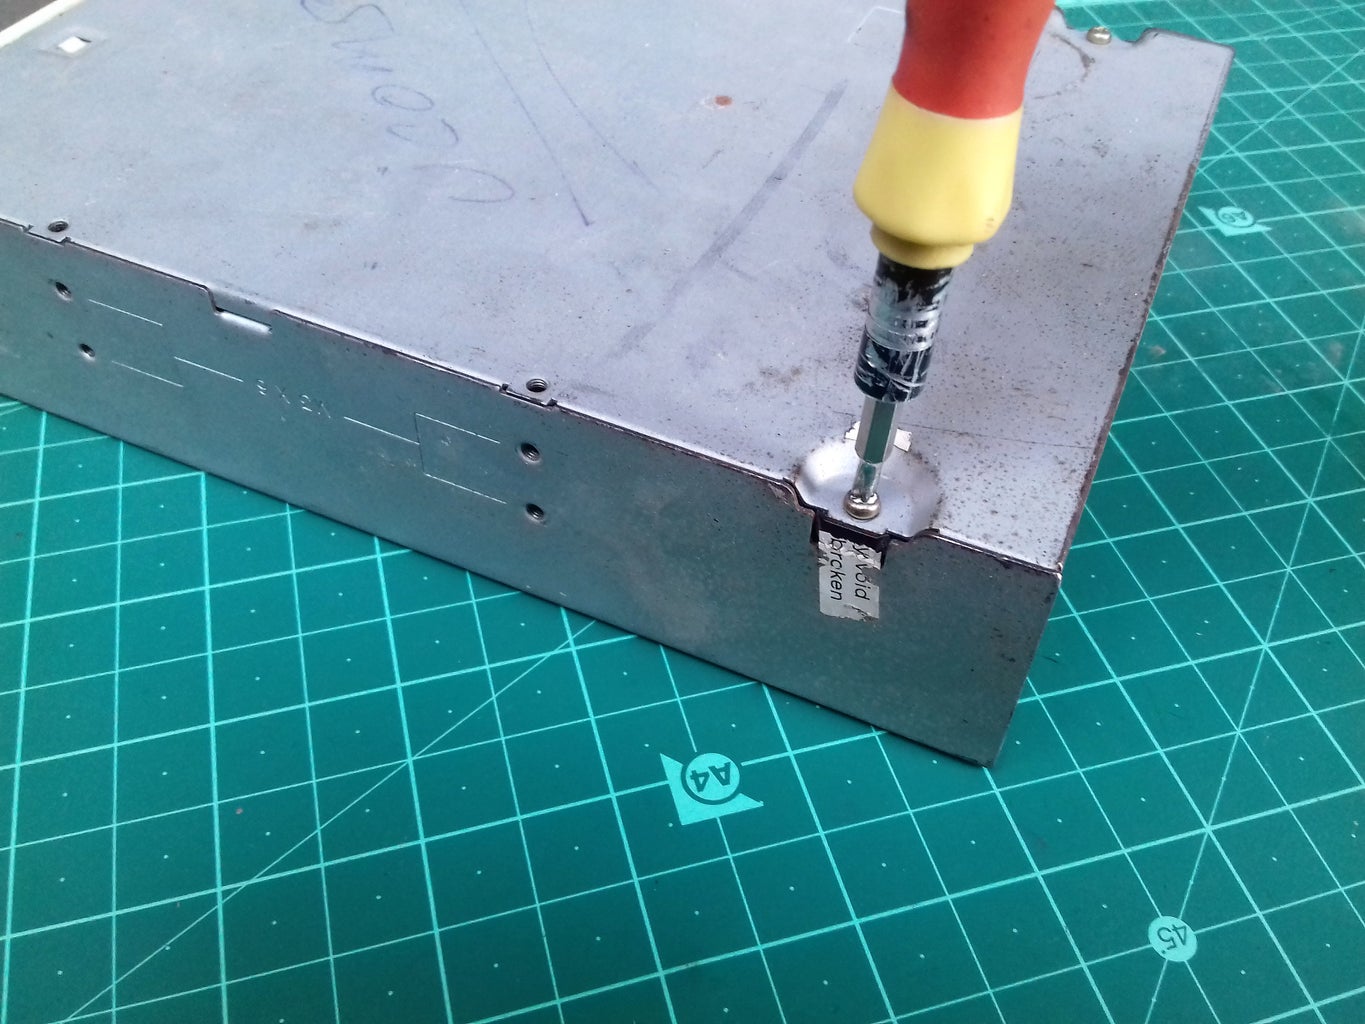


We need two old DVD writers for this project. You can find old and broken DVD writer on local computer hardware store. Usually, they do not use this DVD writer so they can give you it at the very low price. I got one for free and I had another one laying around. So I decided to use it for my CNC project.
- First, disassemble two DVD driver and take off the stepper motors.
- Then use your screwdriver to open the stepper motor and rails from the frame.
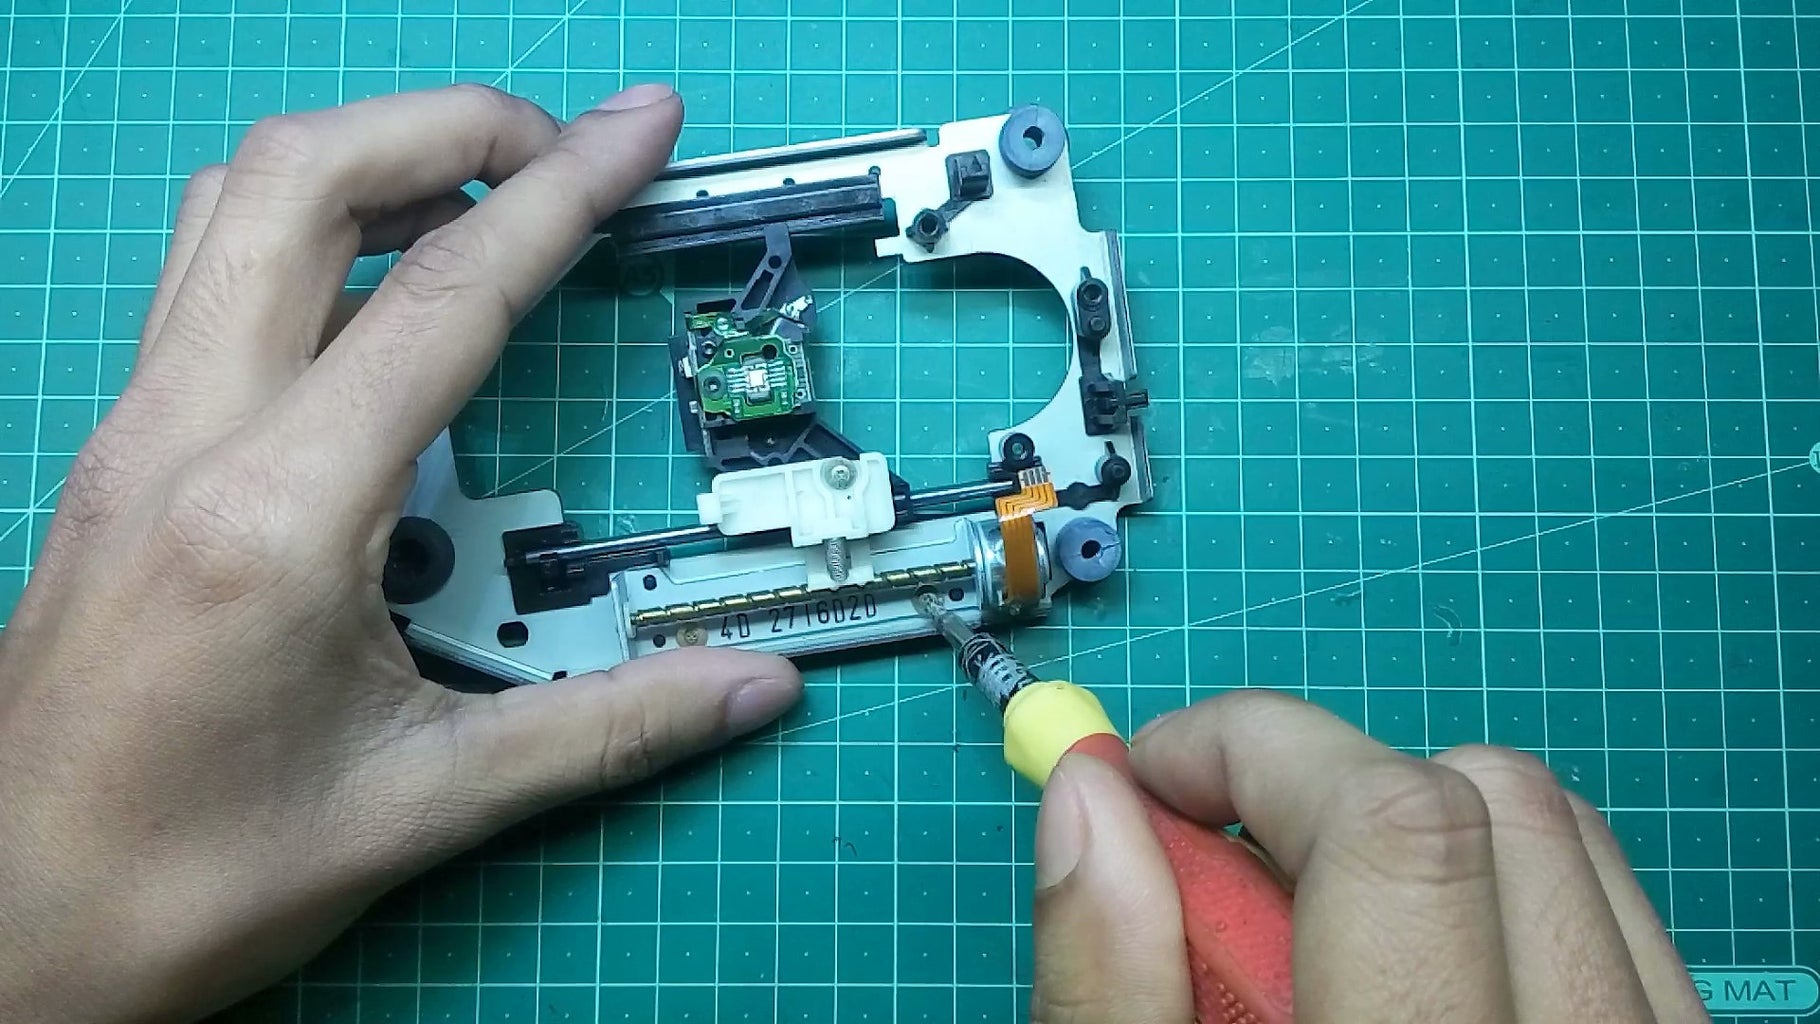
Step 5: Hacking the Slider for X and Y Axis


- First, take off the two sliders from their rails.
- Use your handsaw to cut the two little pieces from the slider
- Then attach the two pieces using super glue.
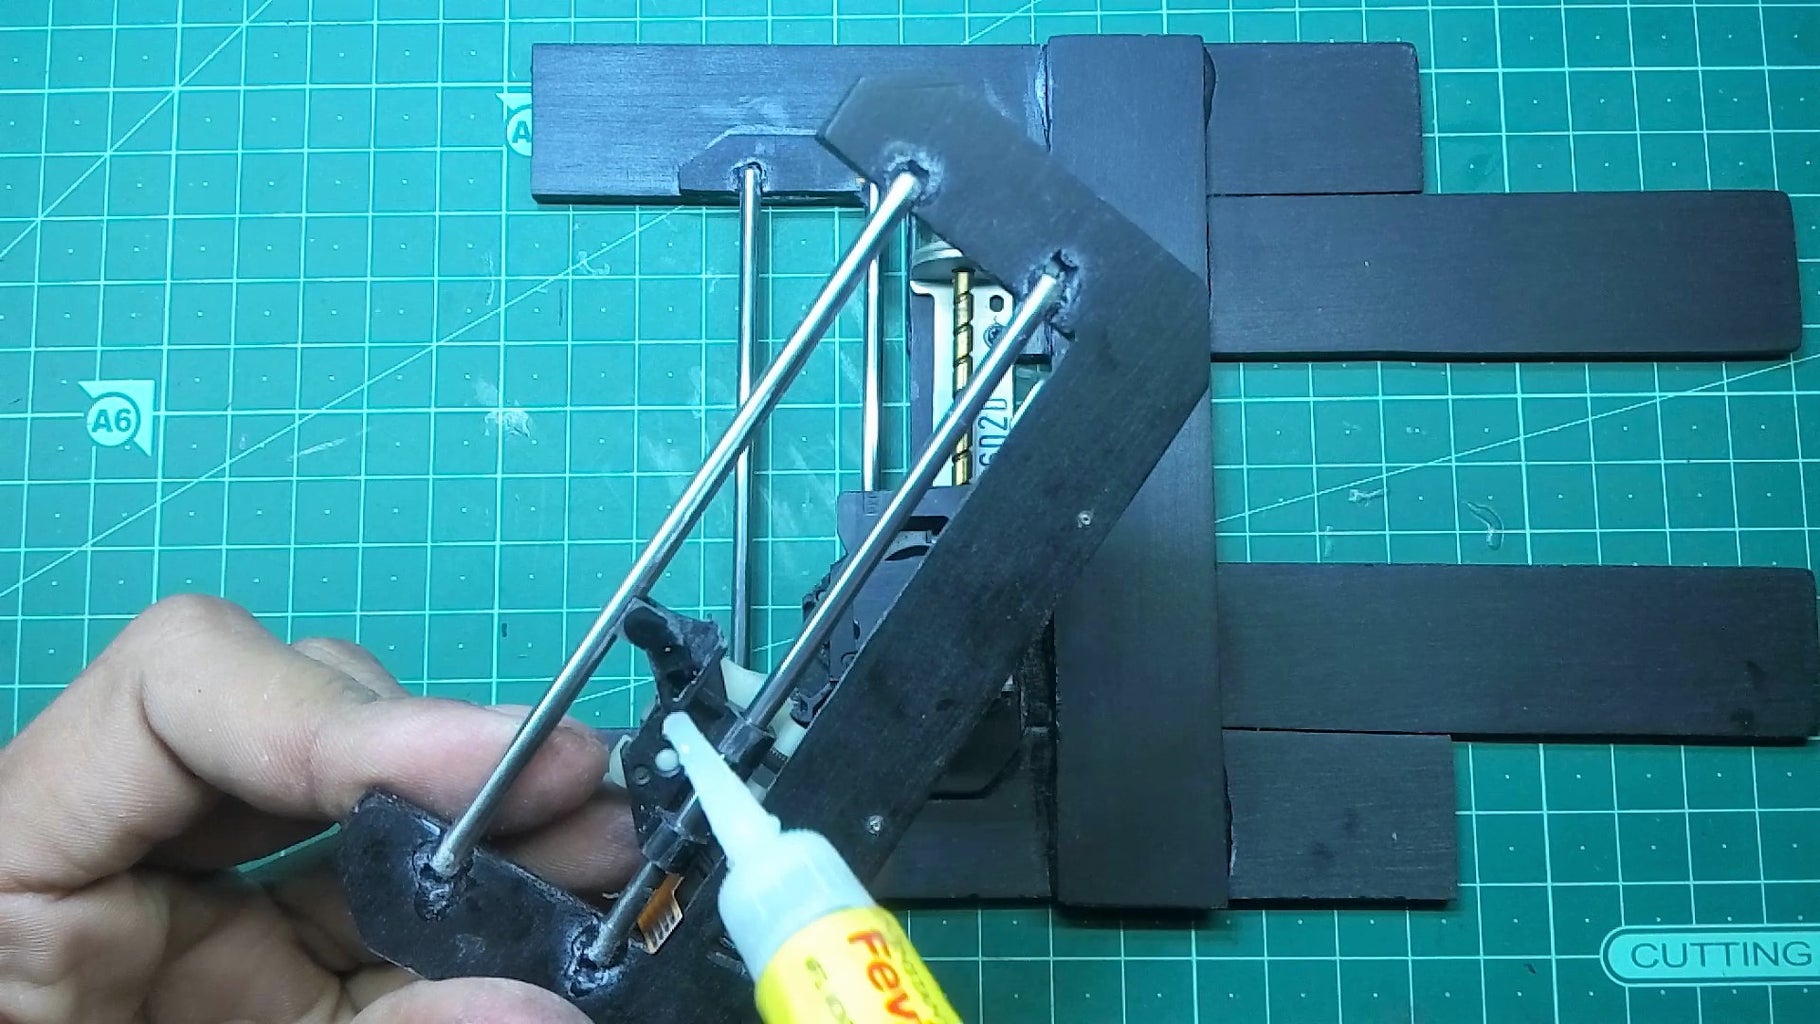
Step 6: Attaching the Sliding Rods


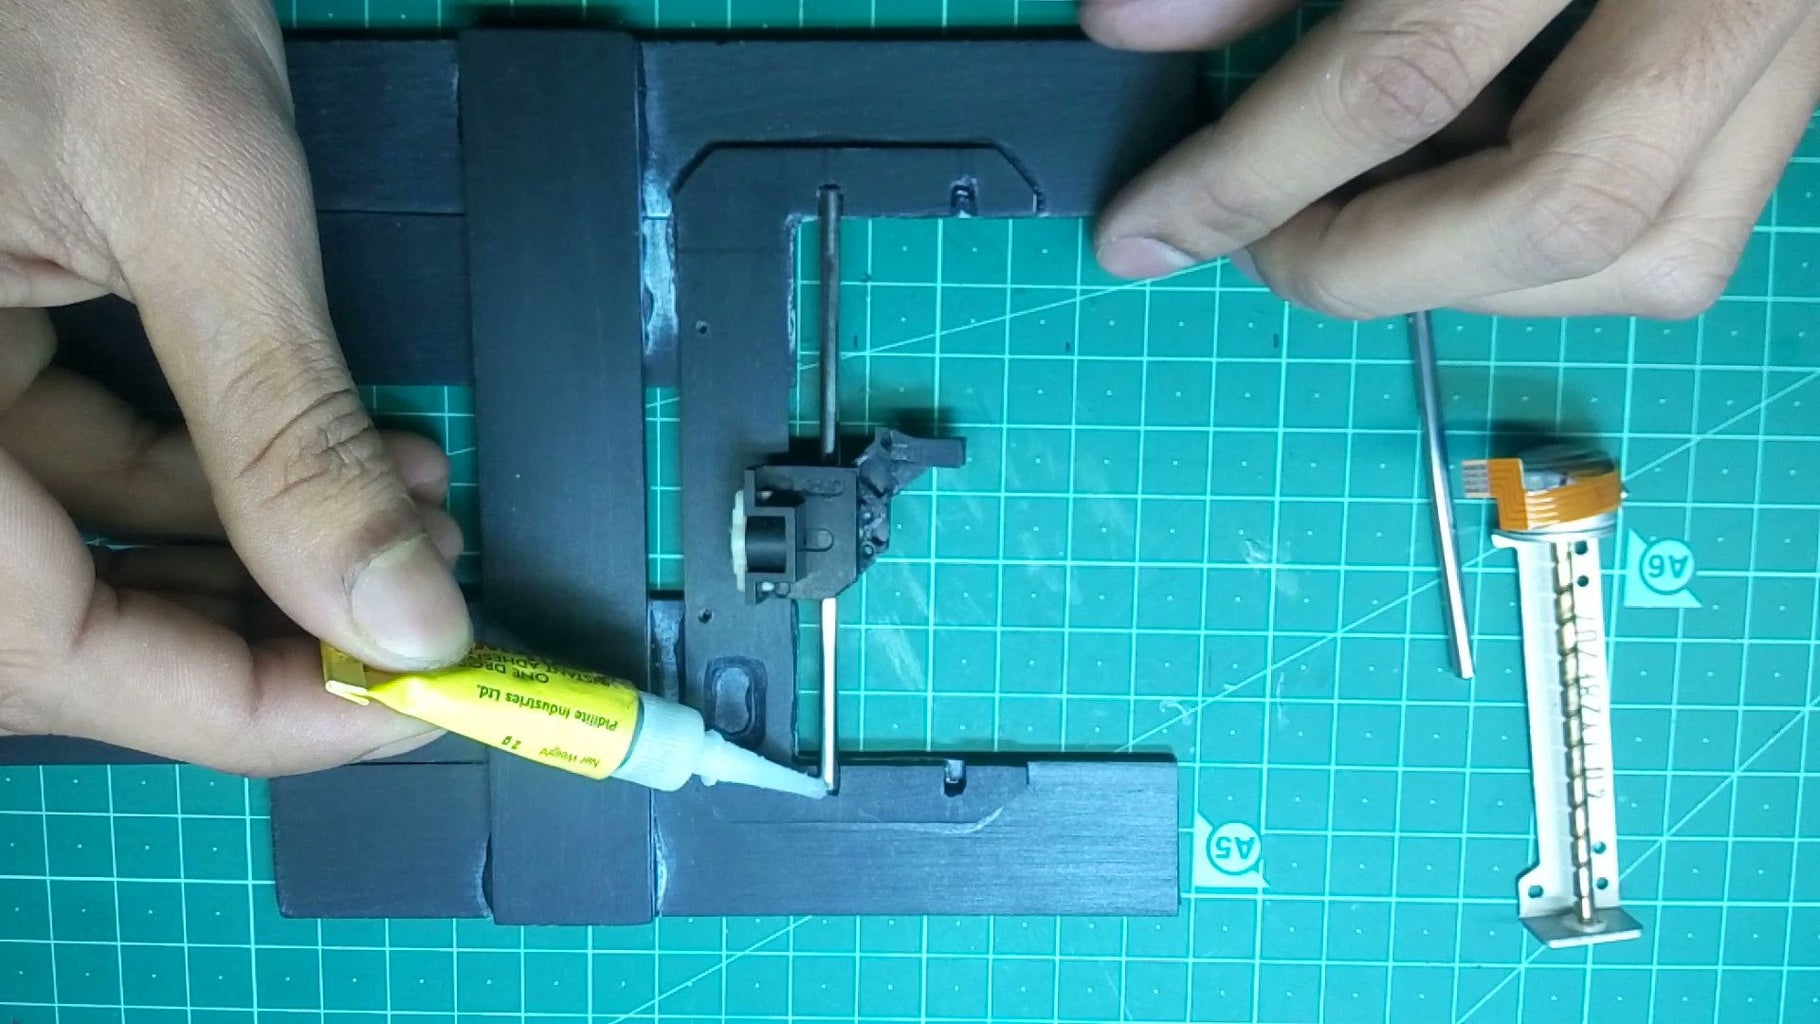
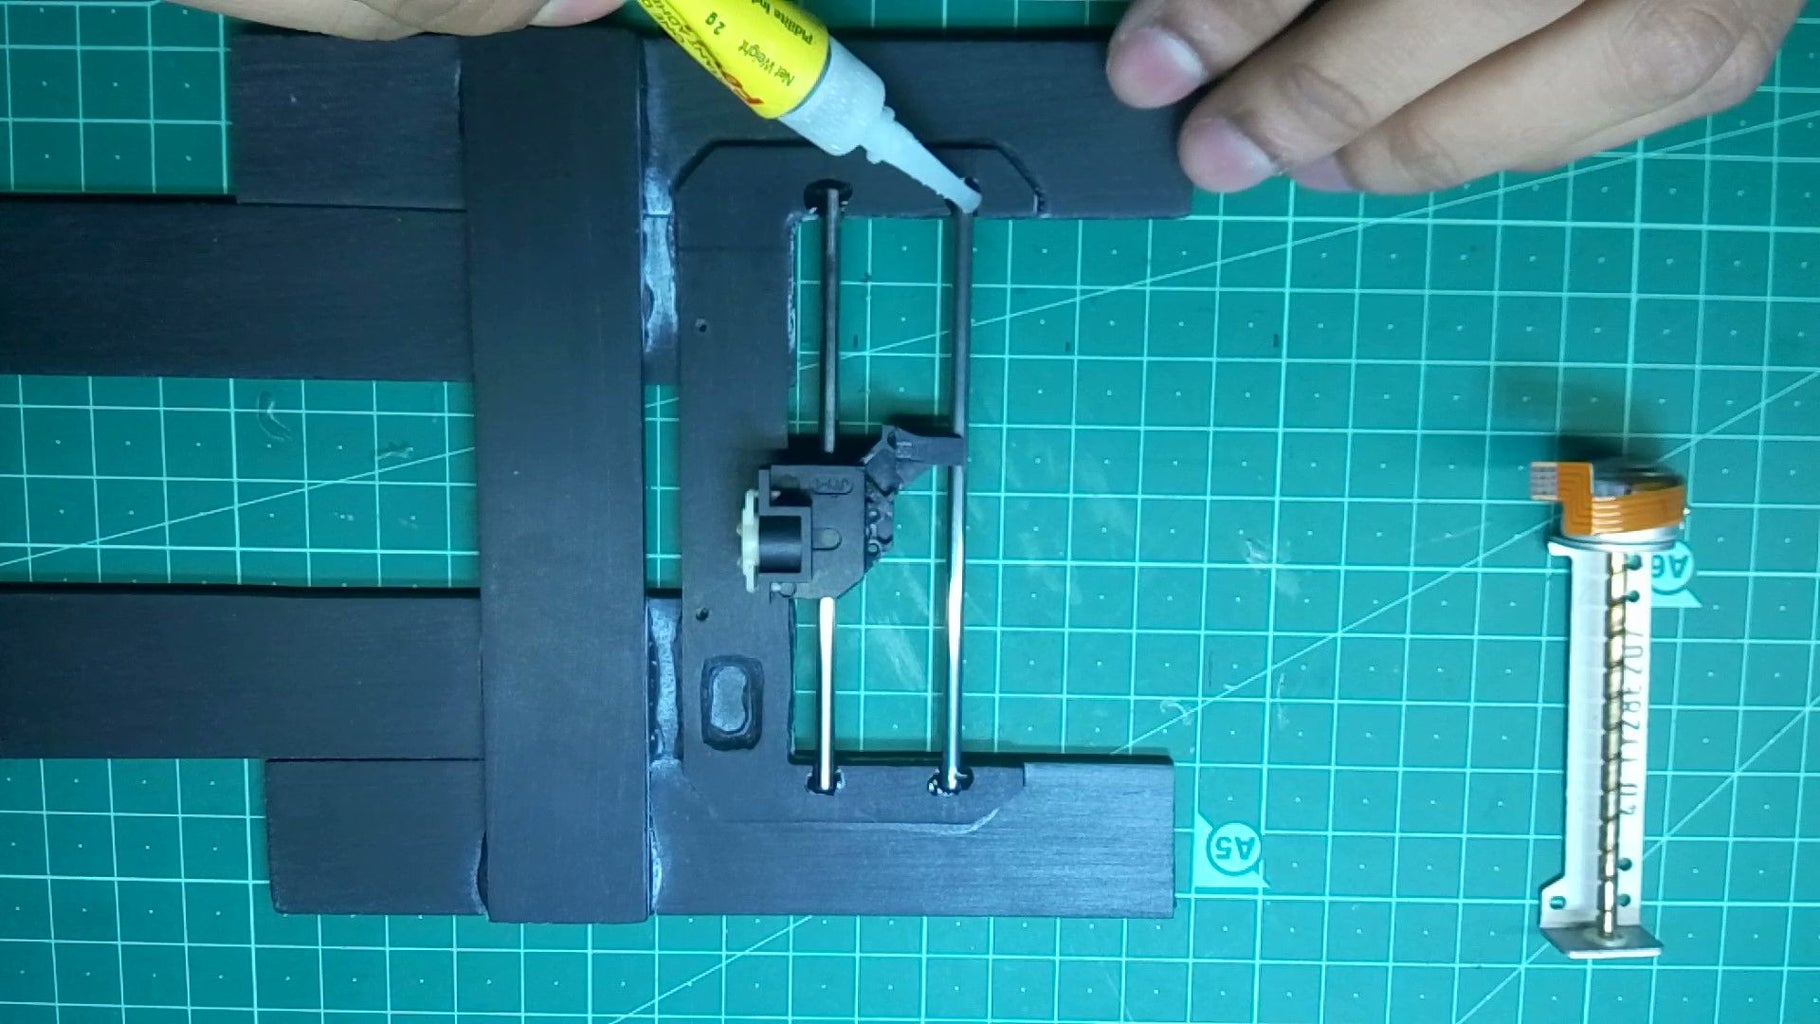

In this step, we'll attach the sliding rods to its frame. So follow the step below.
- First, take one sliding rod and insert it into the slider.
- Then apply super glue to attach the sliding rod with its frame and hold it still for some time.
- Use the above method to attach another rod.
- Repeat same procedure to attach sliding rods with X-axis frame
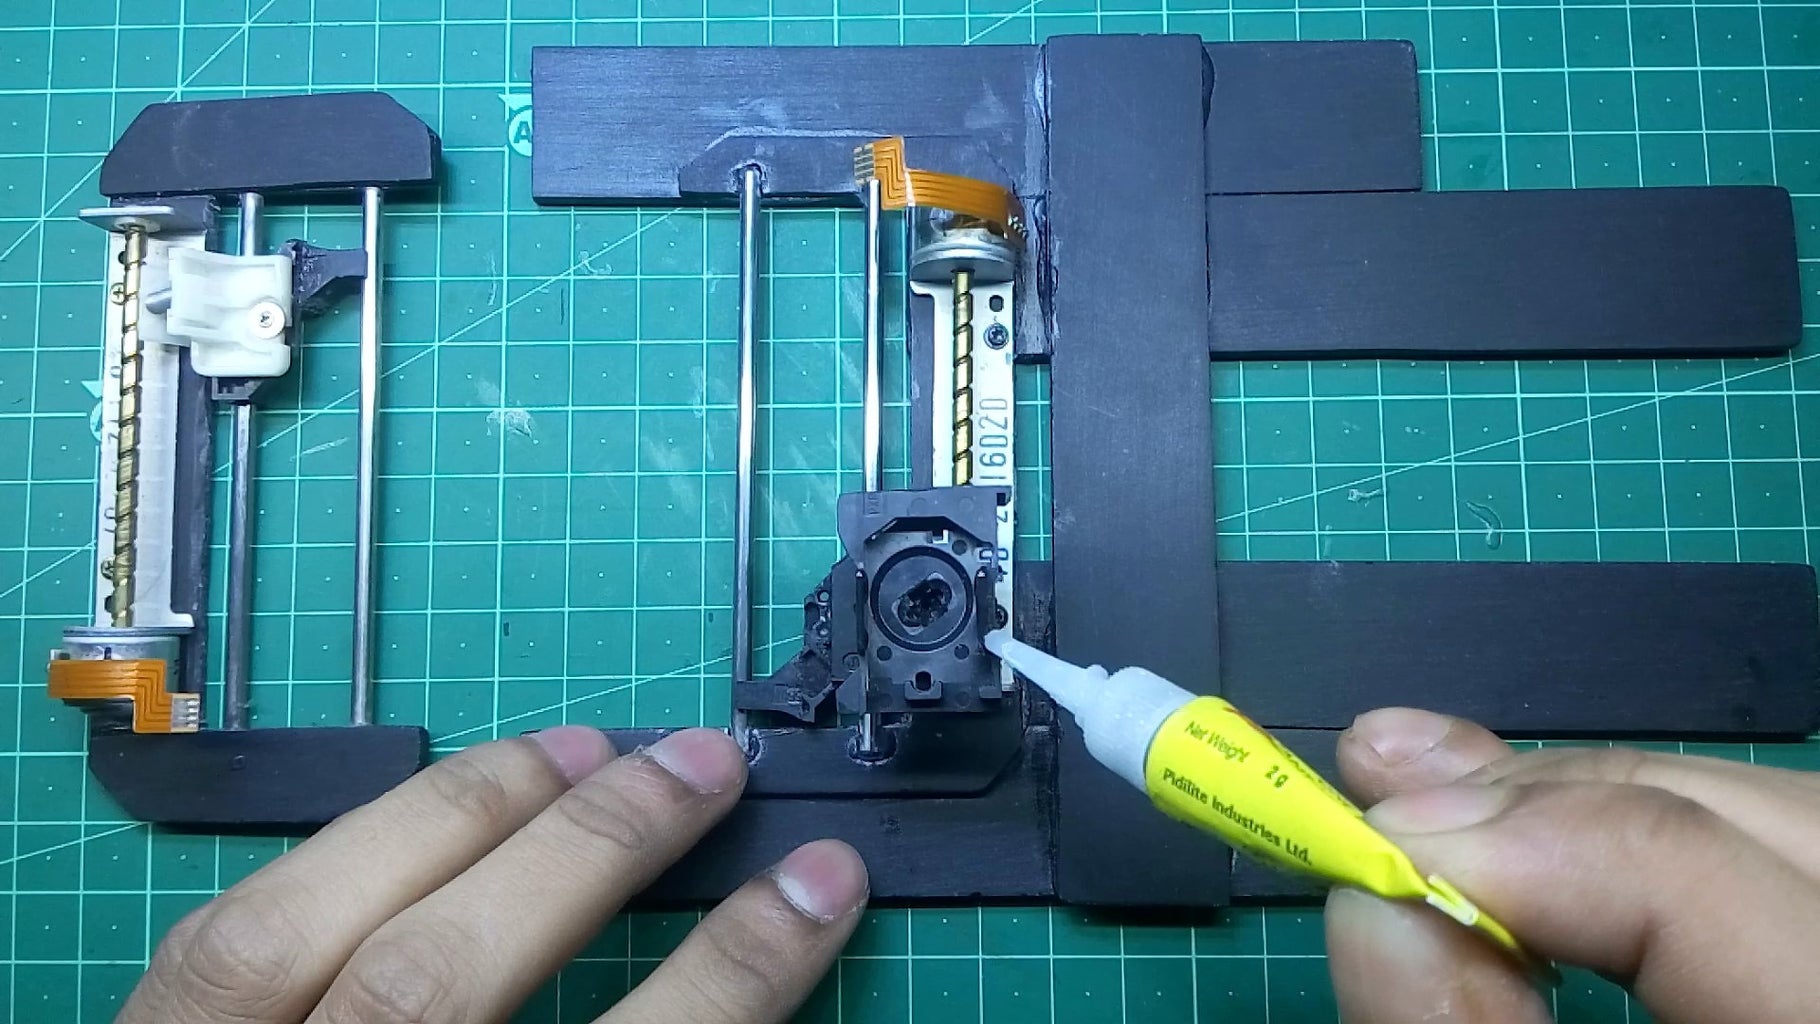
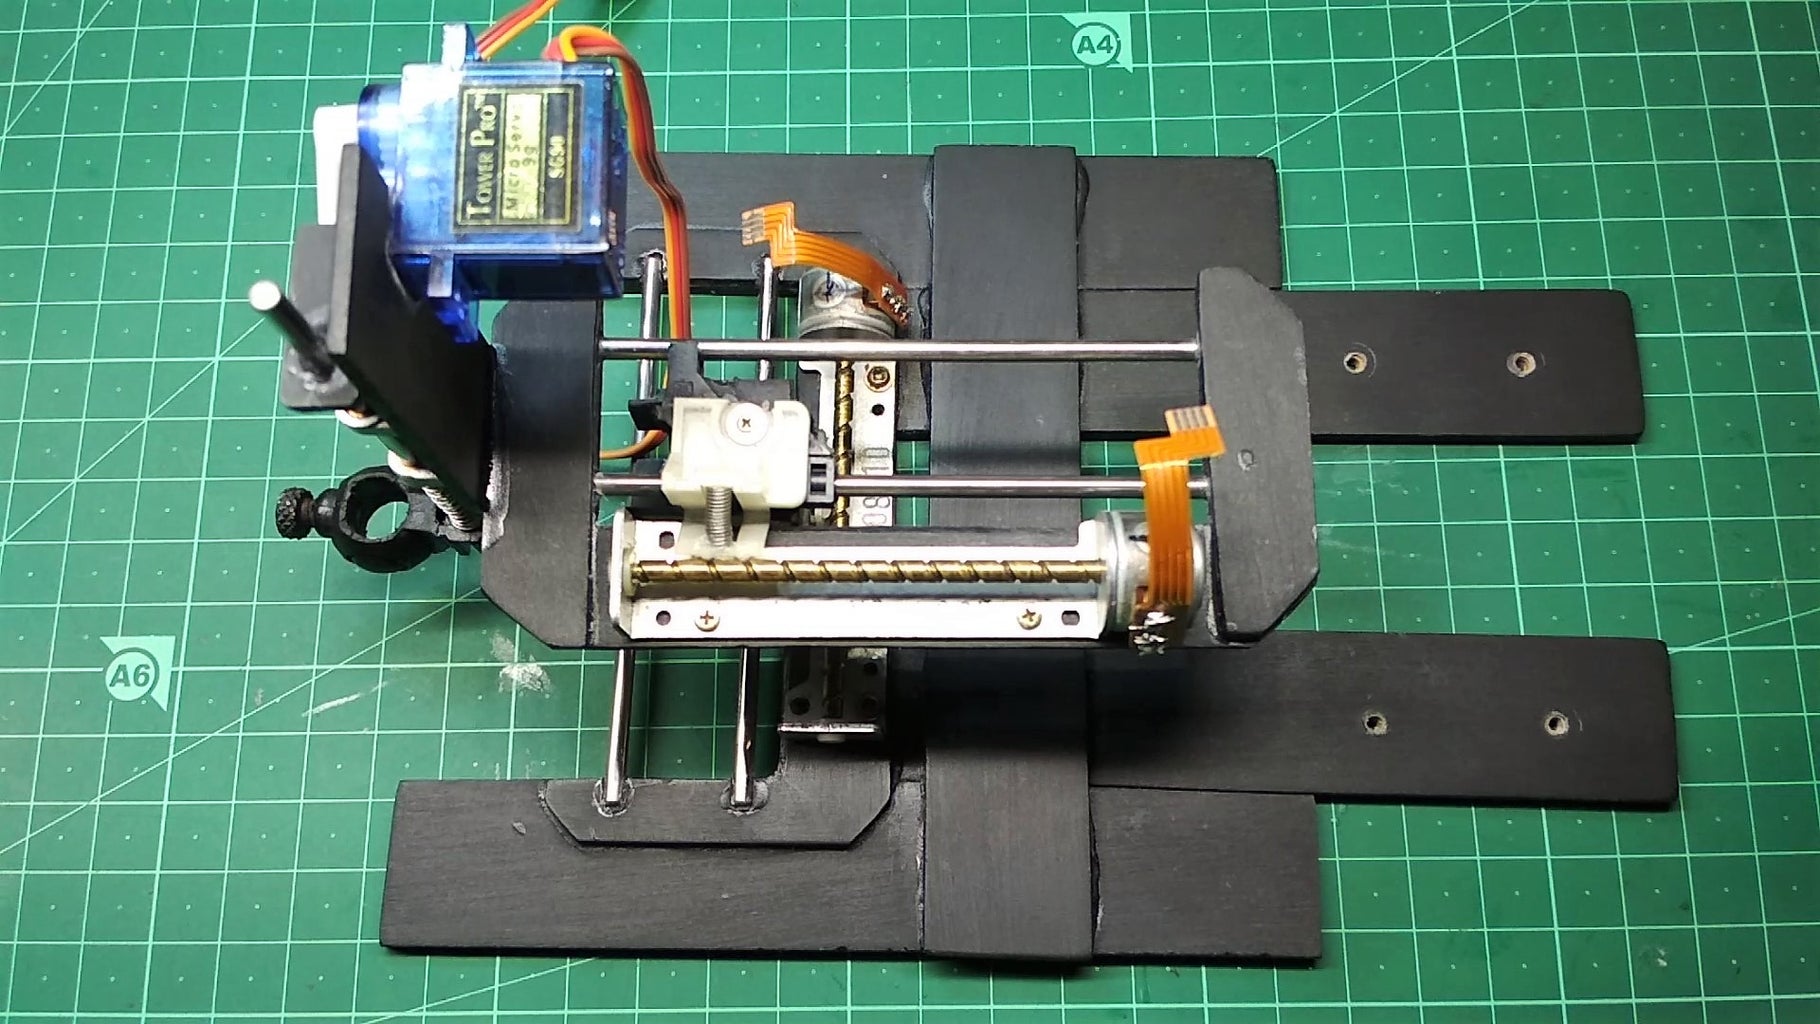
Step 7: Mounting the Stepper Motors
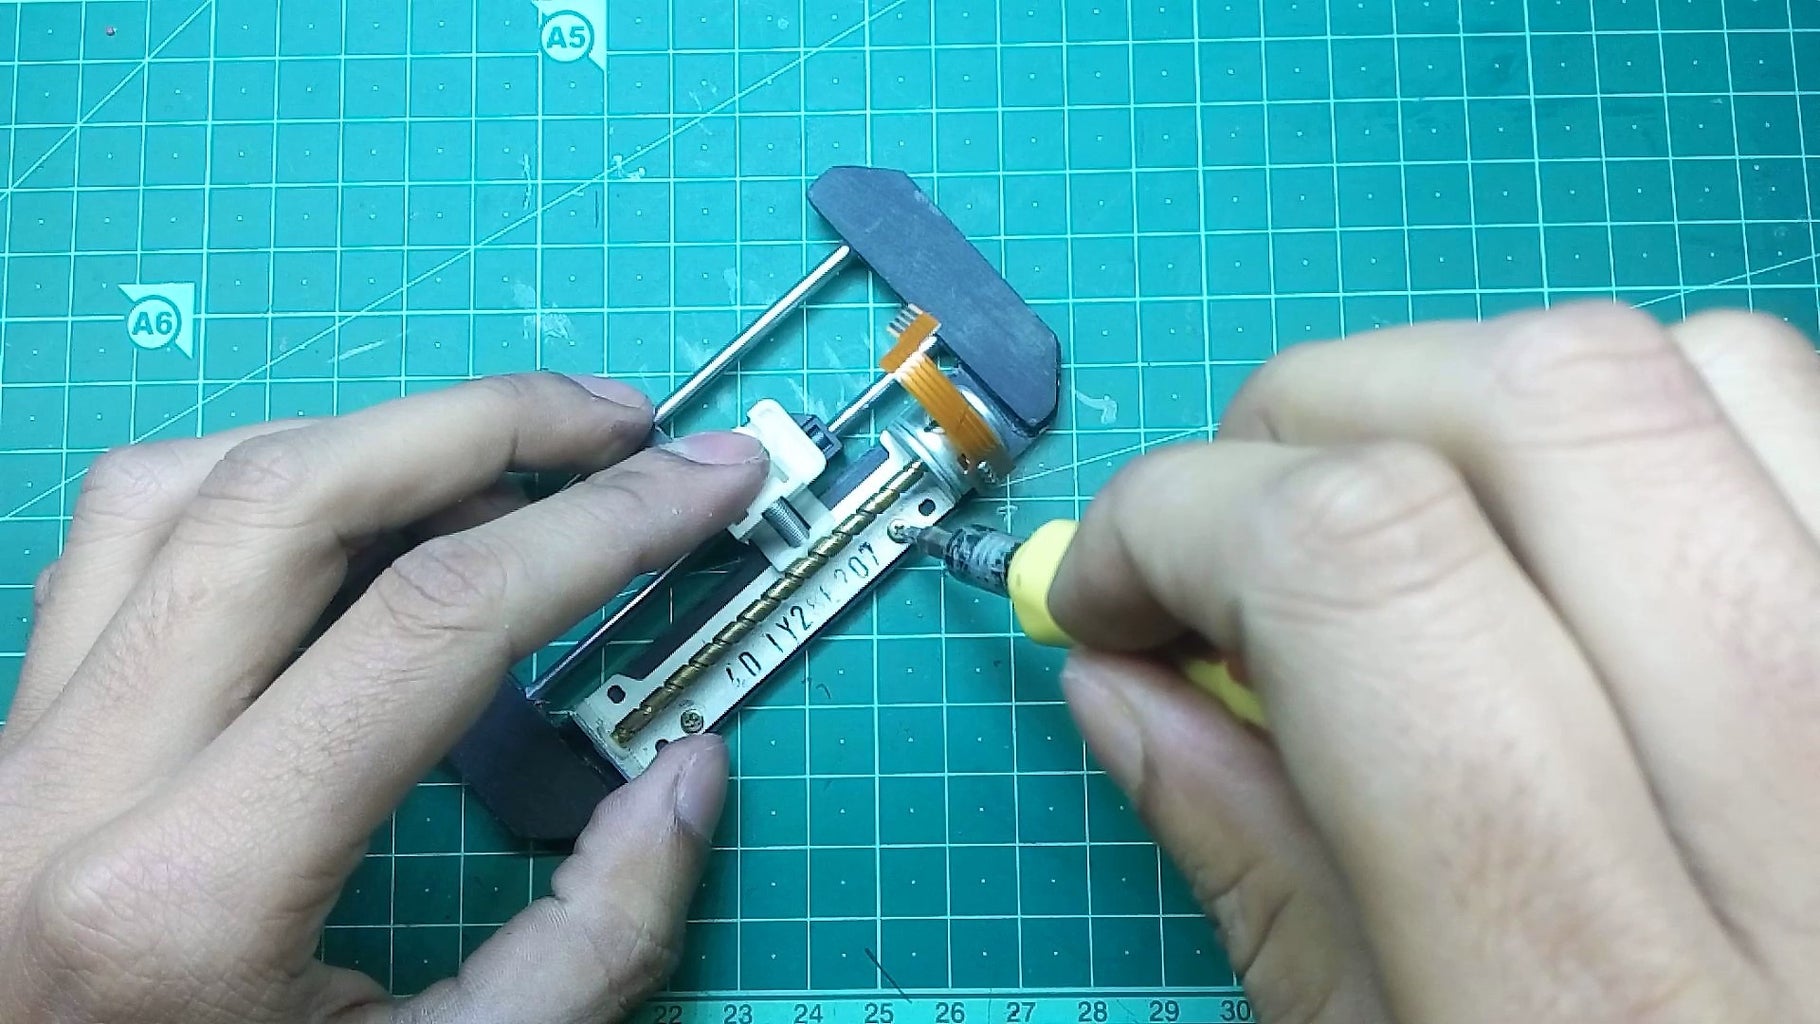


Now we'll mount the stepper motors. Use your screwdriver to mount the stepper motor to X and Y Axis.
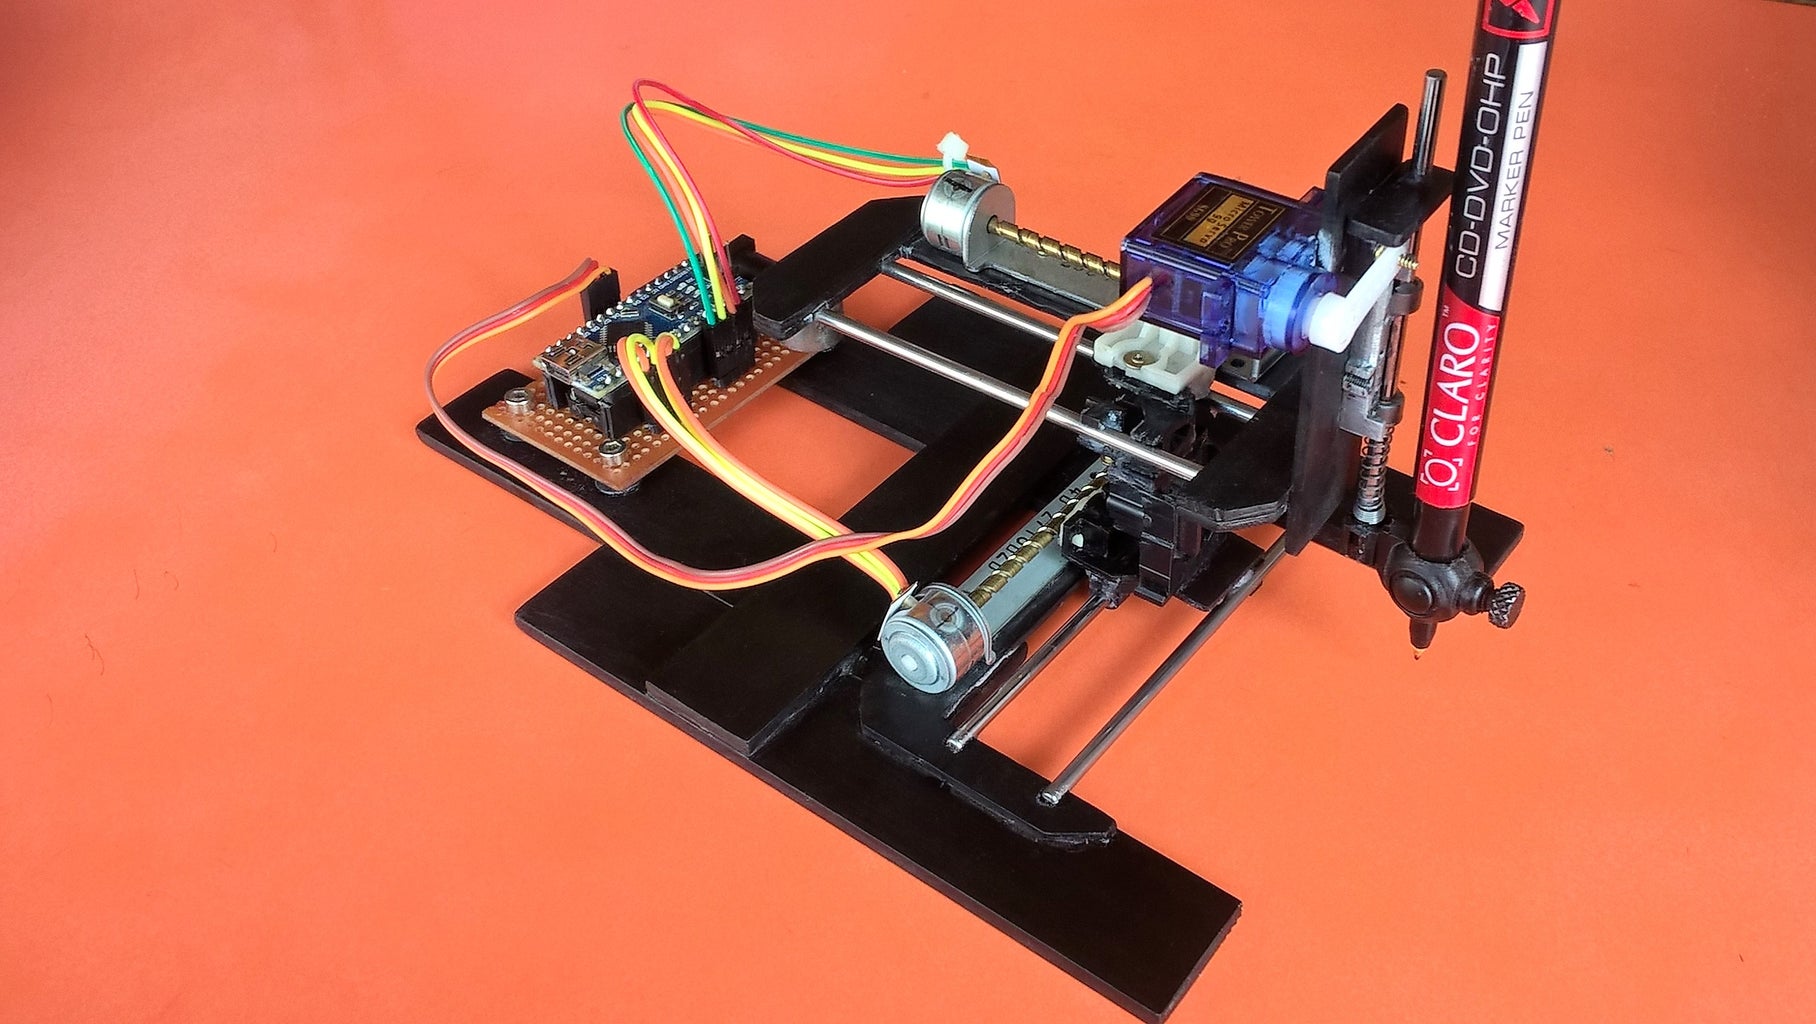
Step 8: Attaching the X and Y Axis


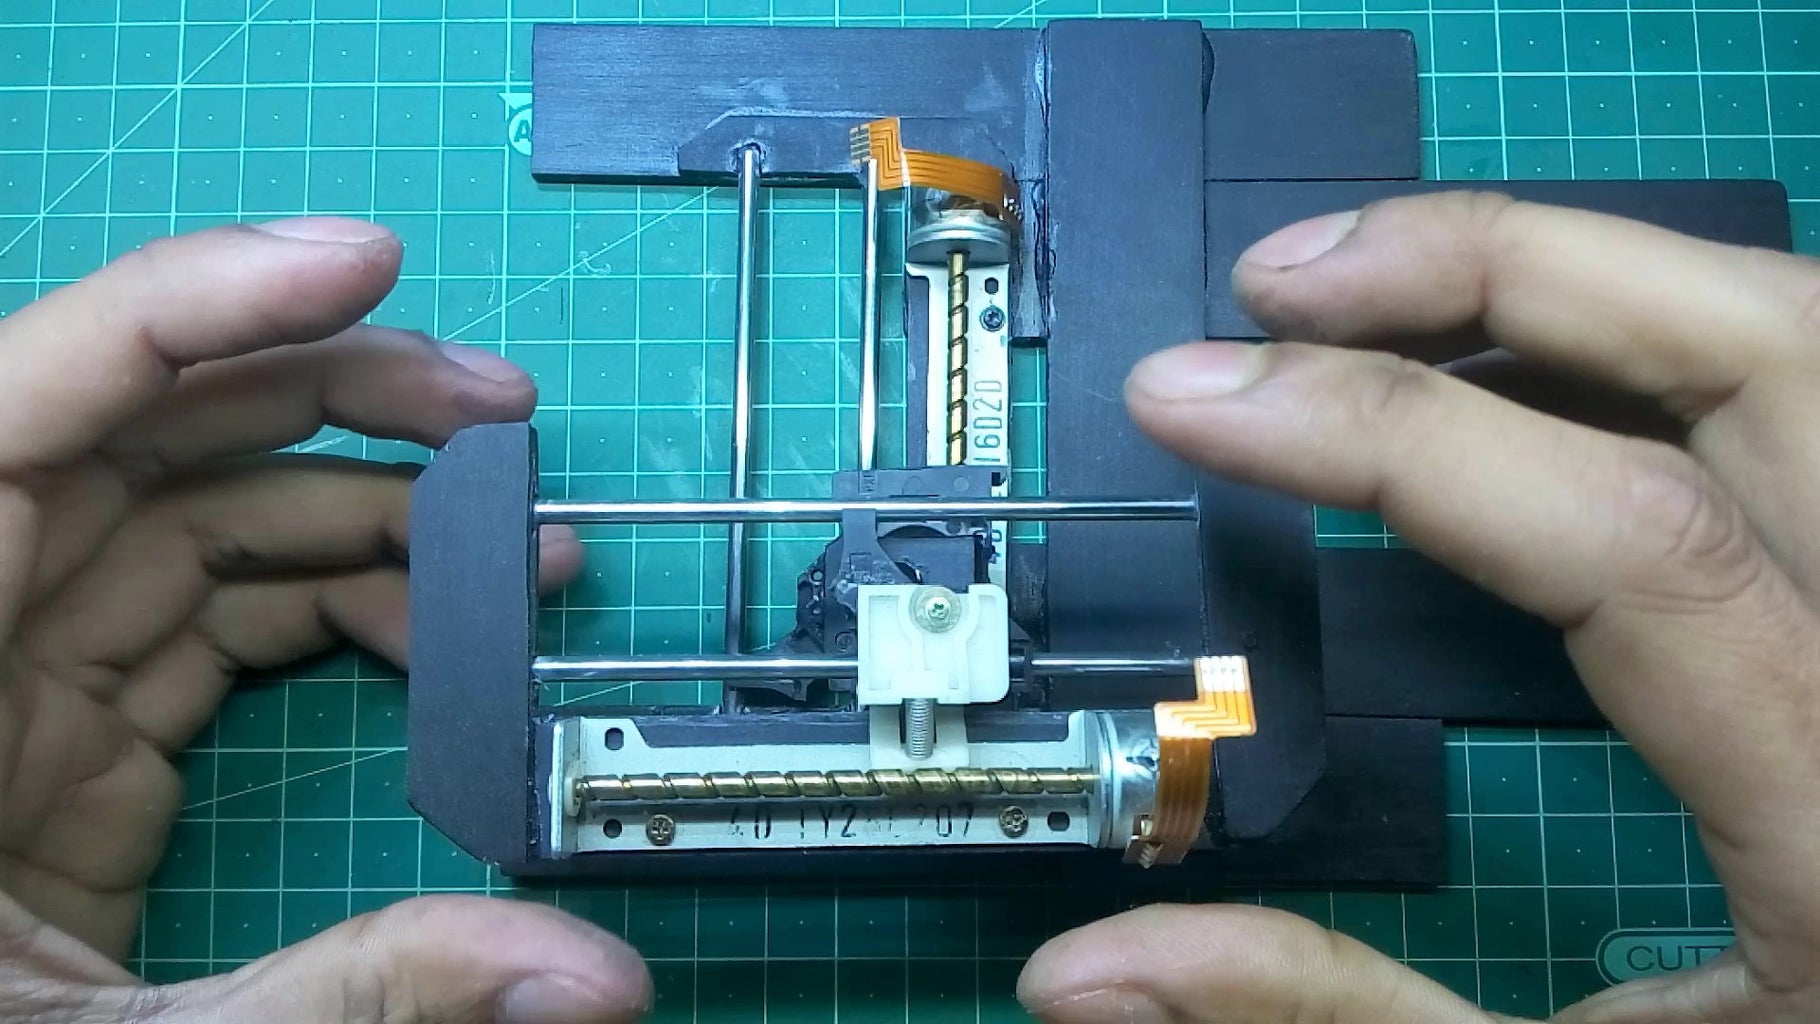
In this step, we'll attach the Y-Axis on the top of X-Axis. Follow the above picture to attach both axes.
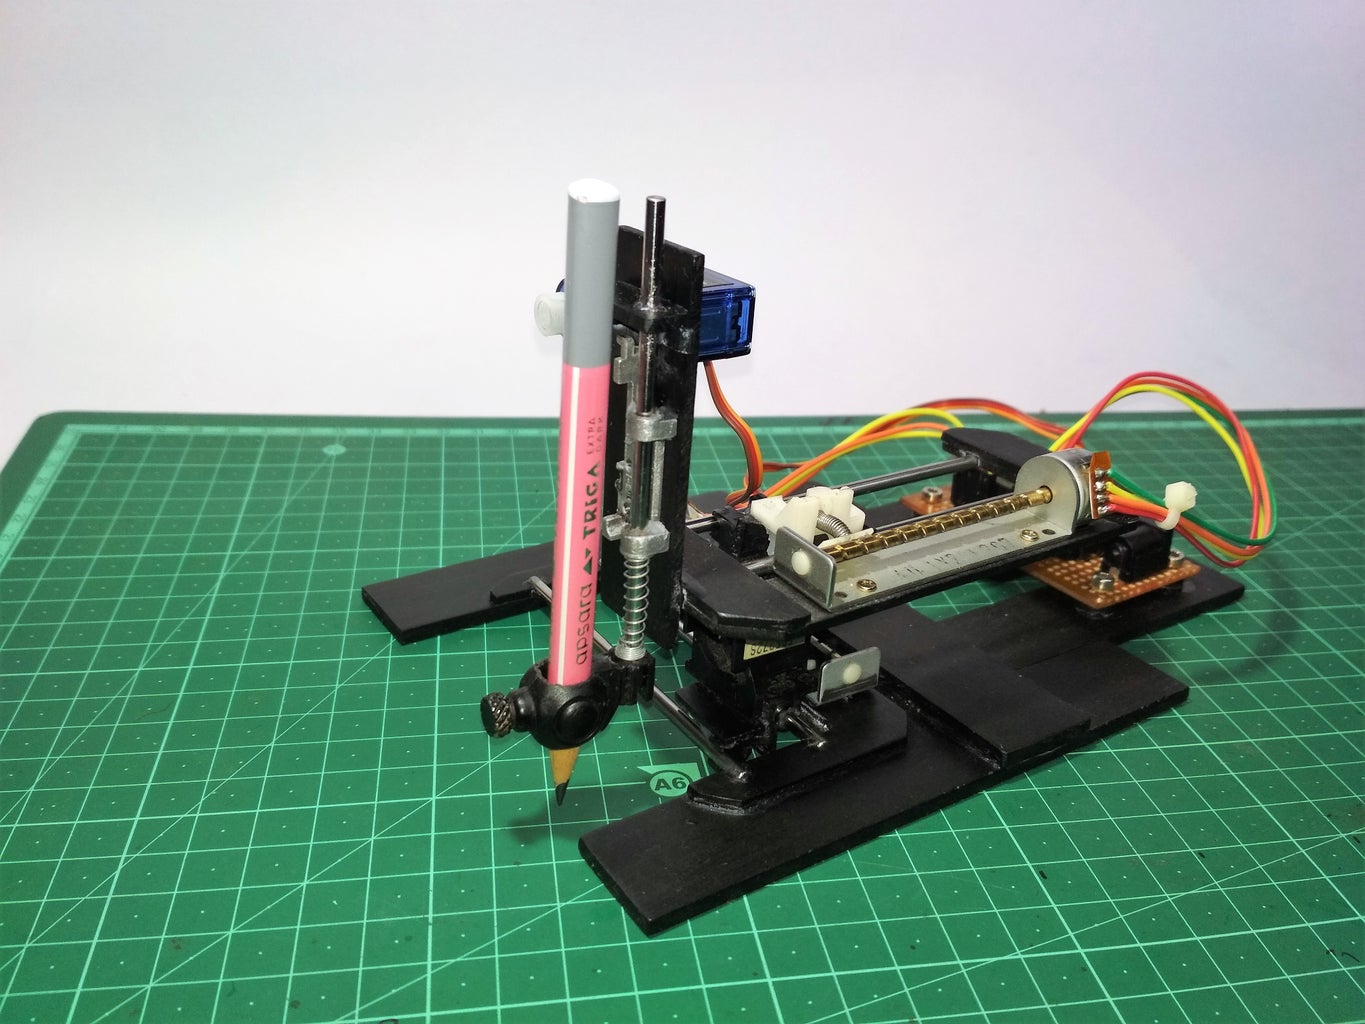
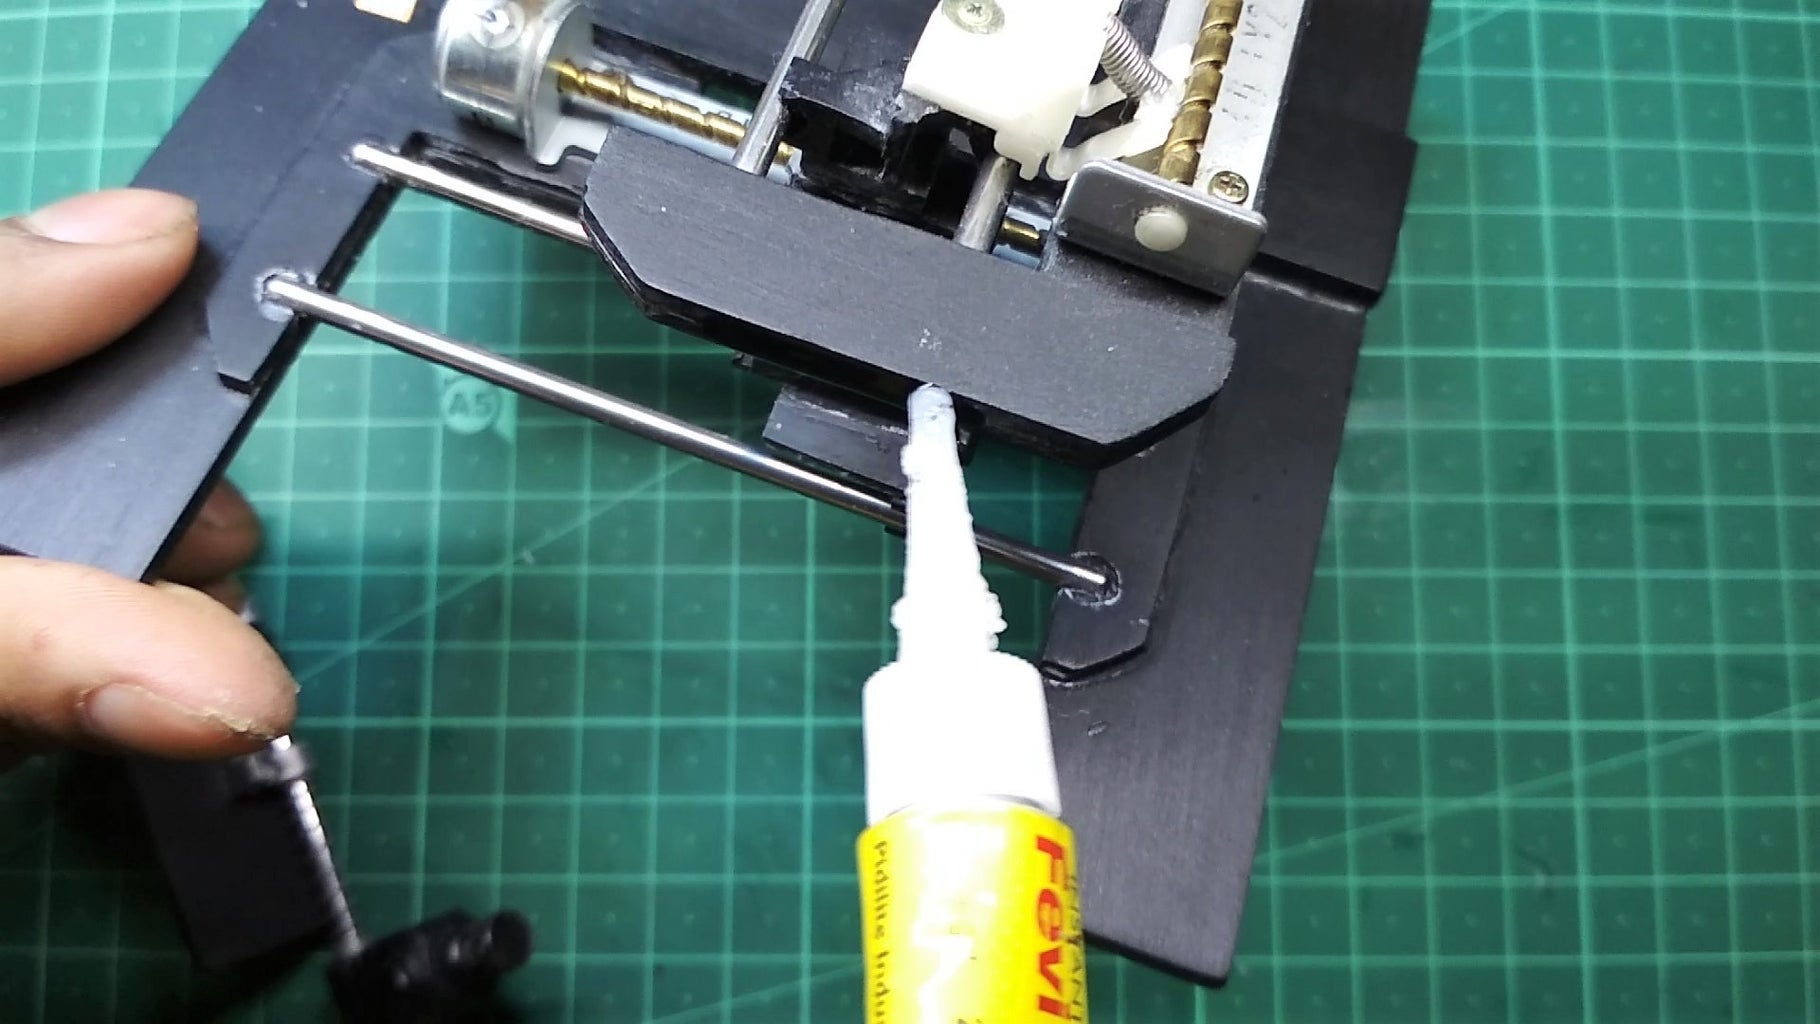
Step 9: Making the Z- Axis


I have seen many people got stuck on this part but I'm going to show you how to make a perfect Z-Axis. So follow steps below.
- Take the required parts for the Z axis like Sliding rod, pen spring, compass pencil holder, some acrylic pieces.etc
- first, take your sliding rod and insert it into its holder and insert pen spring after that use a small piece of the plastic holder to hold the pen spring.
- Then apply super glue on the sliding rod holder and attach it to the acrylic frame.
- After that attach a small piece of acrylic on the top of sliding rod, it also works to move the pen up and down.
- Then attach the pen holder at the end of sliding rod.
- Finally, mount the servo motor using the super glue.
Step 10: Attach the Z-Axis
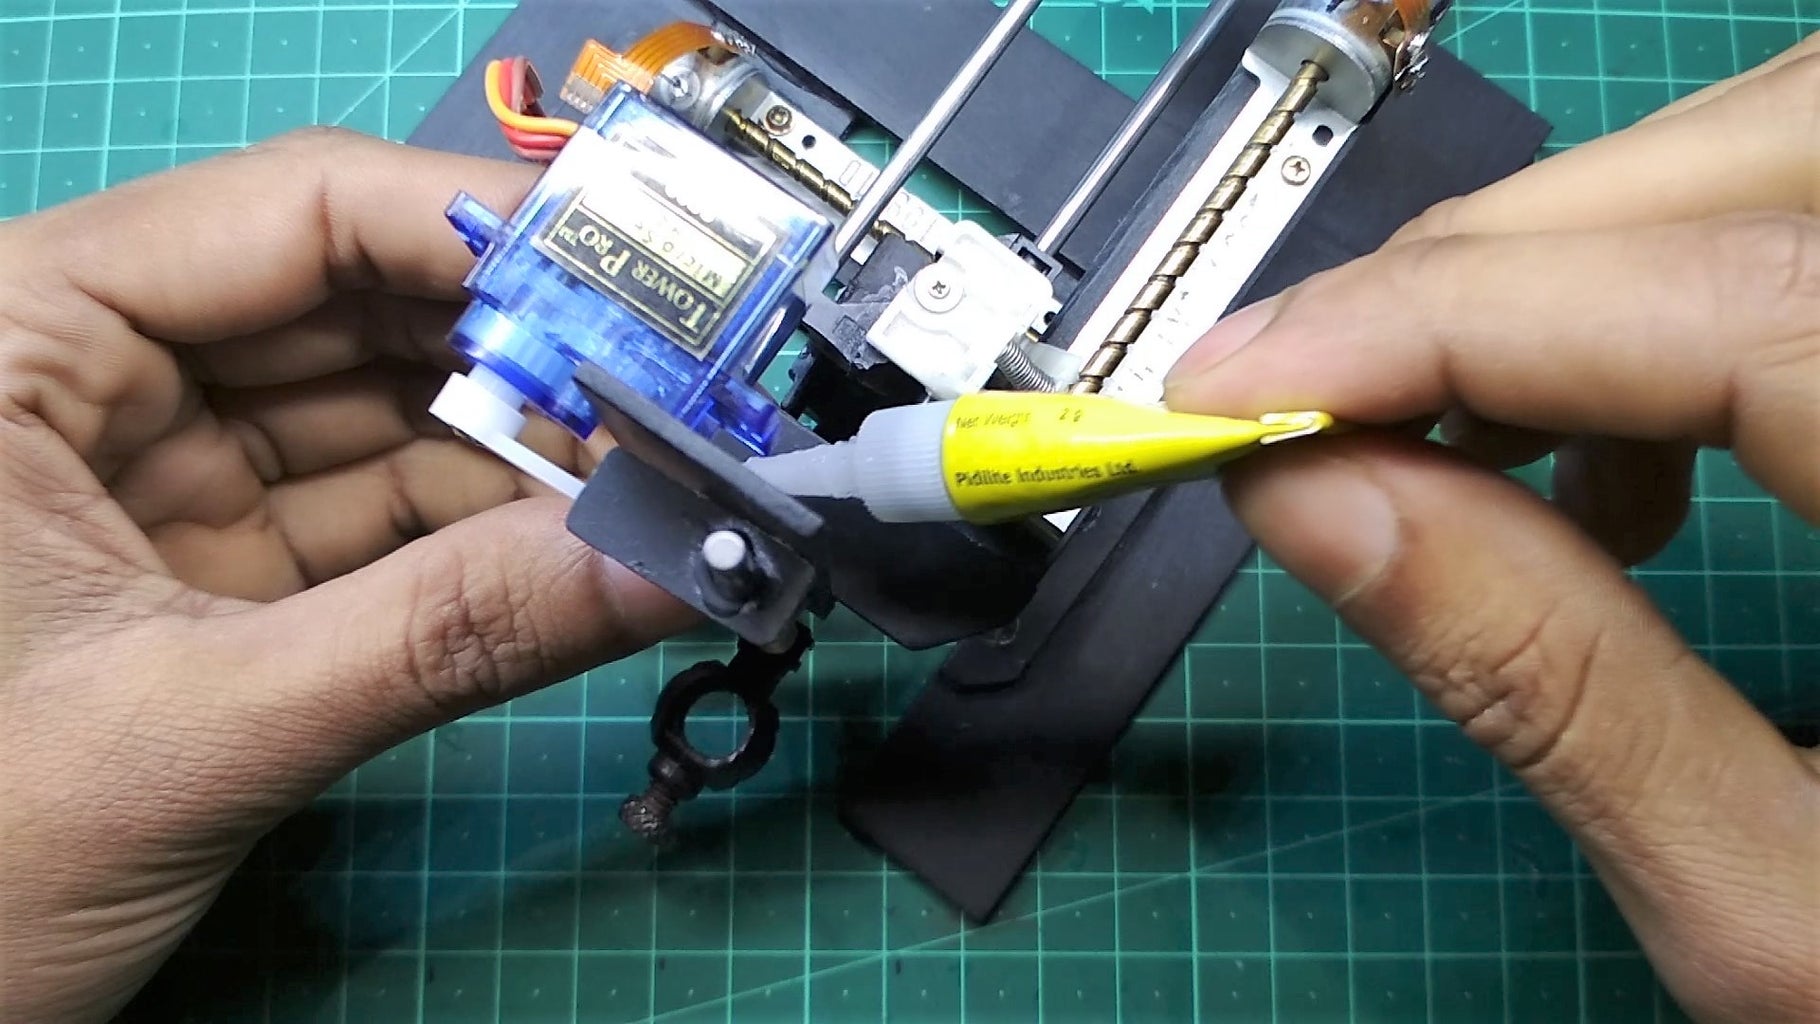
Attach the Z-Axis to Y-axis using superglue as the above pictures showing.
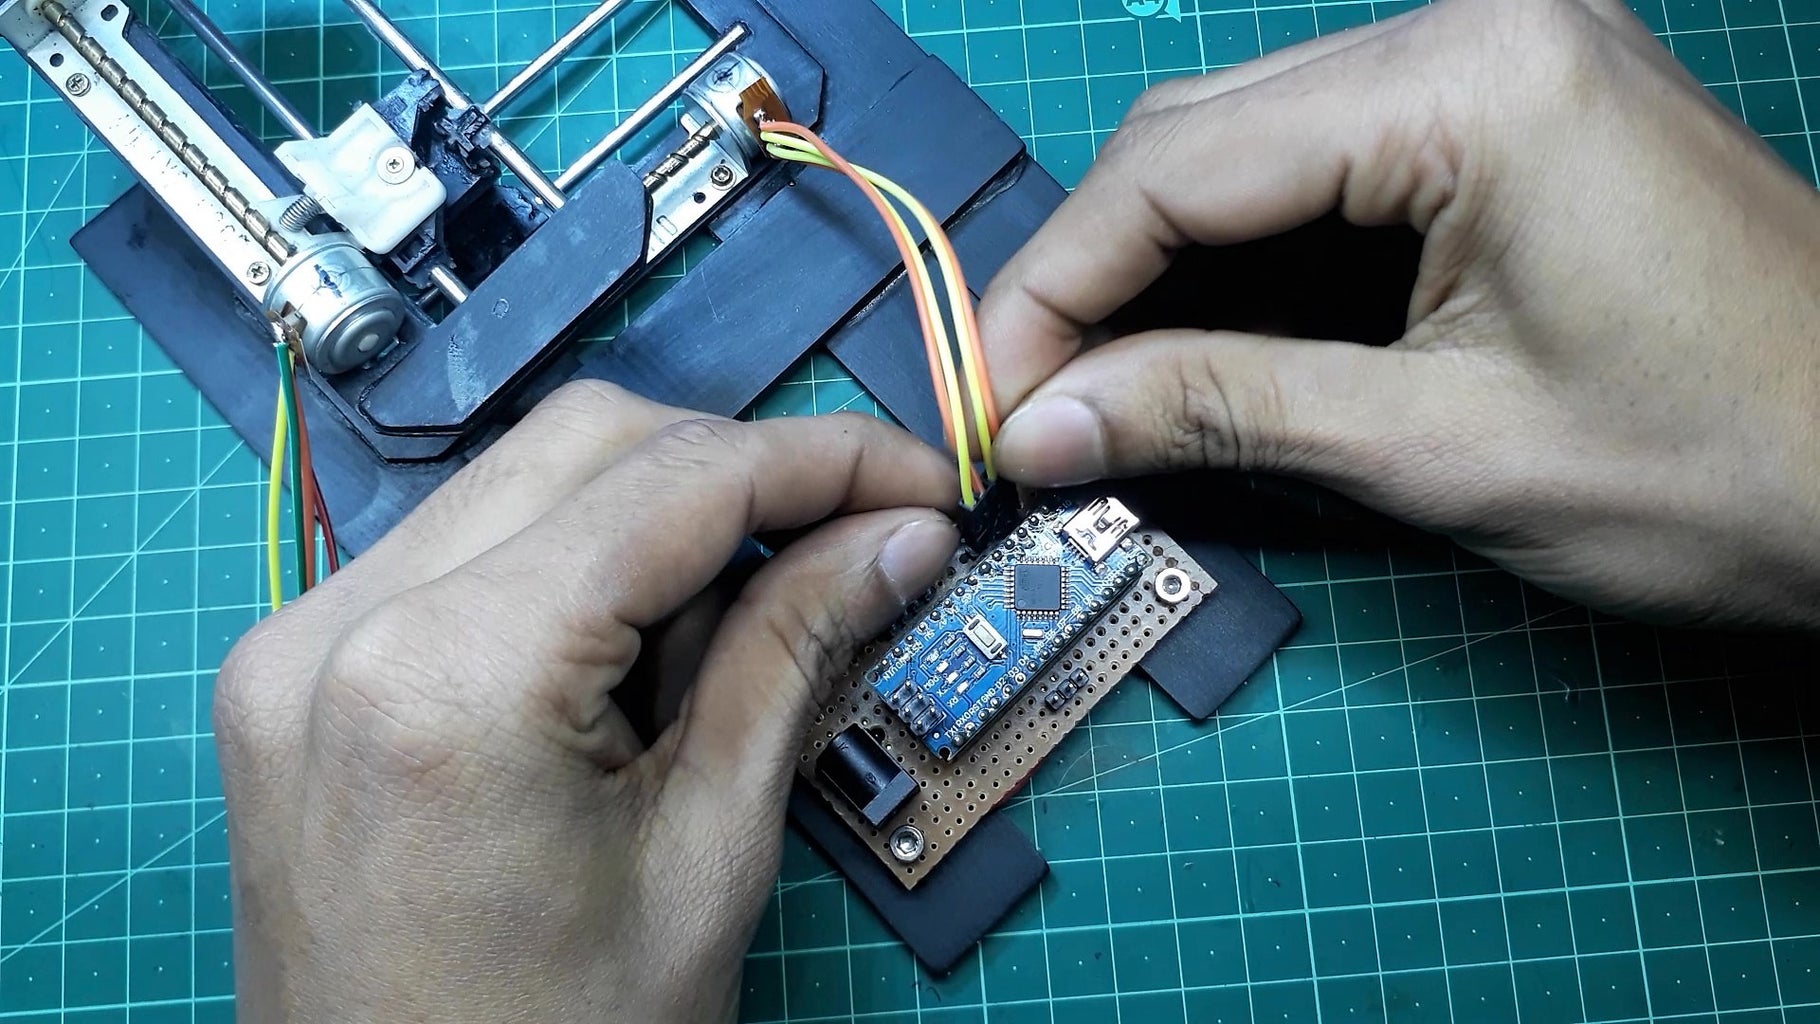
Step 11: Solder Wire With Motors


First, cut the flexible PCB of the motors, then solder wire with motors. I'm using small pieces of a marker pen to hold my circuit board little higher.
Step 12: The Circuit Diagram
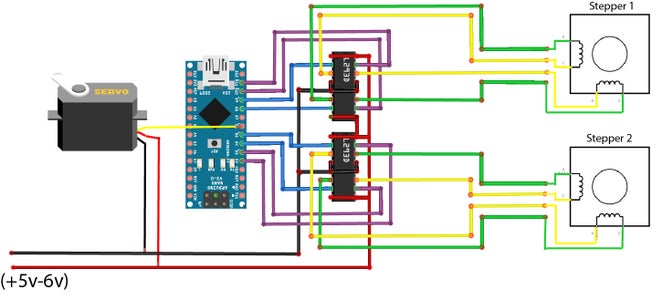
Here's the complete circuit diagram, connect everything according to the circuit diagram. If your steppers don't work properly then you have to find correct working combination by changing the pins of the L293D IC. You can also adjust the IC pins in code.
Step 13: Making the Circuit Board


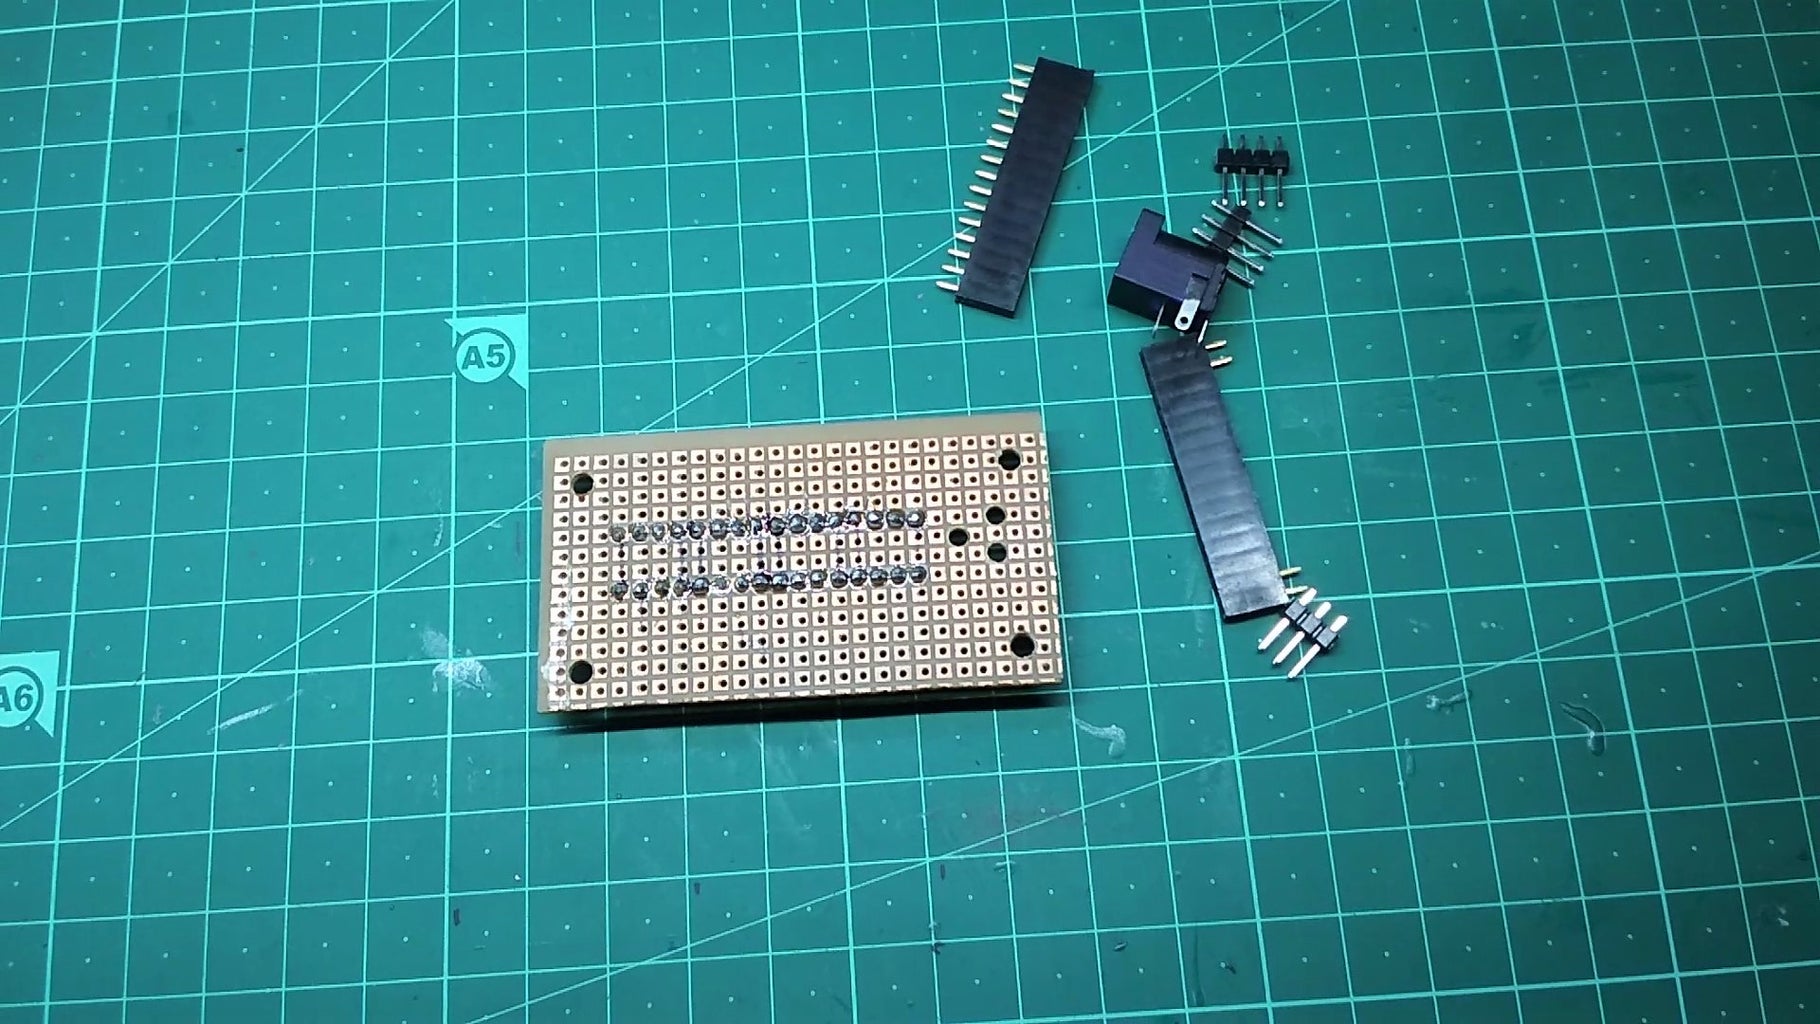


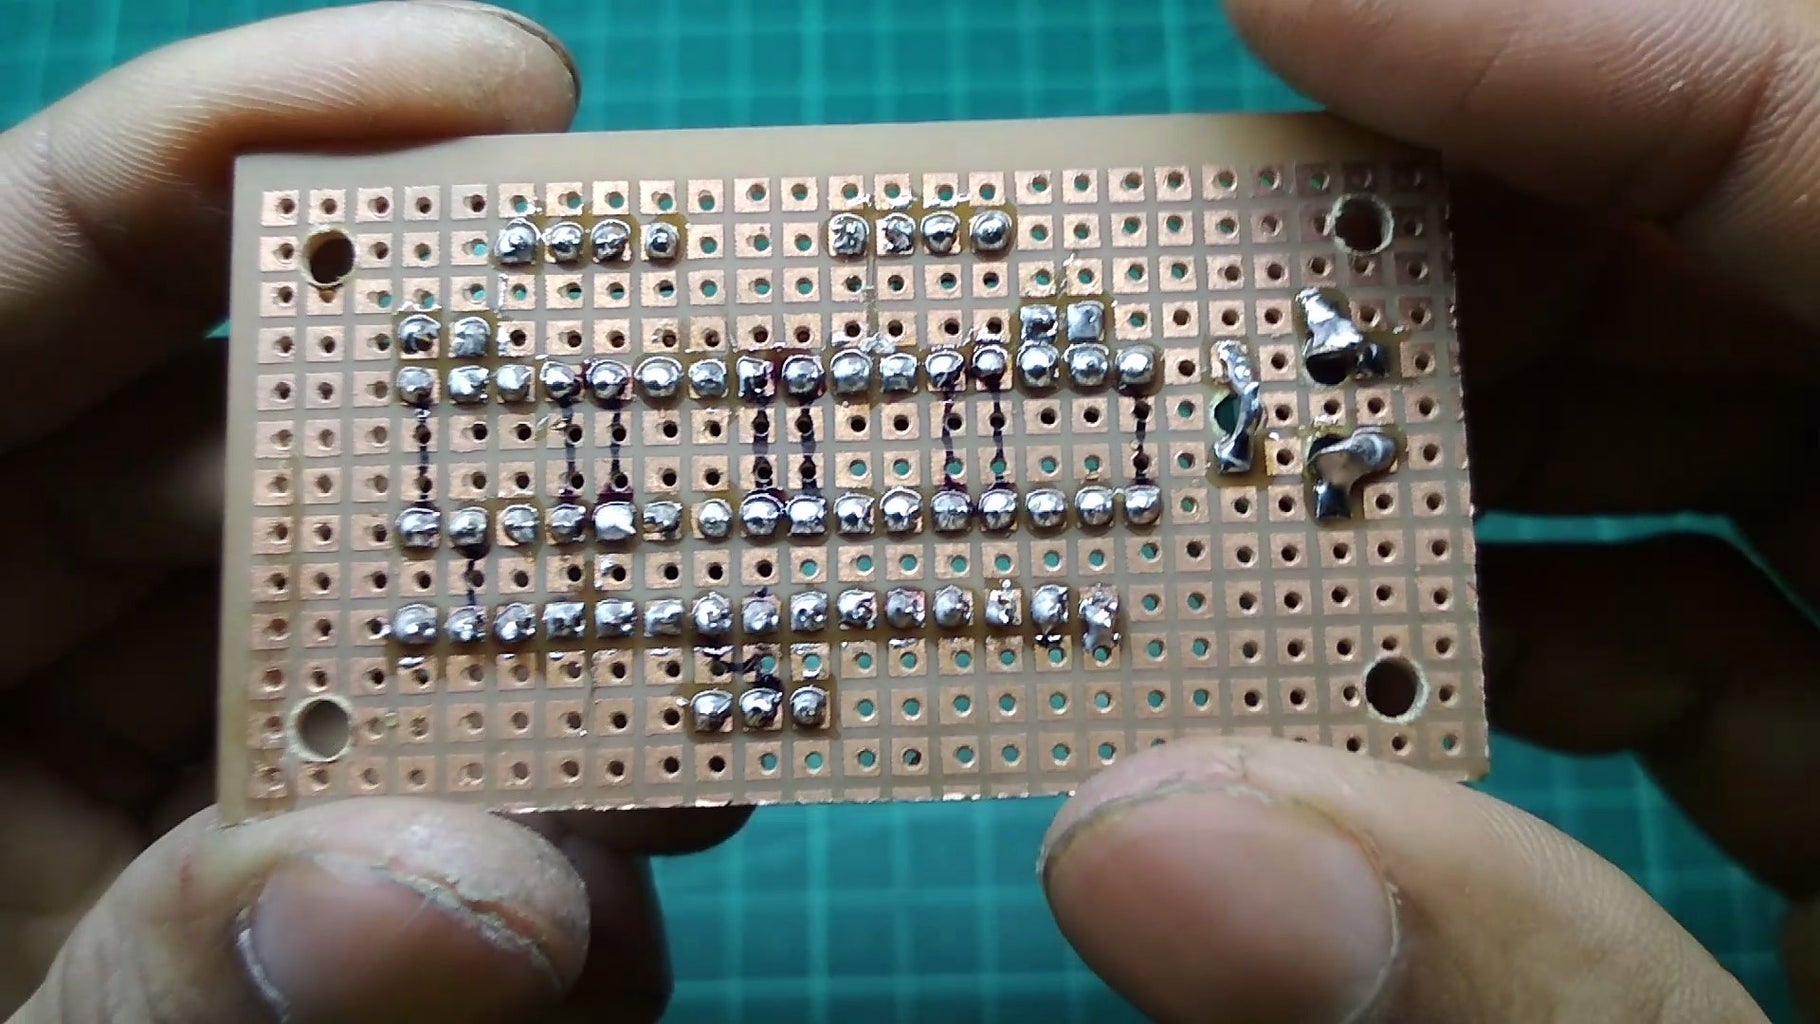
In this step, I'm going to show you how I made my Circuit board. First, insert the IC bases and all the header pins, then solder its pins, after that make every connection according to its circuit diagram. You have to do it very carefully and precisely.
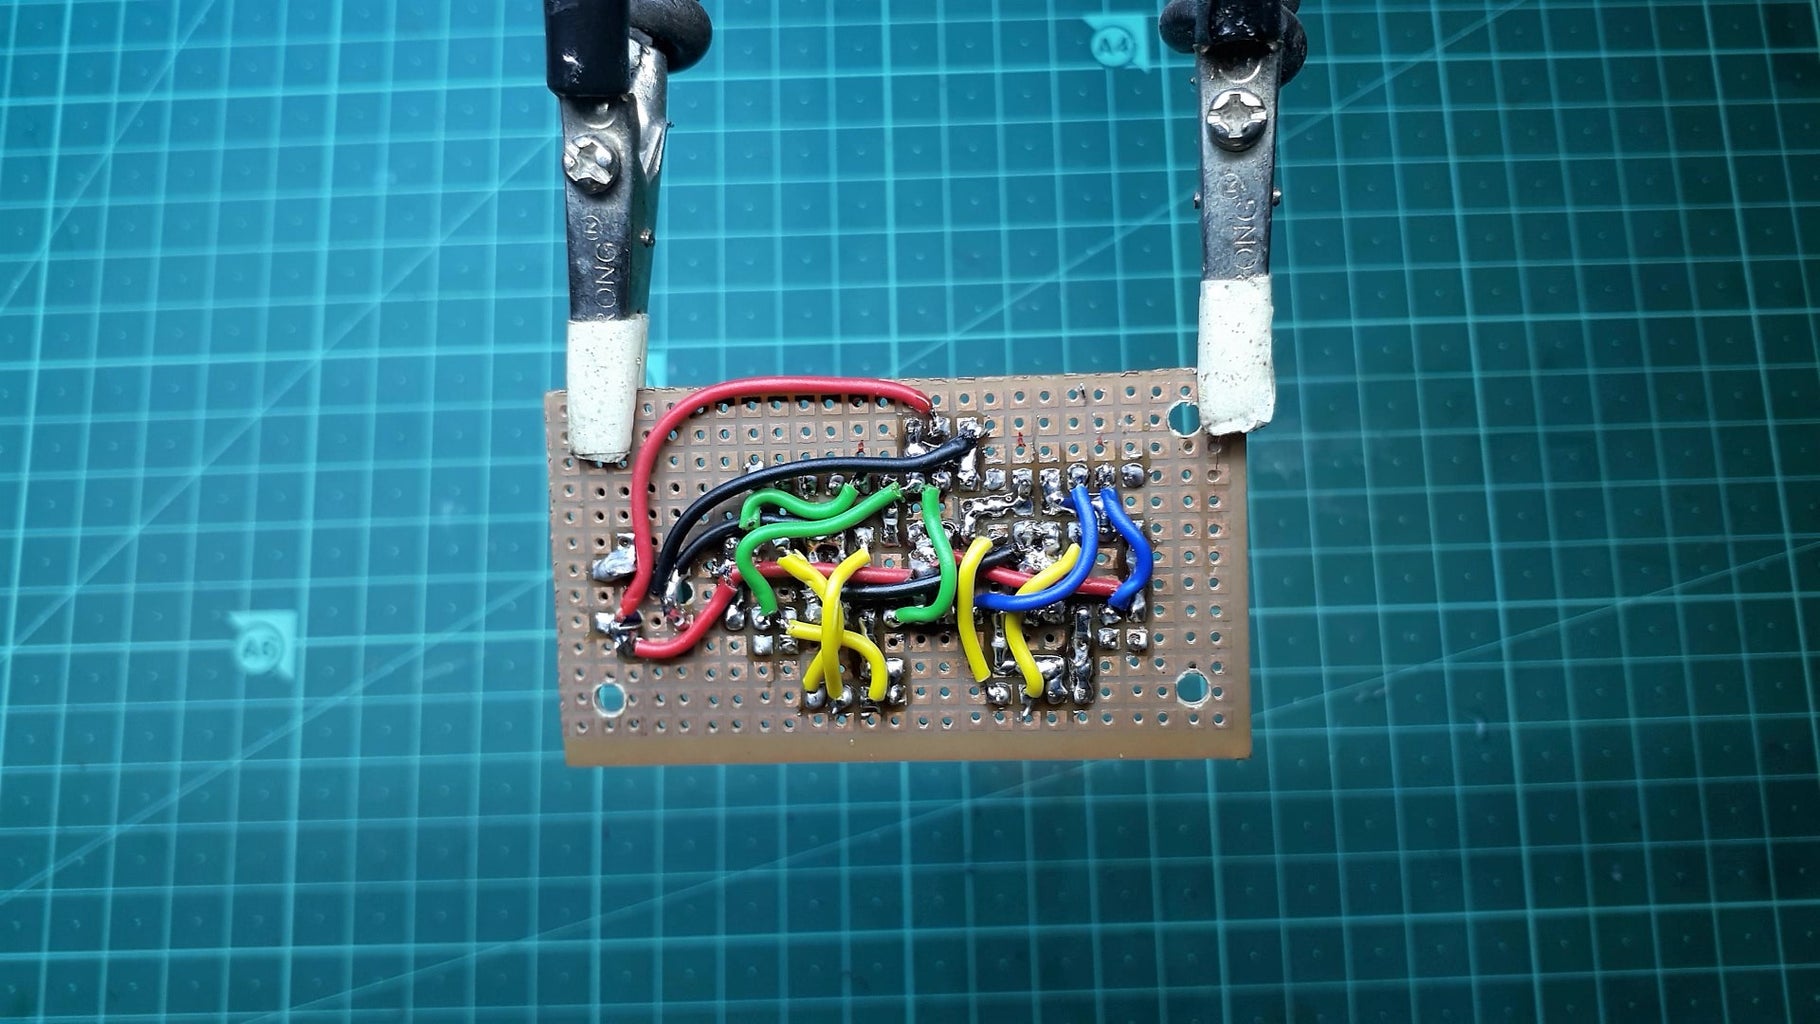
Step 14: Assembling the Circuit Board
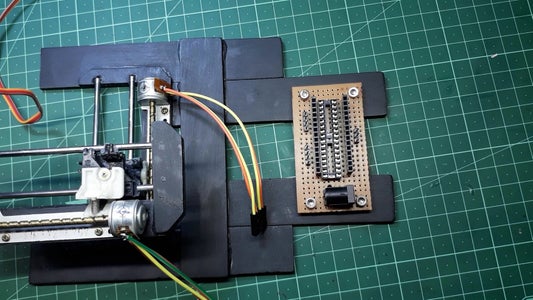
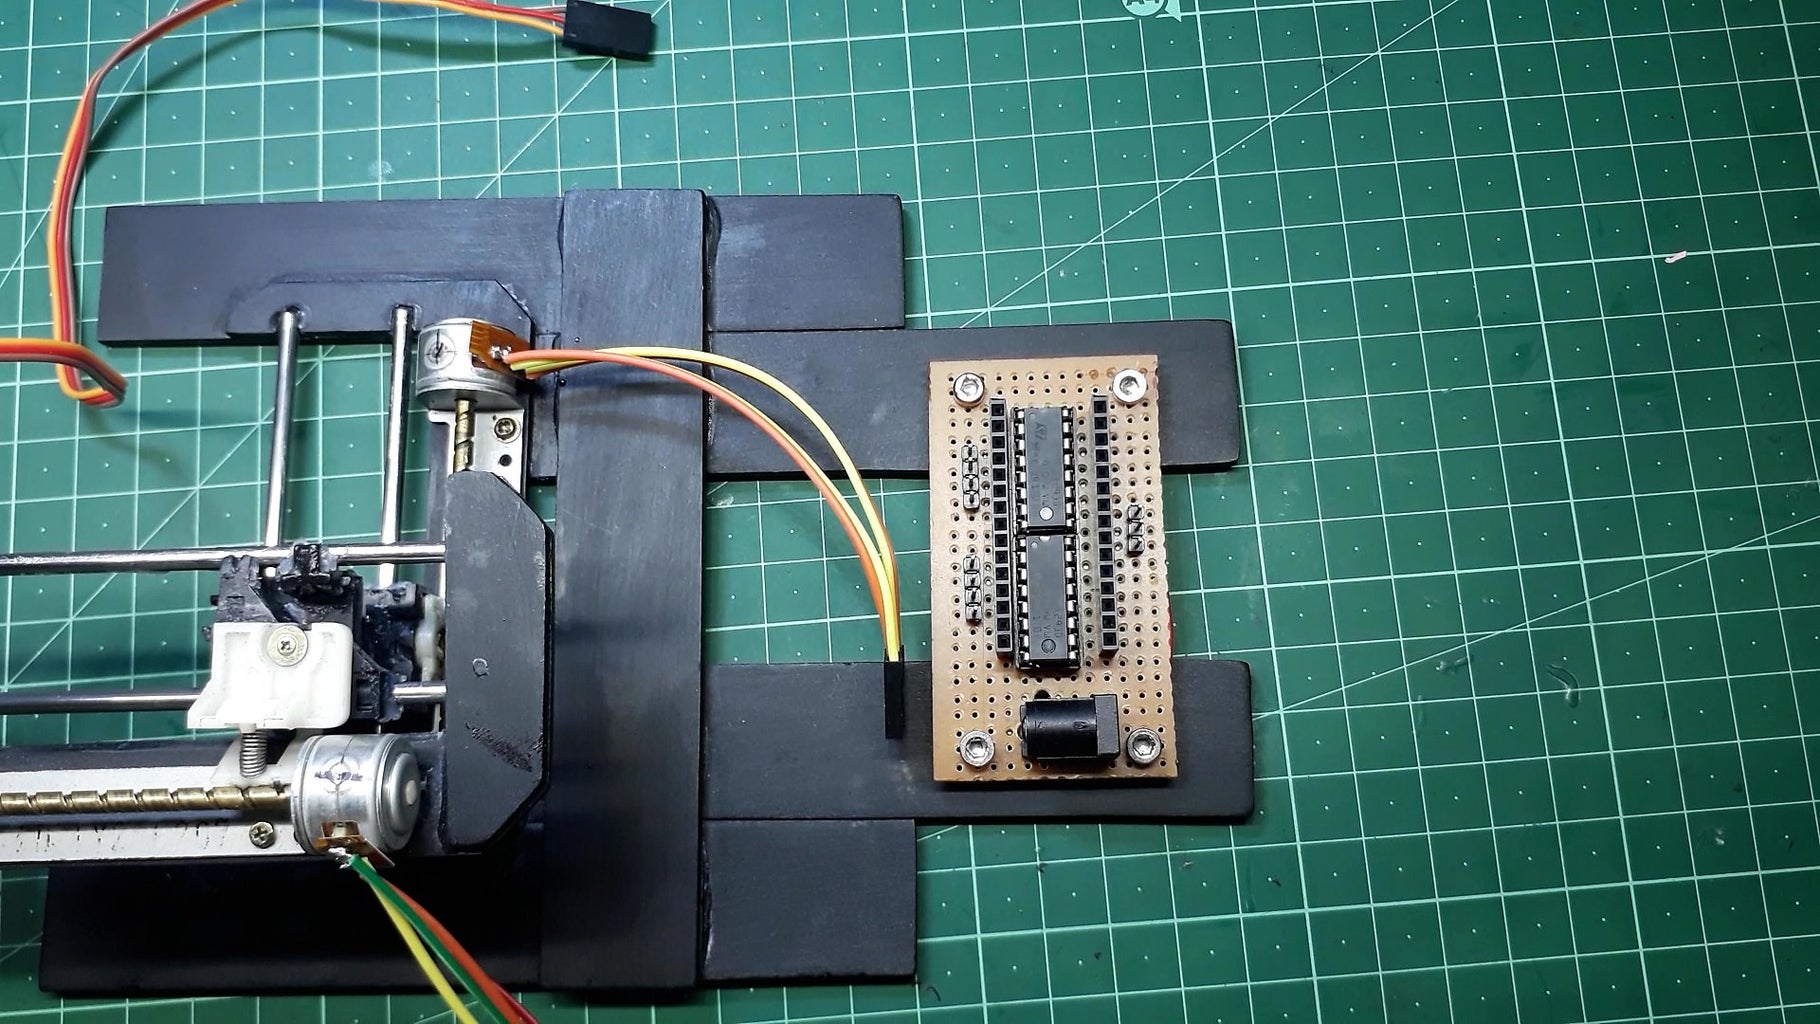
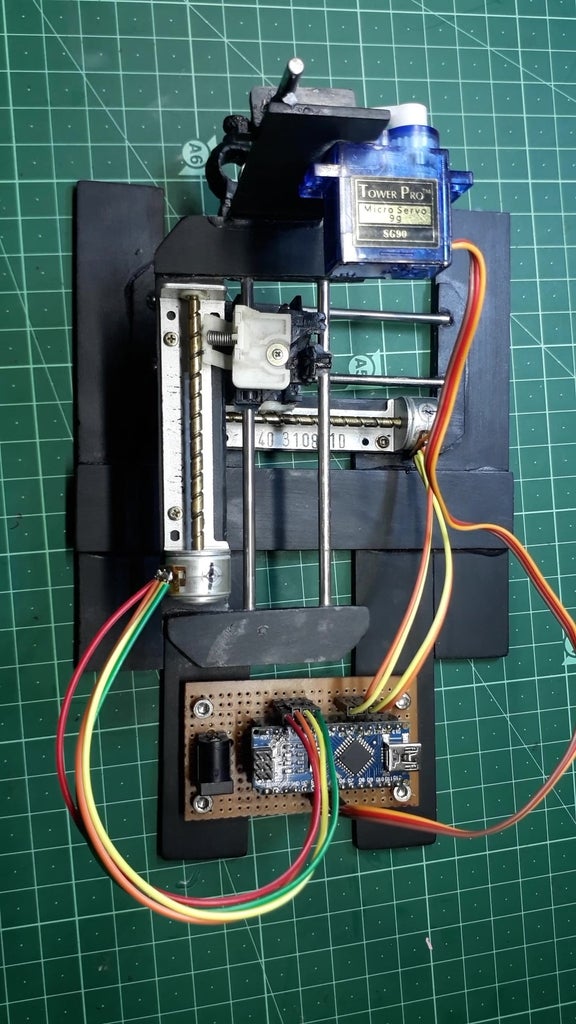
First Mount the both IC, then the Arduino nano and at the end connect the wires. We're done :)
Step 15: Uploading the CNC Code


In this step, we'll upload the CNC code to Arduino.
- First, connect the Arduino board with PC through USB cable.
- Select correct port and board.
- Then upload the CNC code.
Programming Video Tutorial
Attachments

Step 16: The GCTRL Program


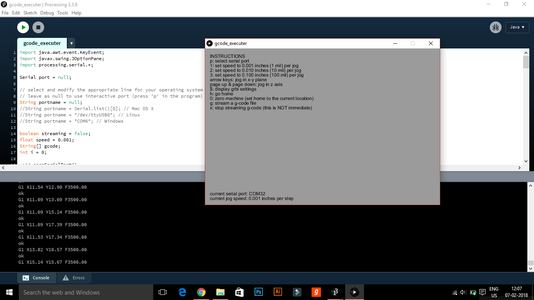
Now we are ready to print our first image. We'll use the processing software to run the gctrl.pde program. This program sends the 'gcode' images to the CNC plotter.
- First, open the processing software and open the gctrl.pde program for the cnc machine.
- Then click the run button, one new window will open.
- Press p button to select the current port.
- Press g button to select the gcode.
Step 17: We're Done :)
I hope this tutorial helps you to build your own Arduino CNC Drawing machine. You have made your own CNC project then please send a photo in the comment section. I am very excited to see your own creation.
Later I'll keep updating this instructable.
Thanks for watching project, I hope you liked this project, if you did then please follow me I'll keep posting awesome new projects. Also, don't forget to SUBSCRIBE my YouTube channel.

Runner Up in the
Epilog Challenge 9


