

Introduction: Arduino - LDR With LED

More by the author:


About: Maker 101; Beginner and intermediate level Maker projects! You can find projects such as "How to" and "DIY" on programmable boards such as Arduino, ESP8266, ESP32 and Raspberry Pi on this channel. The projects…
This is simple arduino project; turn on LED when it's dark and turn off when is light.
Step 1: Hardware Required :
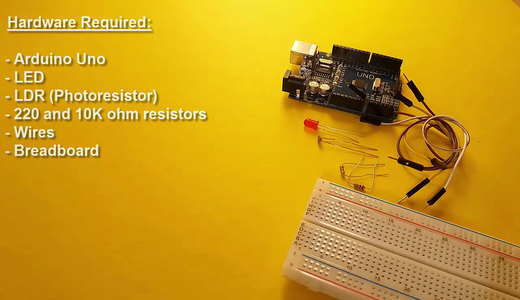
- Arduino Uno
- LED
- LDR (photoresistor)
- 220 and 10k ohm resistors
- Wires
- Breadboard
Step 2: LED Connection

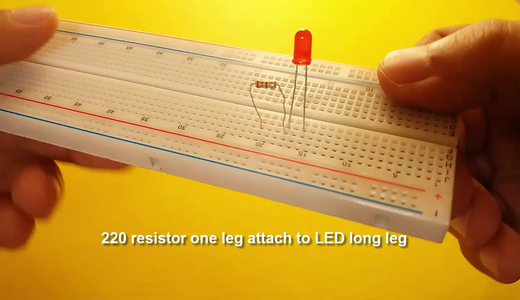

- LED attach to board
- Resistor (220 ohm) one leg attach to LED long leg
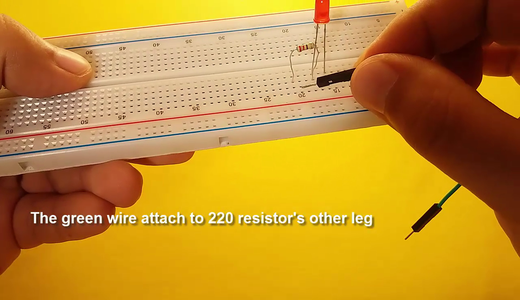
- The green wire attach to resistor's empty leg
- The brown wire attach o LED short leg
Step 3: LDR Connection
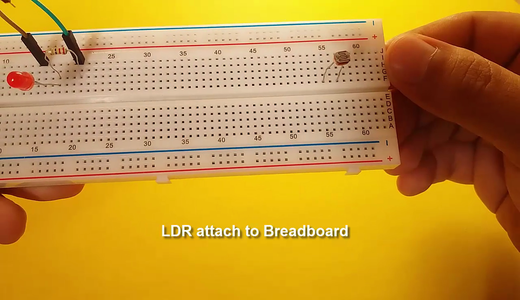


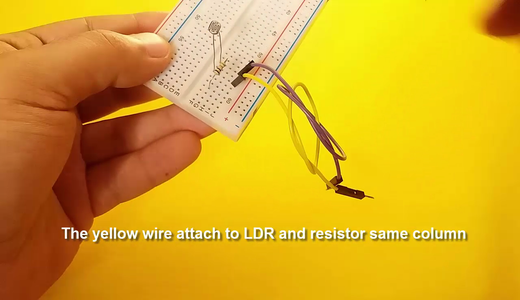

- LDR attach to board
- Resistor (10k ohm) attach to LDR one leg
- The purple wire attach to LDR other (empty) leg
- The yellow wire attach to LDR and resistor same column
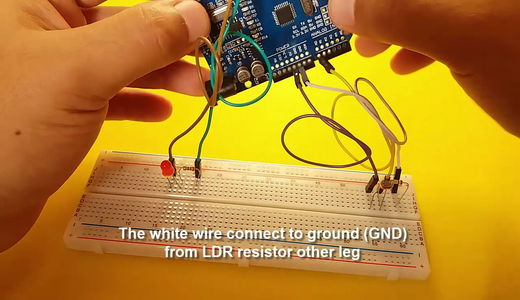
- The white wire attach to resistor empty leg
Step 4: Arduino Connections

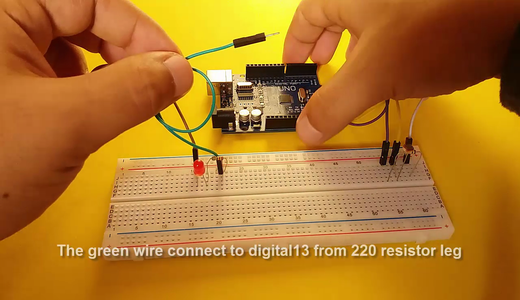


- The green wire connect to digital 13 from resistor leg
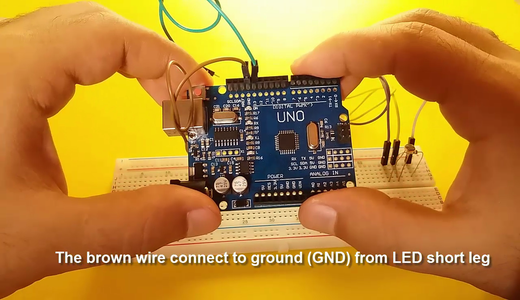
- The brown wire connect to GND from LED short leg
- The purple wire connect to +5V from LDR
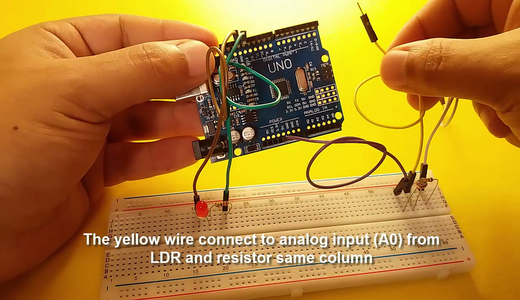
- The yellow wire connect to A0
- The white wire connect to GND
Step 5: Code

const int ledPin = 13;
const int ldrPin = A0;
void setup() {
Serial.begin(9600);
pinMode(ledPin, OUTPUT);
pinMode(ldrPin, INPUT);
}
void loop() {
int ldrStatus = analogRead(ldrPin);
if (ldrStatus <=300) {
digitalWrite(ledPin, HIGH);
Serial.println("LDR is DARK, LED is ON");
}
else {
digitalWrite(ledPin, LOW);
Serial.println("---------------");
}
}
Step 6: If It Helps, Please Subscribe

First of all, I would like to thank you for reading this guide ! I hope it helps you.
If you want to support me, you can subscribe my channel and watch my videos.


![Tim's Mechanical Spider Leg [LU9685-20CU]](https://content.instructables.com/FFB/5R4I/LVKZ6G6R/FFB5R4ILVKZ6G6R.png?auto=webp&crop=1.2%3A1&frame=1&width=306)


