

Introduction: Arduino Selfie Camera


This intructables show how to a very simple way to build a Arduino Selfie Camera.
Step 1: Hardware Preparation
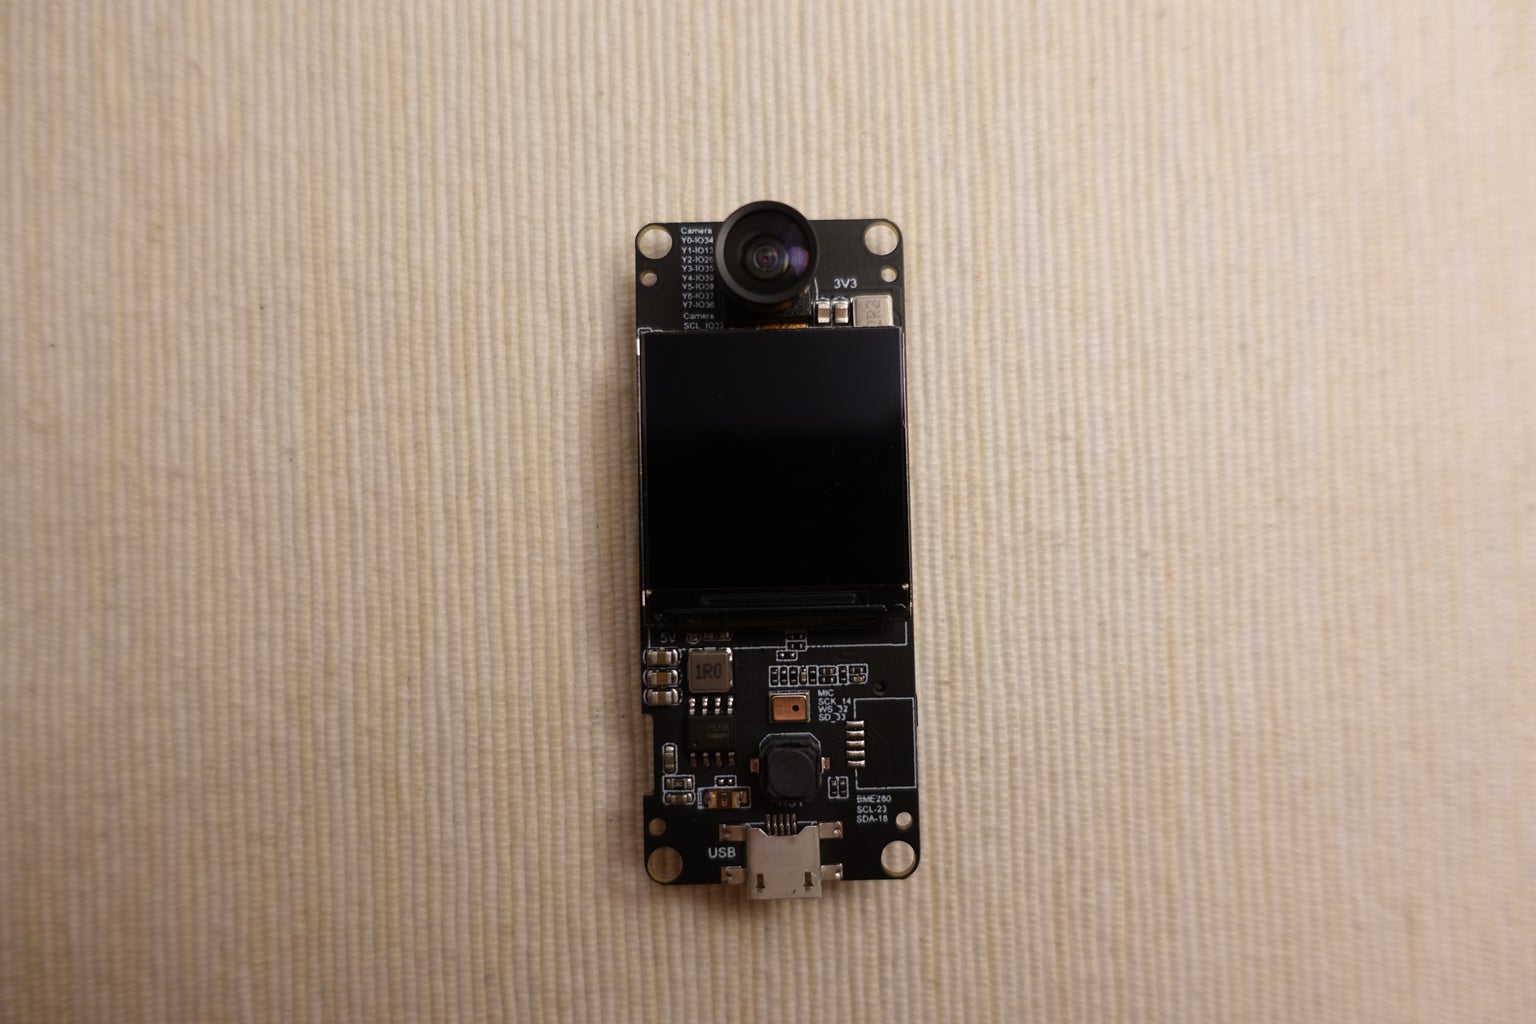
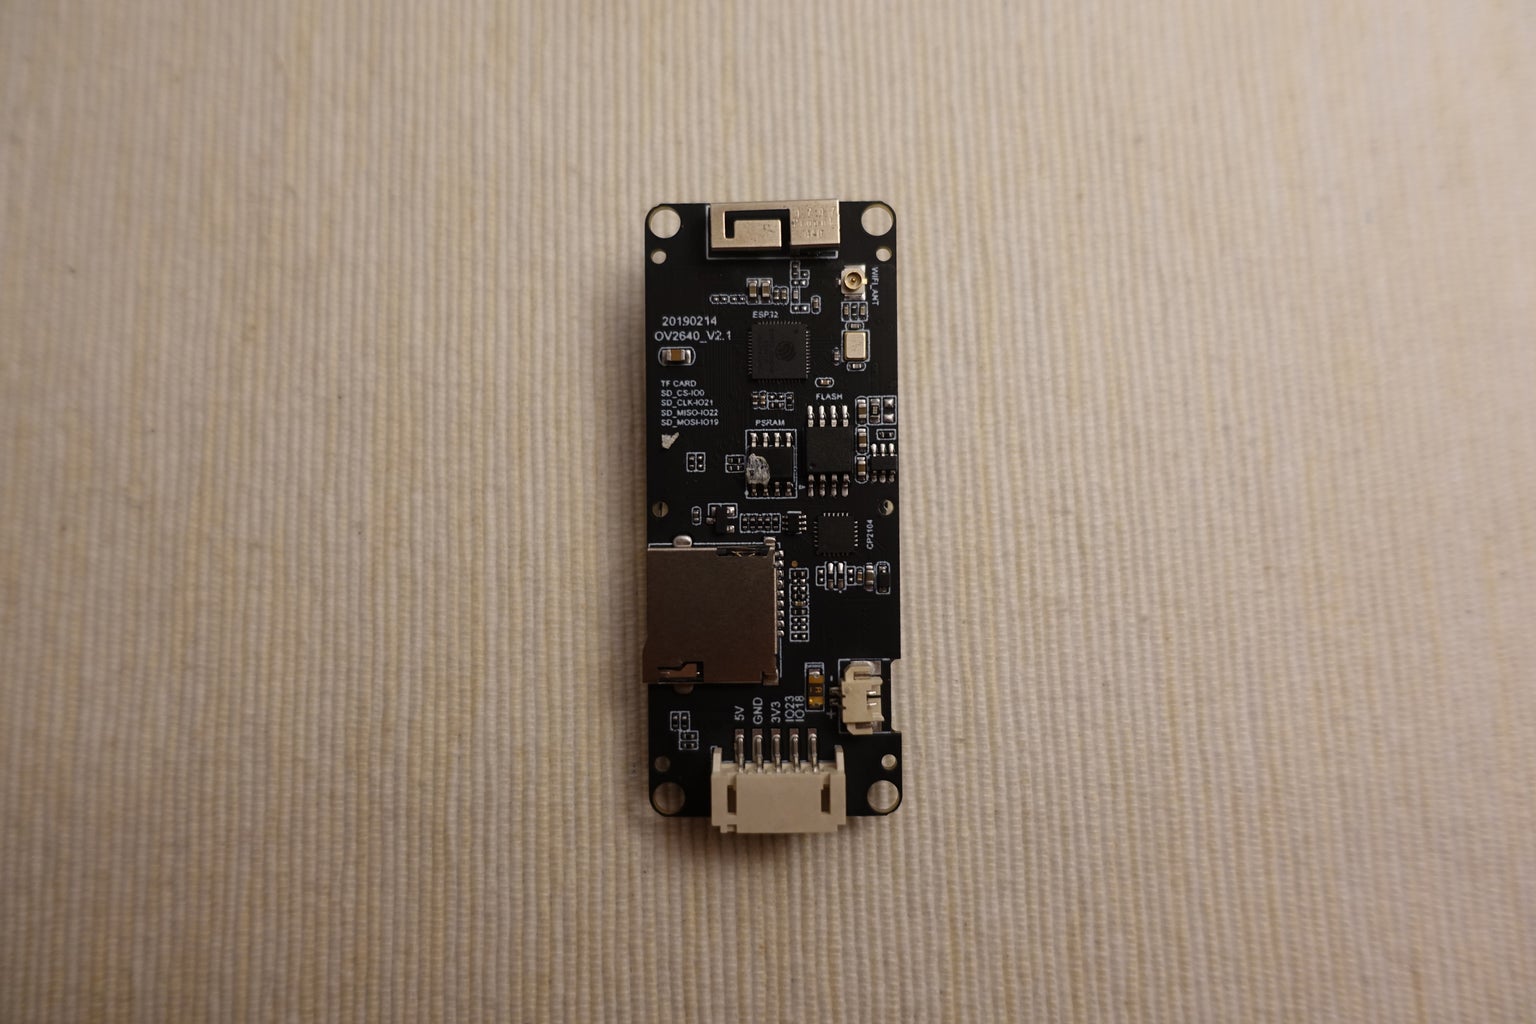
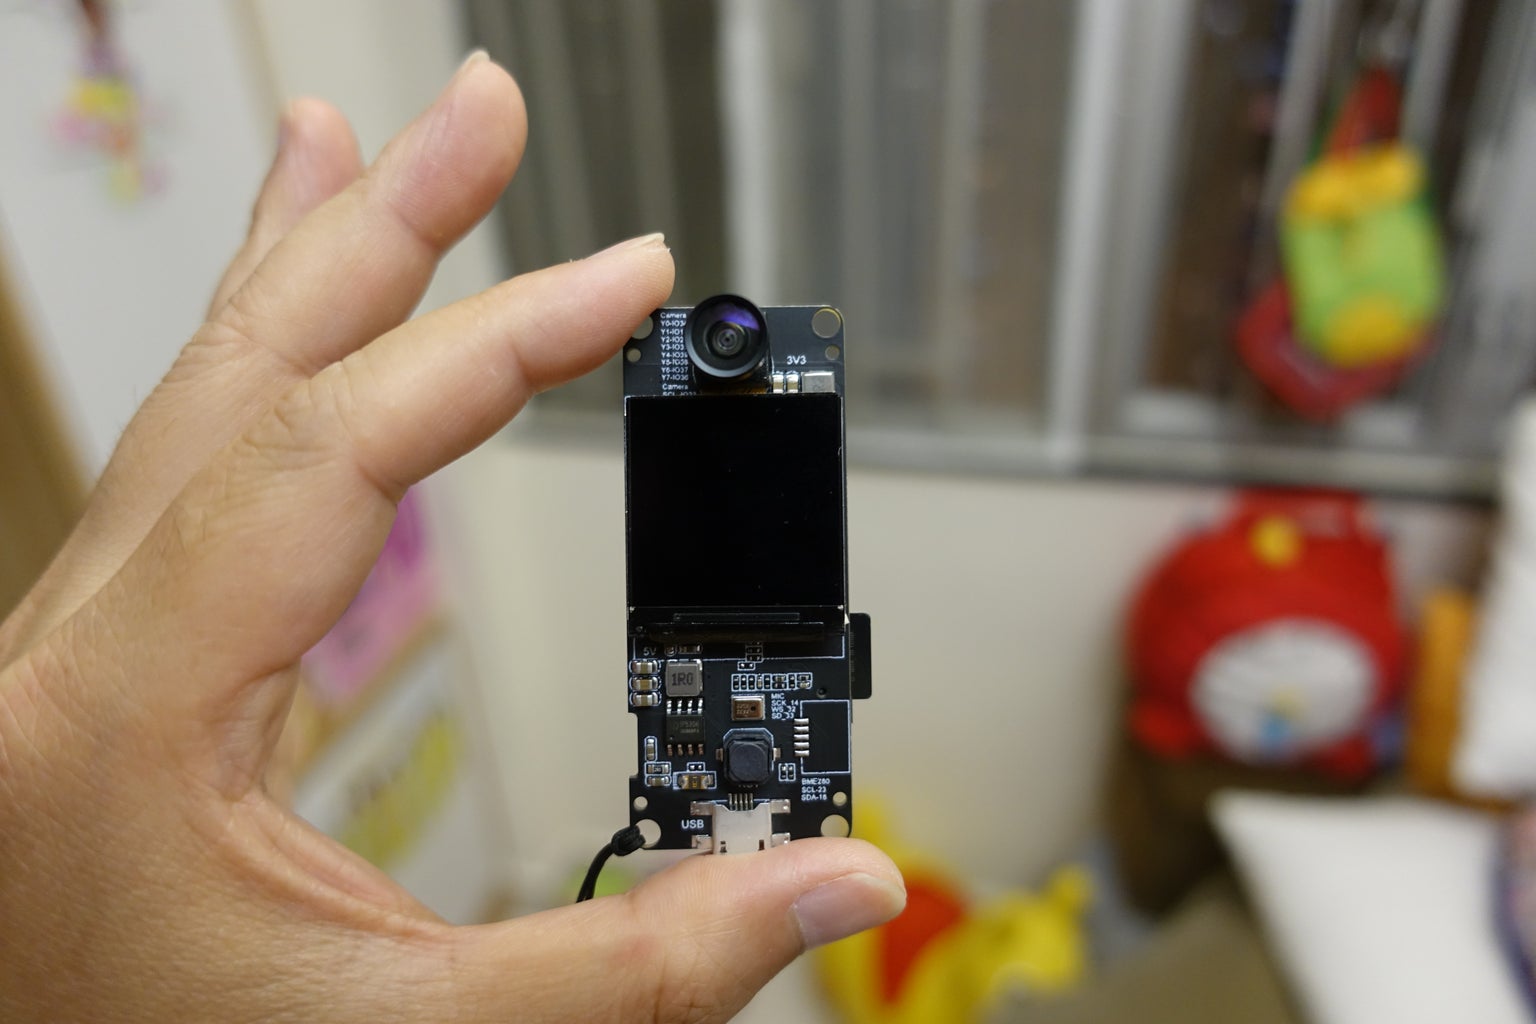
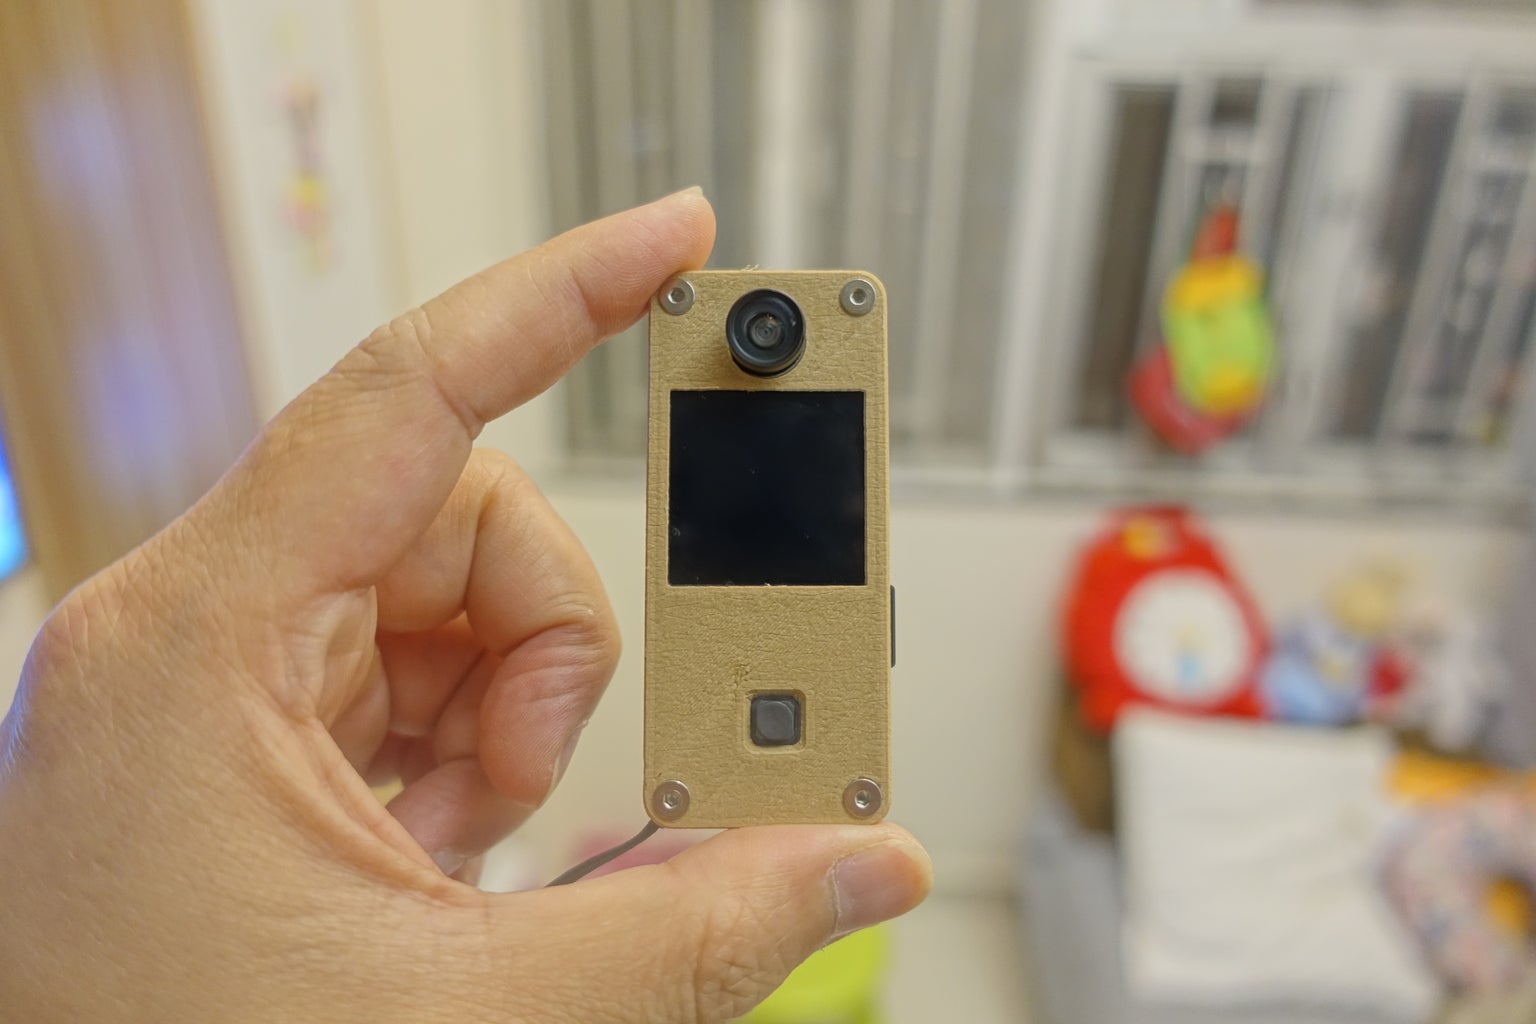
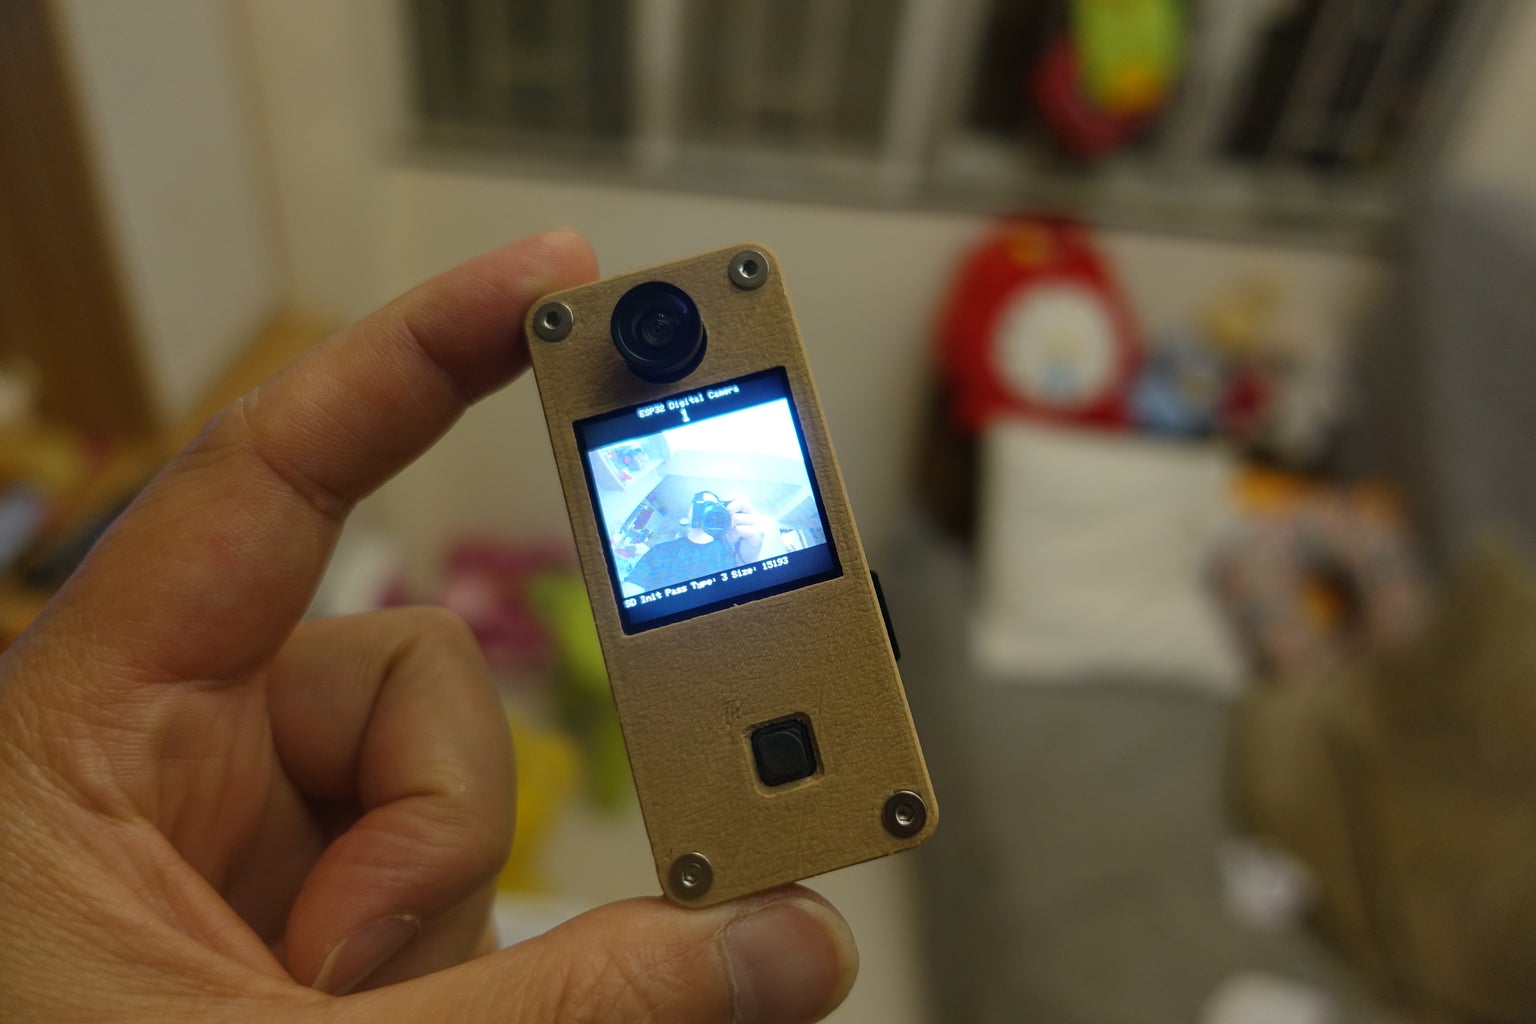
TTGO T-Camera Plus
This is a ESP32 board with built-in OV2640 camera and 240 x 240 IPS LCD. Camera application require extra memory, so it also built-in 8 MB PSRAM and micro SD card slot. And it also built-in Lipo charging and regulation circuit. So it is ready to build a digital camera out-of-the-box!
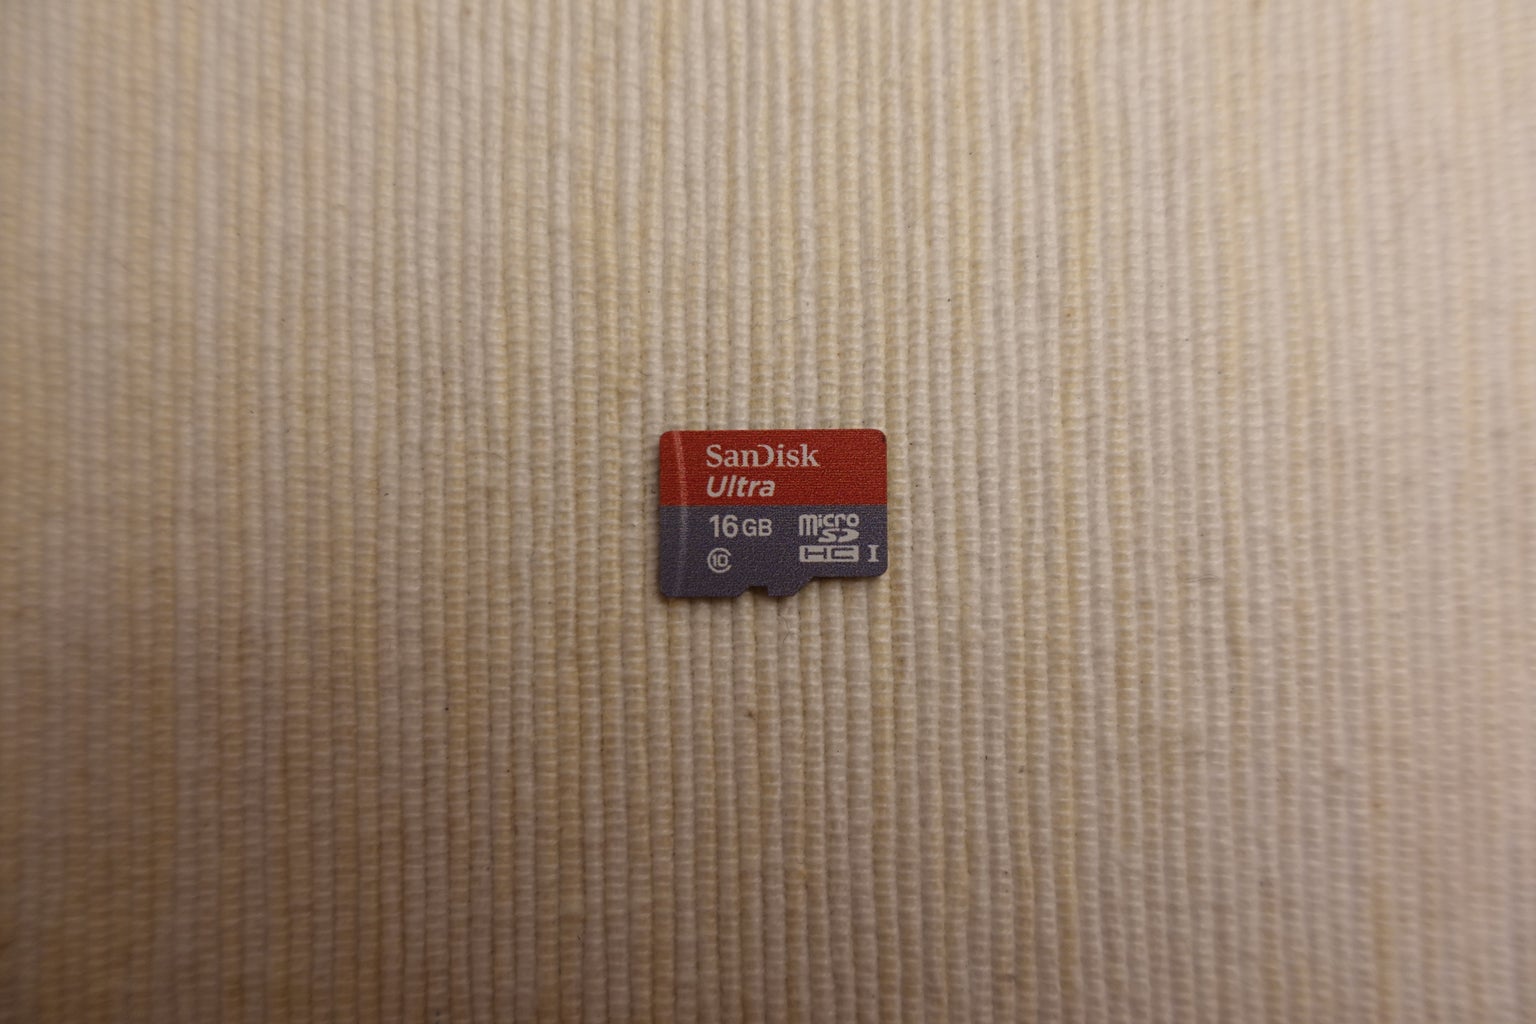
Micro SD Card
Any micro SD card below 64 GB should be ok, smaller should reduce scanning overhead.
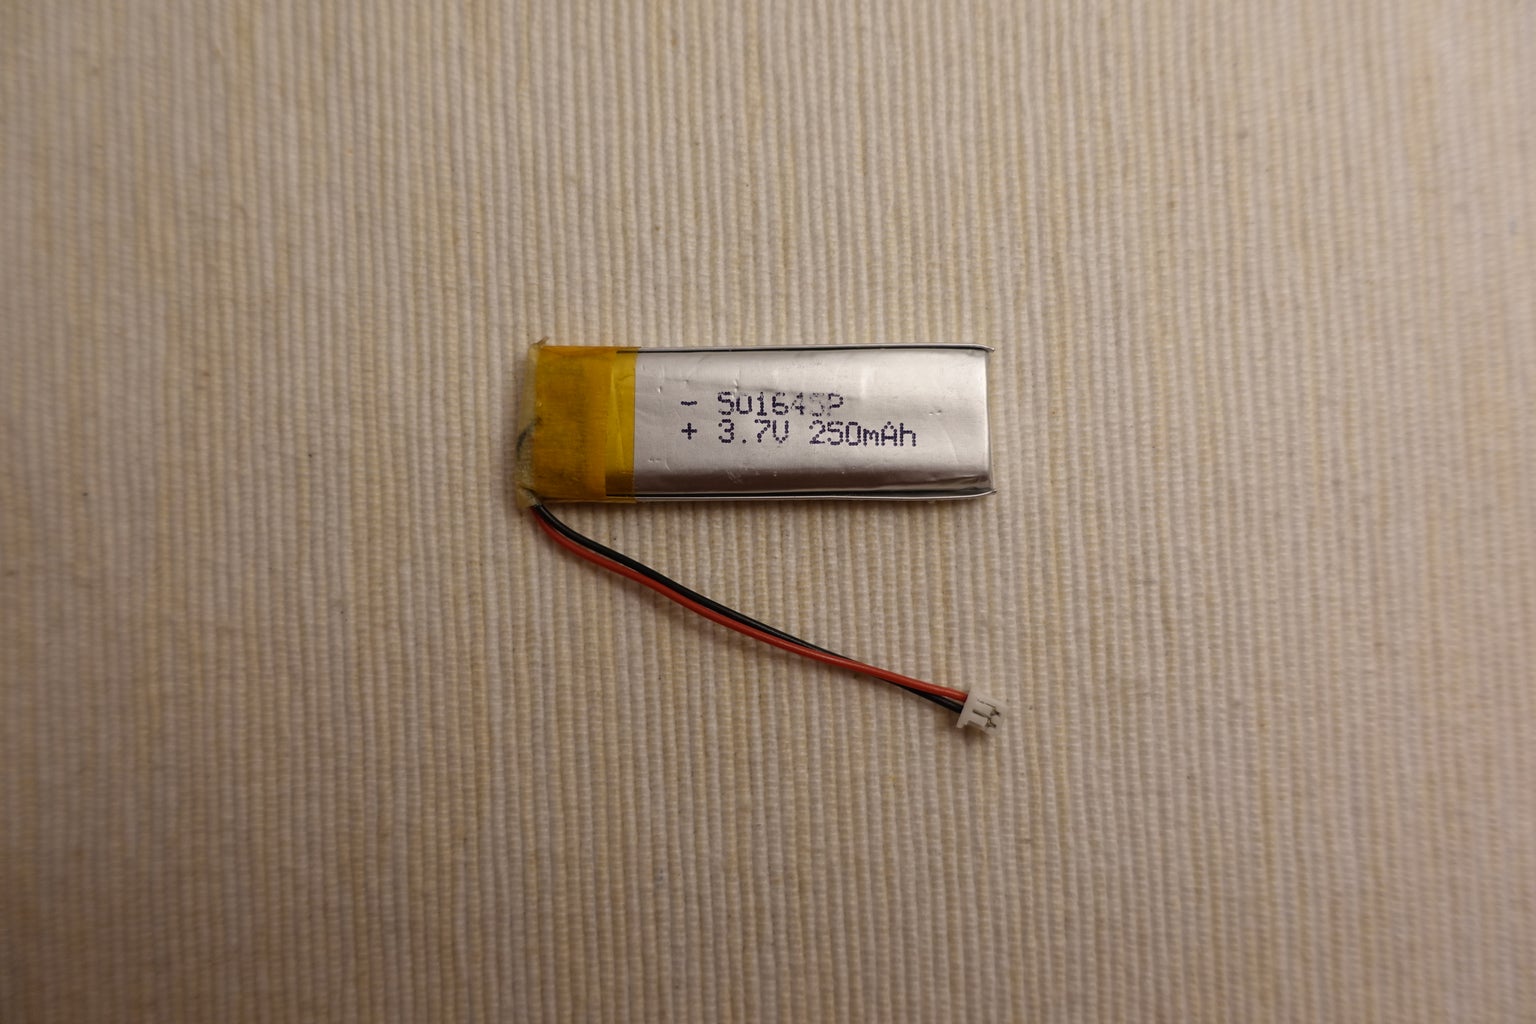
Lipo Battery
A small size Lipo battery with 1.27 mm plug.
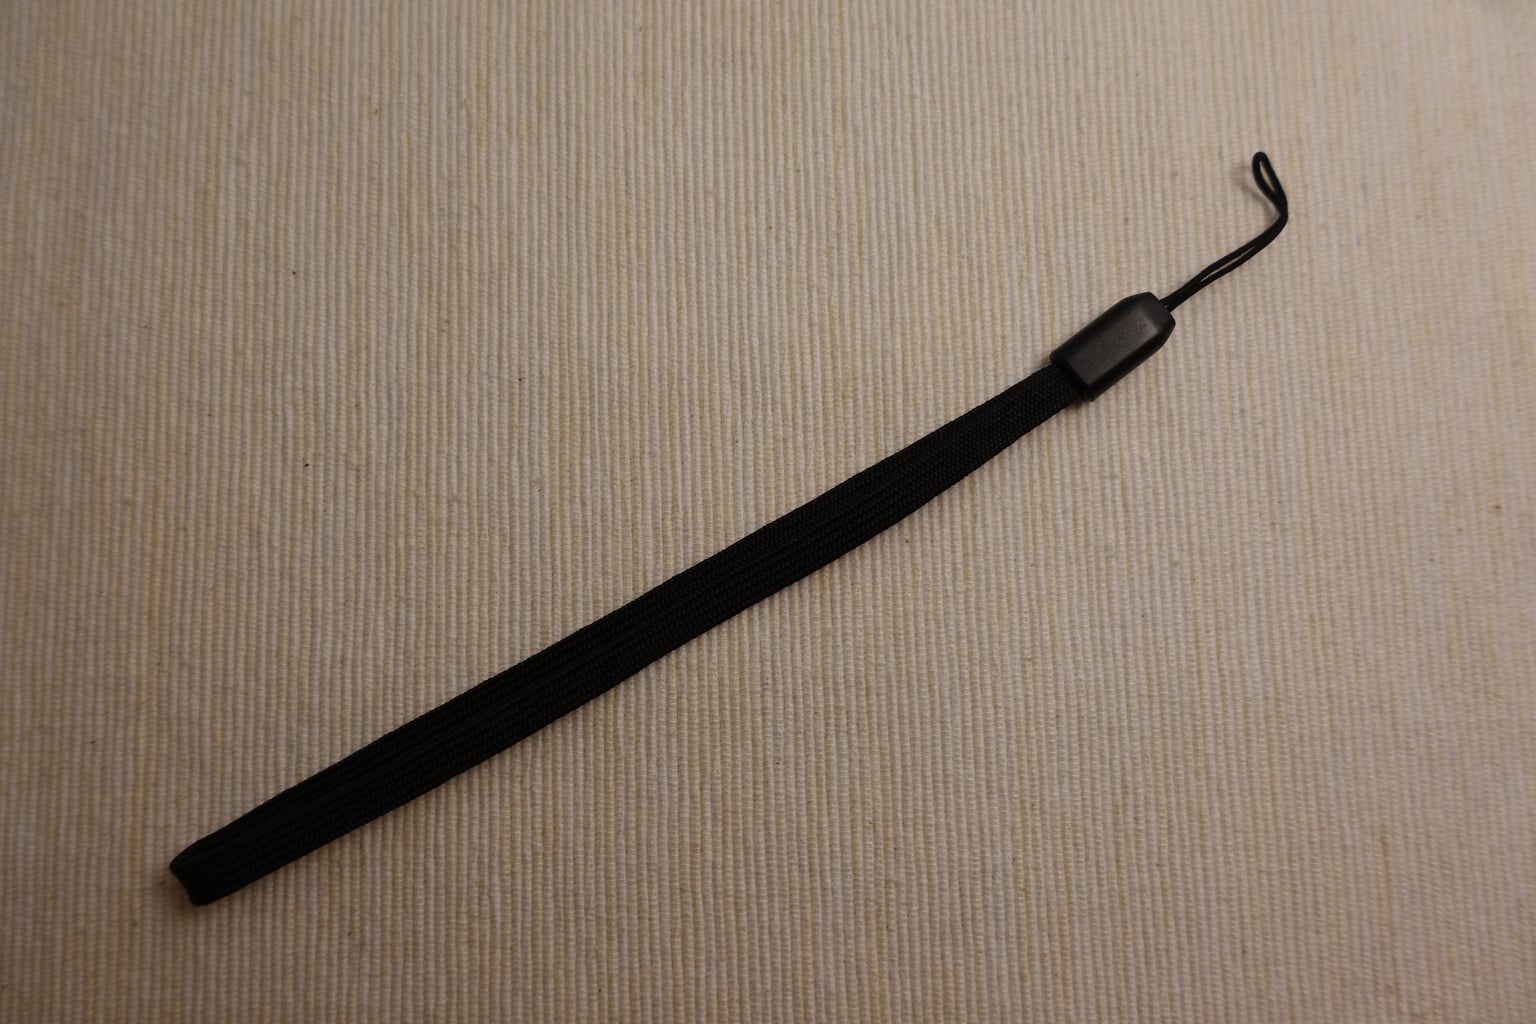
Strap
A wrist strap or neck strap for easy handle the camera.
Step 2: Software Preparation

Arduino IDE
Download and install Arduino IDE if not yet: https://www.arduino.cc/en/Main/Software
Arduino ESP32 Support
Please follow Installation Instructions at GitHub: https://github.com/espressif/arduino-esp32#instal...
Step 3: Upload Program

- Download the source code from GitHub: https://github.com/moononournation/arduino-selfie-...
- Plug TTGO T-Camera to the computer
- Open in Arduino IDE
- Select Board to "ESP32 Dev Board"
- Enable PSRAM support
- Press upload button
Step 4: Assembly

Plug the Lipo battery to the main board and put on the wrist strap.
Optional:
You may download and 3D print a case at Thingiverse: https://www.thingiverse.com/thing:3620973
Step 5: Happy Selfie!
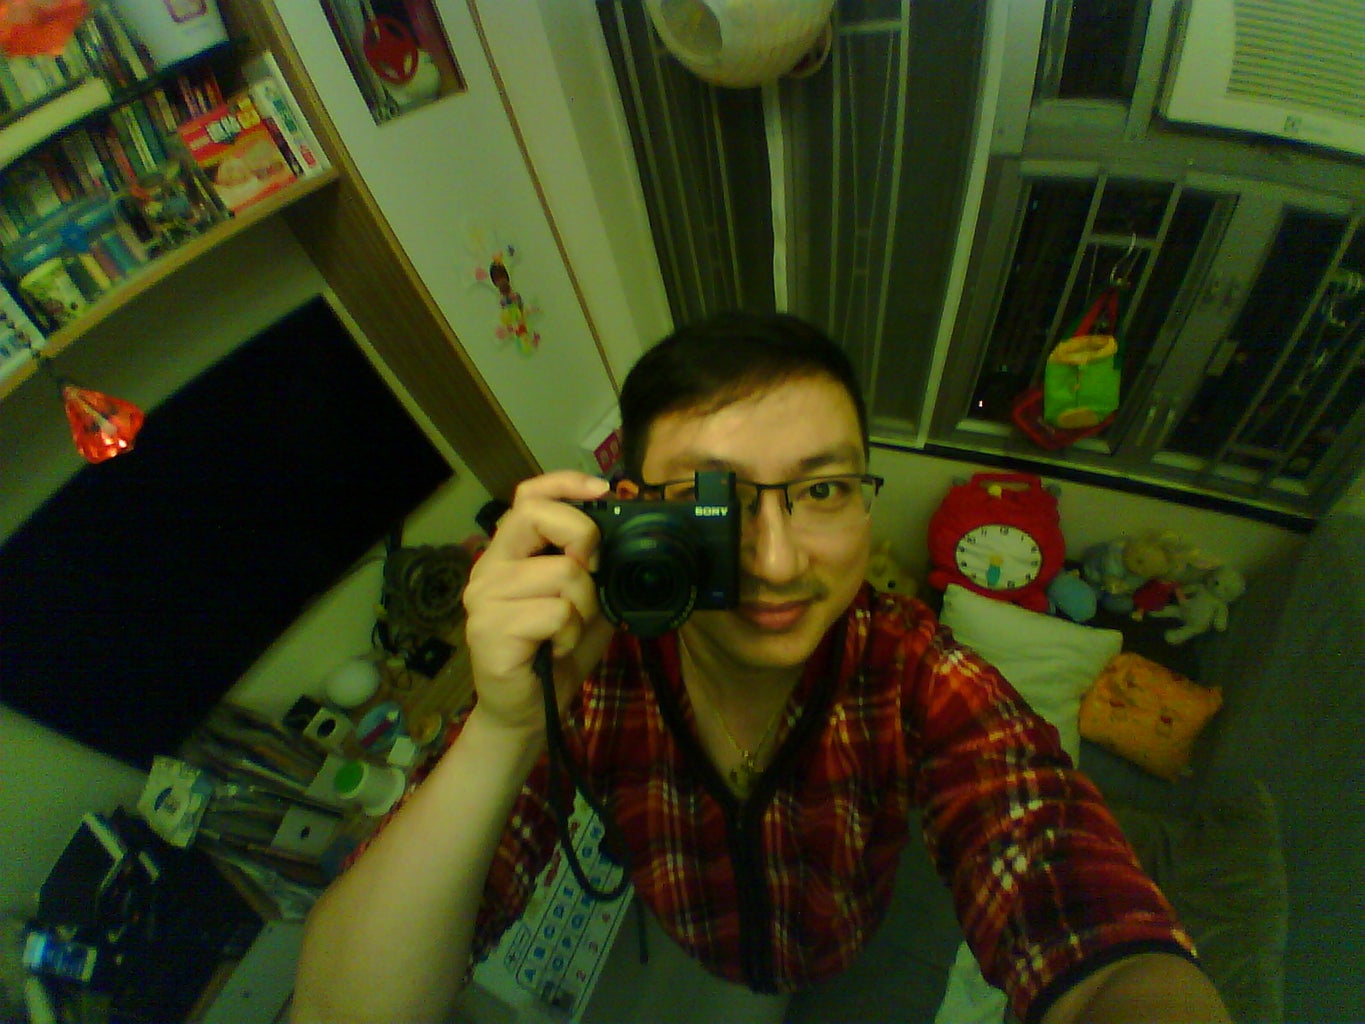
The above picture is taken from this selfie camera.
It only 2 megapixels and no auto focus but it is very tiny and LOMO feel ;>
Here are the snap steps:
1. Press reset button to turn on the Arduino Selfie Camera
2. Camera count down from 3
3. Adjust your favourite angle
4. Camera start take 3 snap photo in a row
5. Auto playback last taken photo
6. Enter sleep mode after 5 seconds
5. Press reset button to take a snap again

Participated in the
Arduino Contest 2019


![Tim's Mechanical Spider Leg [LU9685-20CU]](https://content.instructables.com/FFB/5R4I/LVKZ6G6R/FFB5R4ILVKZ6G6R.png?auto=webp&crop=1.2%3A1&frame=1&width=306)


