

Introduction: How to Build an Arduino Uno on a BreadBoard


If you are like and me and enjoy building electronic projects then you might have worked with the Arduino Uno. The Arduino uno is the most popular micro controller of the series and has a large collection of libraries which make working with it very easy. So there would be times where you may need more than one Uno for the project, I like to make my own micro controller rather than buying a new one, as this saves me some money which may be helpful for other such projects.
In this tutorial I'm going to show you how to, build your own Arduino Uno clone, so you can use it along side with circuits. This is a breadboard tutorial so no soldering skills are required.
You can check out my video tutorial above.
Step 1: Components Required
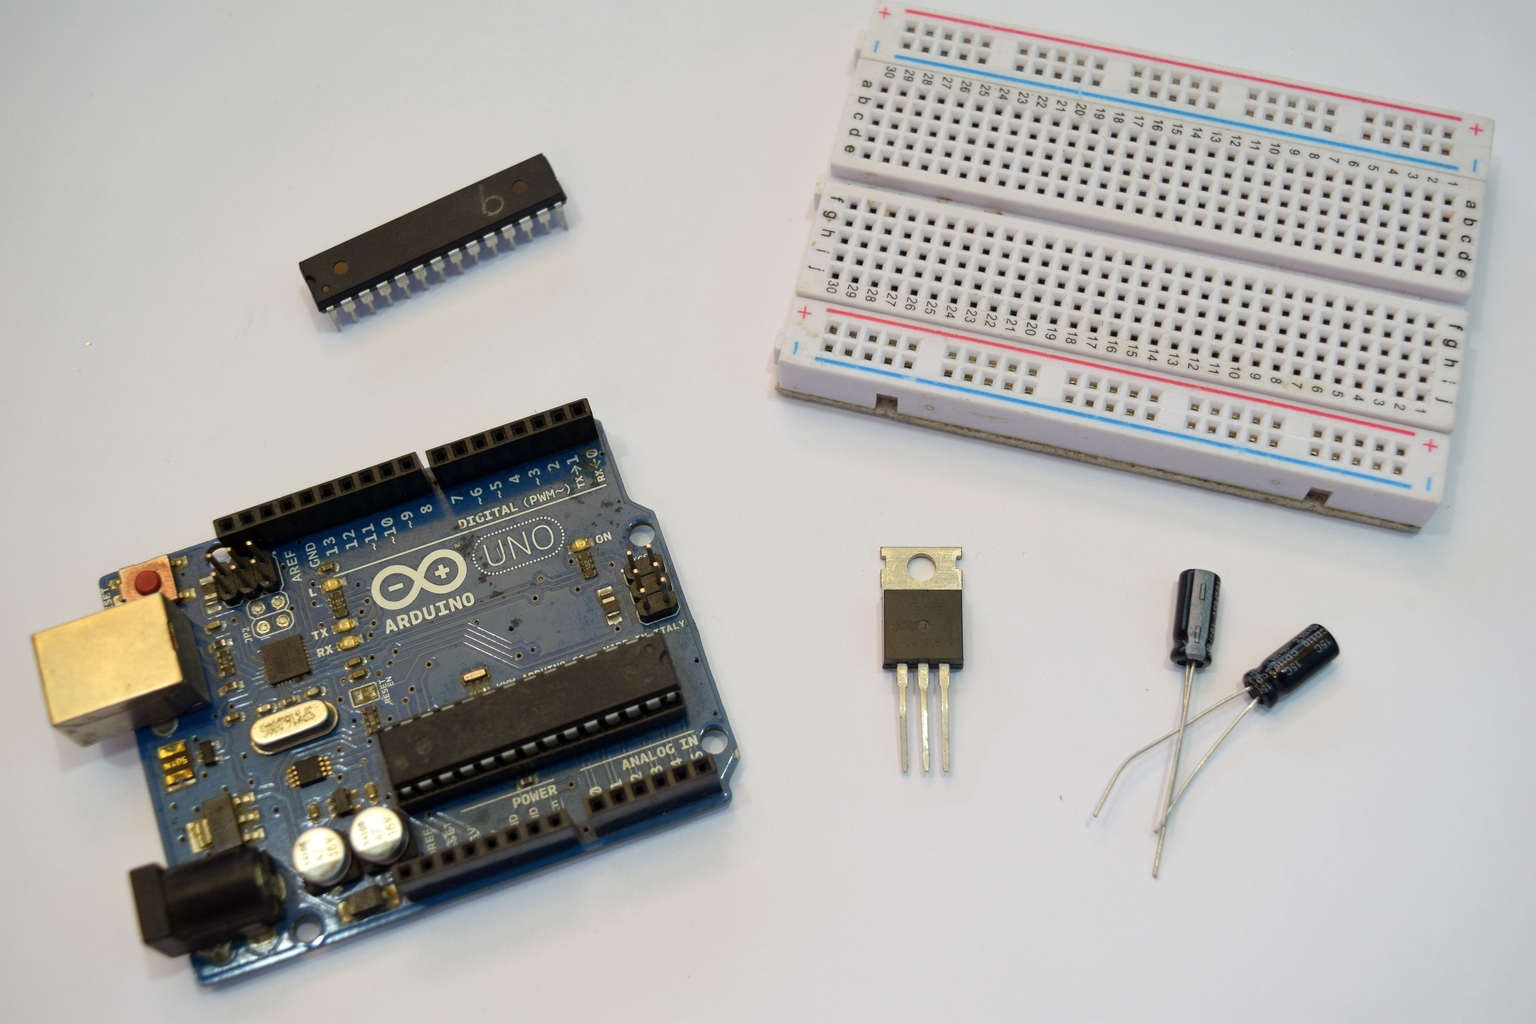
The components required for this project are fairly simple and all the parts can be purchased at a local hardware store or on eBay.
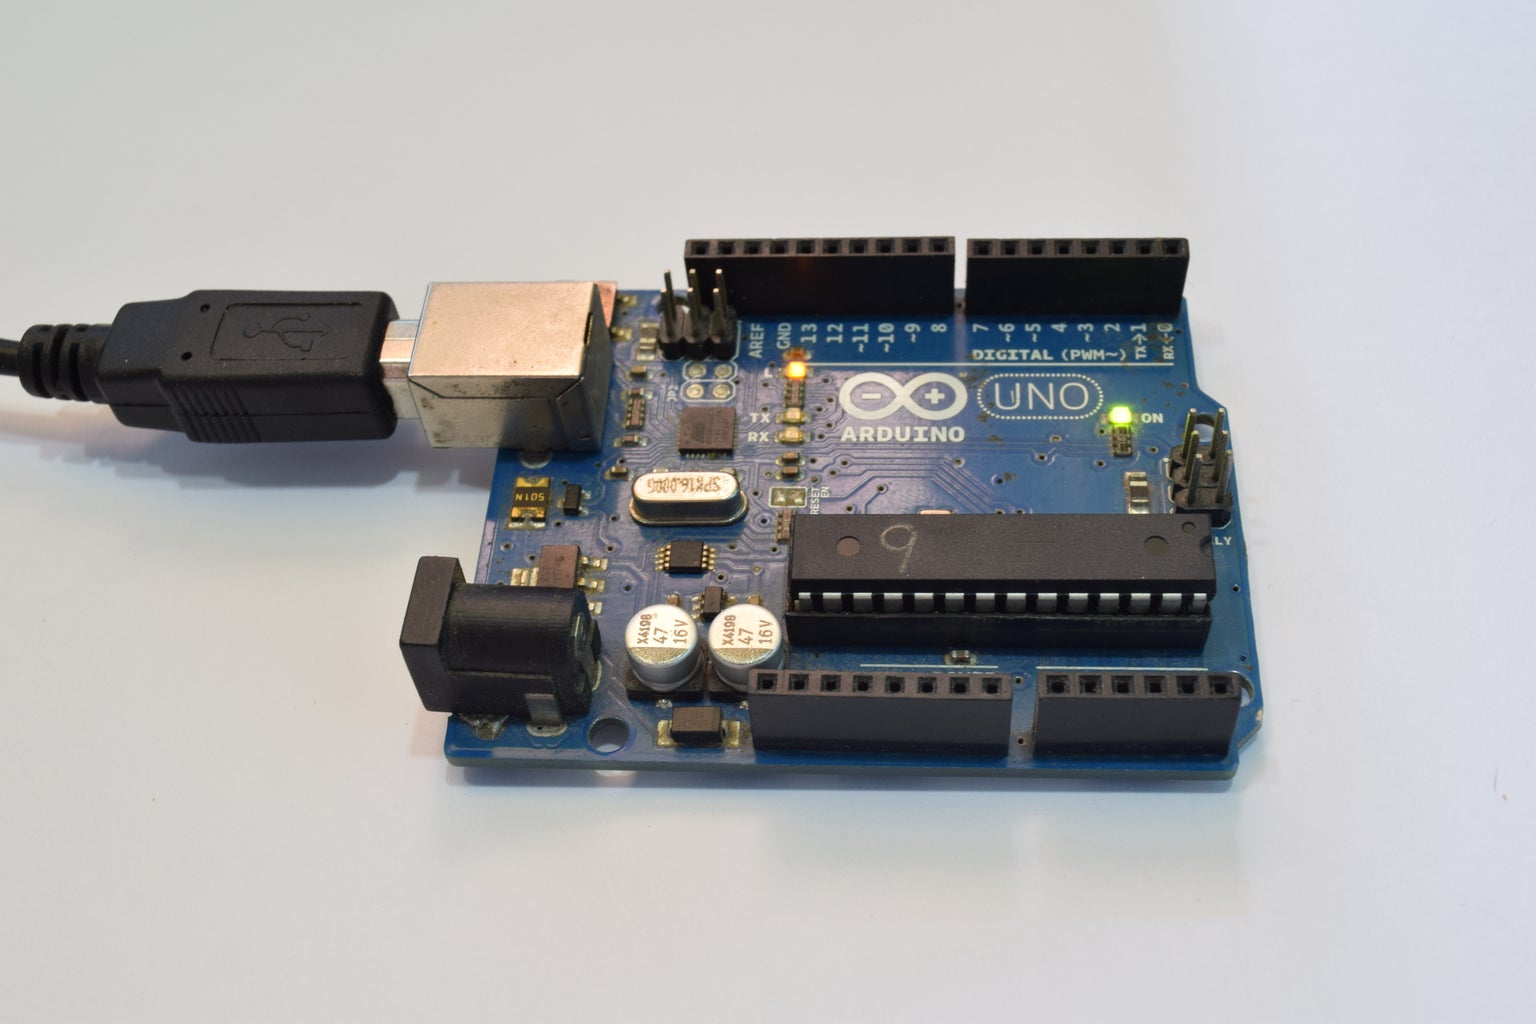
USB to Serial module (you can also use an Arduino Uno if you have one)
- Atmega328 IC
- 16 Mhz Crystal
- 22pF Capacitor
- L7805 Voltage regulator
- 10uf Capacitor
- LED
- Breadboard
- Connecting Wires
- 6V or 9V or 12V Power supply
- Soldering Iron
Step 2: Atmega328
The Arduino is based on the Atmega328 IC and it is also the heart of the circuit. All the processing and everything else is done by the IC. The Atmega328 has to have a arduino boot loader flashed on to it to program it using the Arduino IDE.
The arduino uno is made of three parts
- Atmega328 IC
- Voltage Regulators
- Serial Programmer
You can purchase an Atmega328 IC with the Arduino boot-loader pre-installed or you can also install it yourself but you will need an Arudino uno to install the boot-loader. So it is recommended to get a Atmega328 with a pre-installed boot-loader.
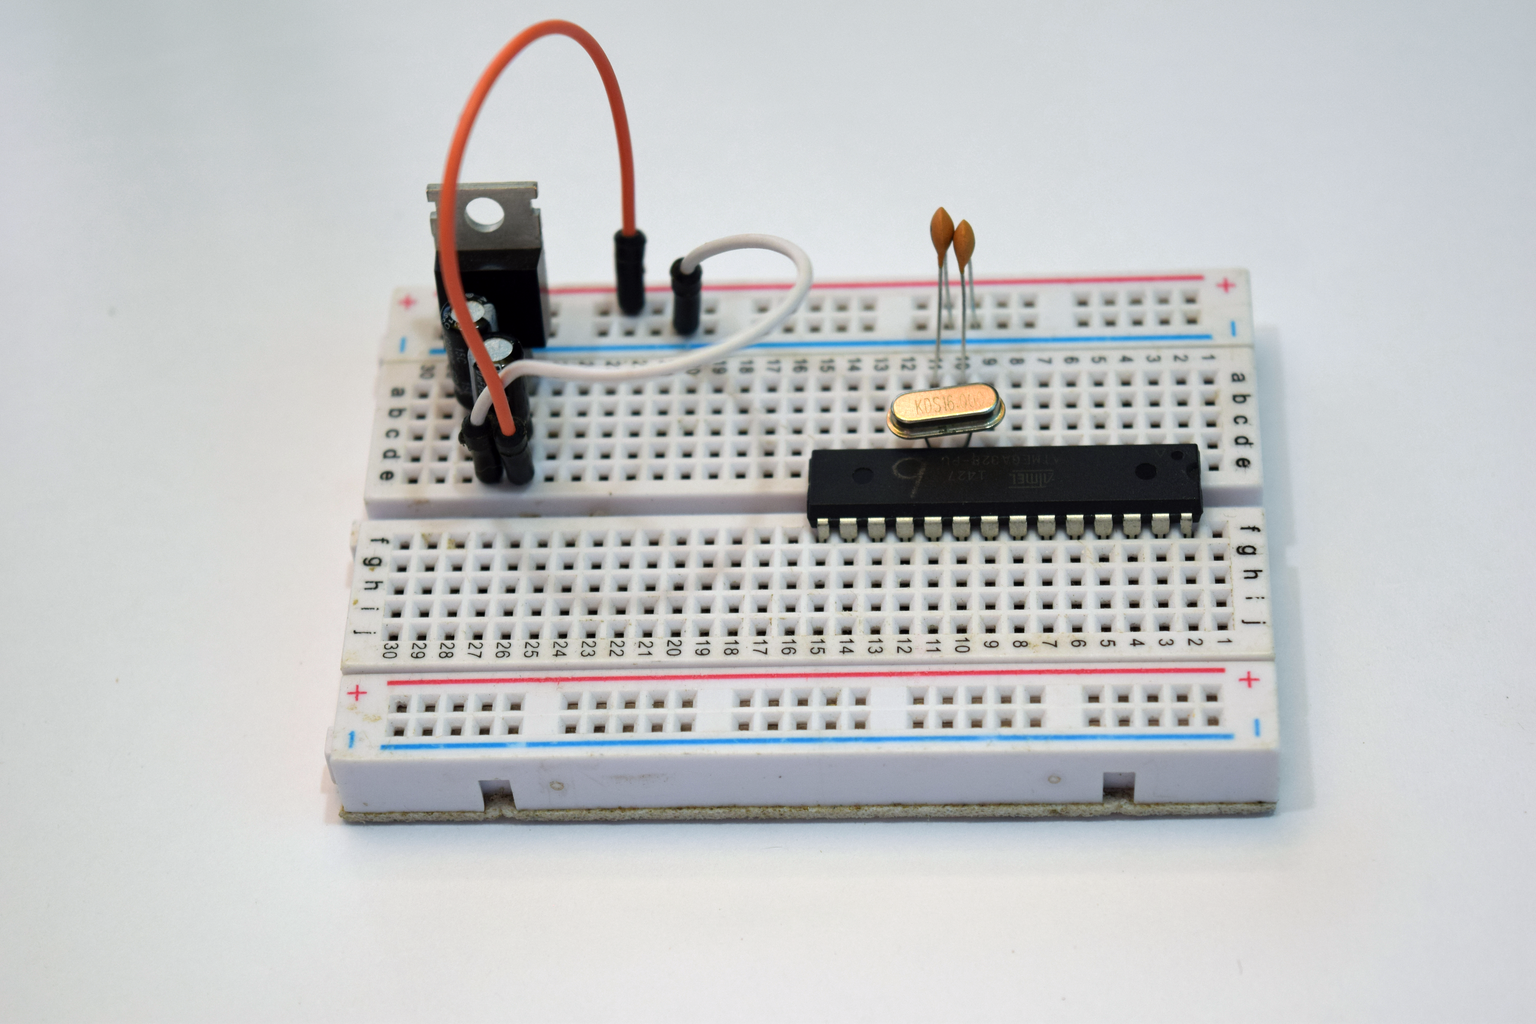
Step 3: Voltage Regulator


The first step will involve building a voltage regulator, the atmega328 is a 5V micro controller so is the arduino Uno. So we need a regulated power supply to power the Atmega328 IC. For this we will be using a L7805 voltage regulator this is a popular voltage regulator and is cheap and serves the purpose of building an Arduino uno. This voltage regulator gives a voltage of 5V and a maximum load current of 1A.
You can also use a better efficiency regulator if you need more power output. You may also use a breadboard power supply as an alternative.
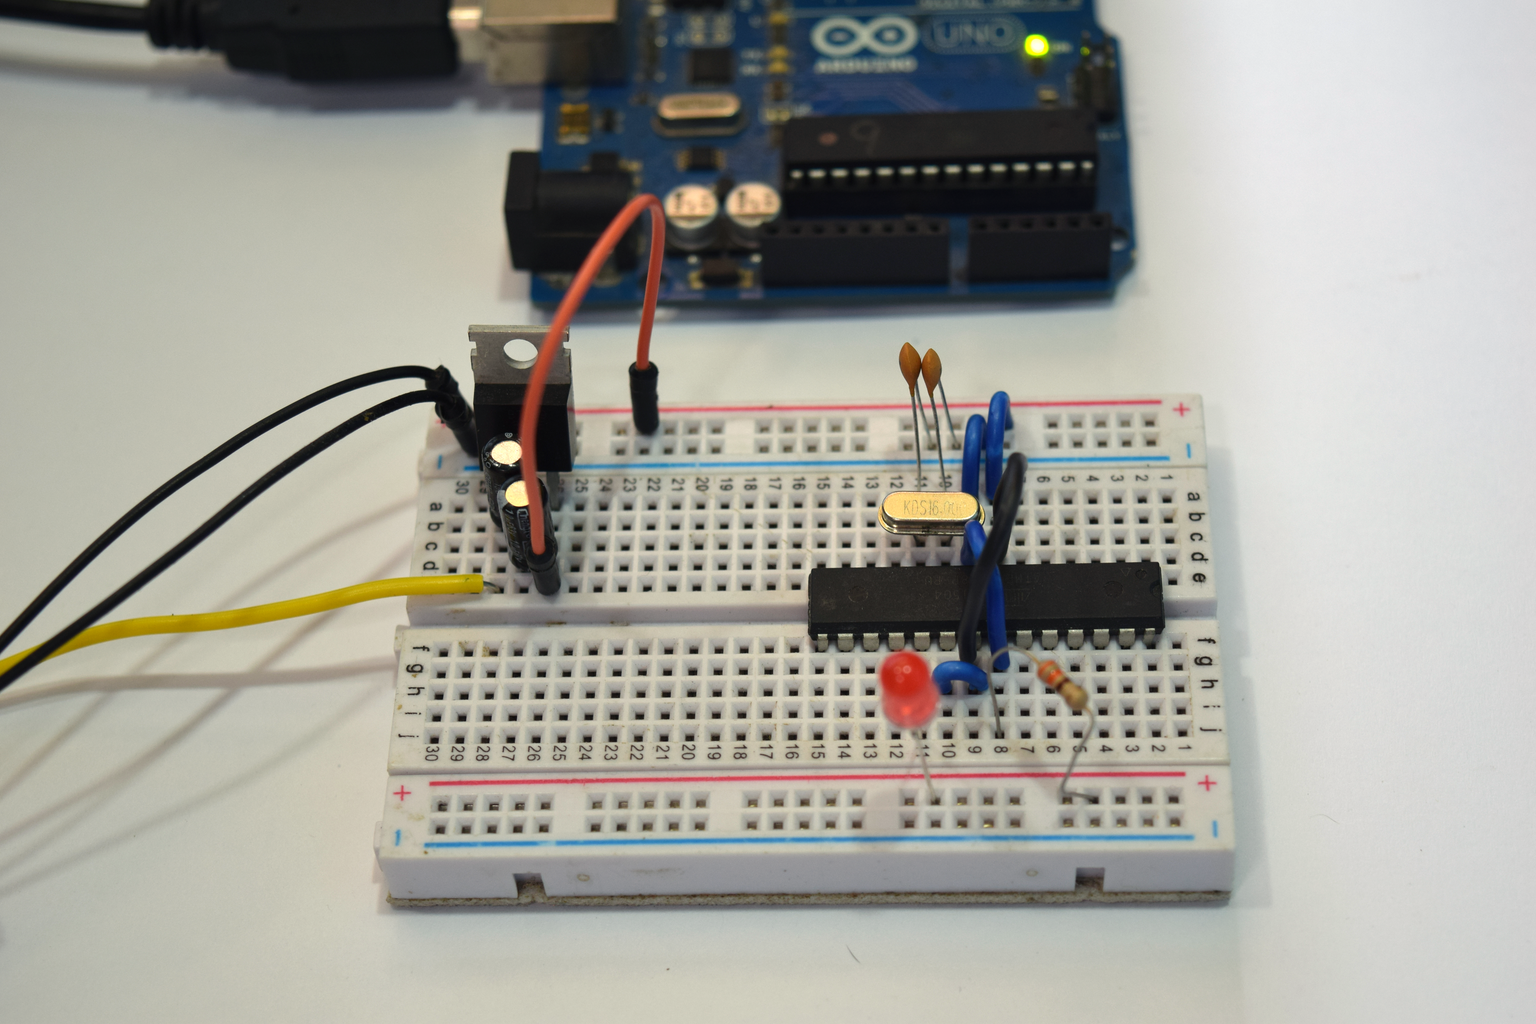
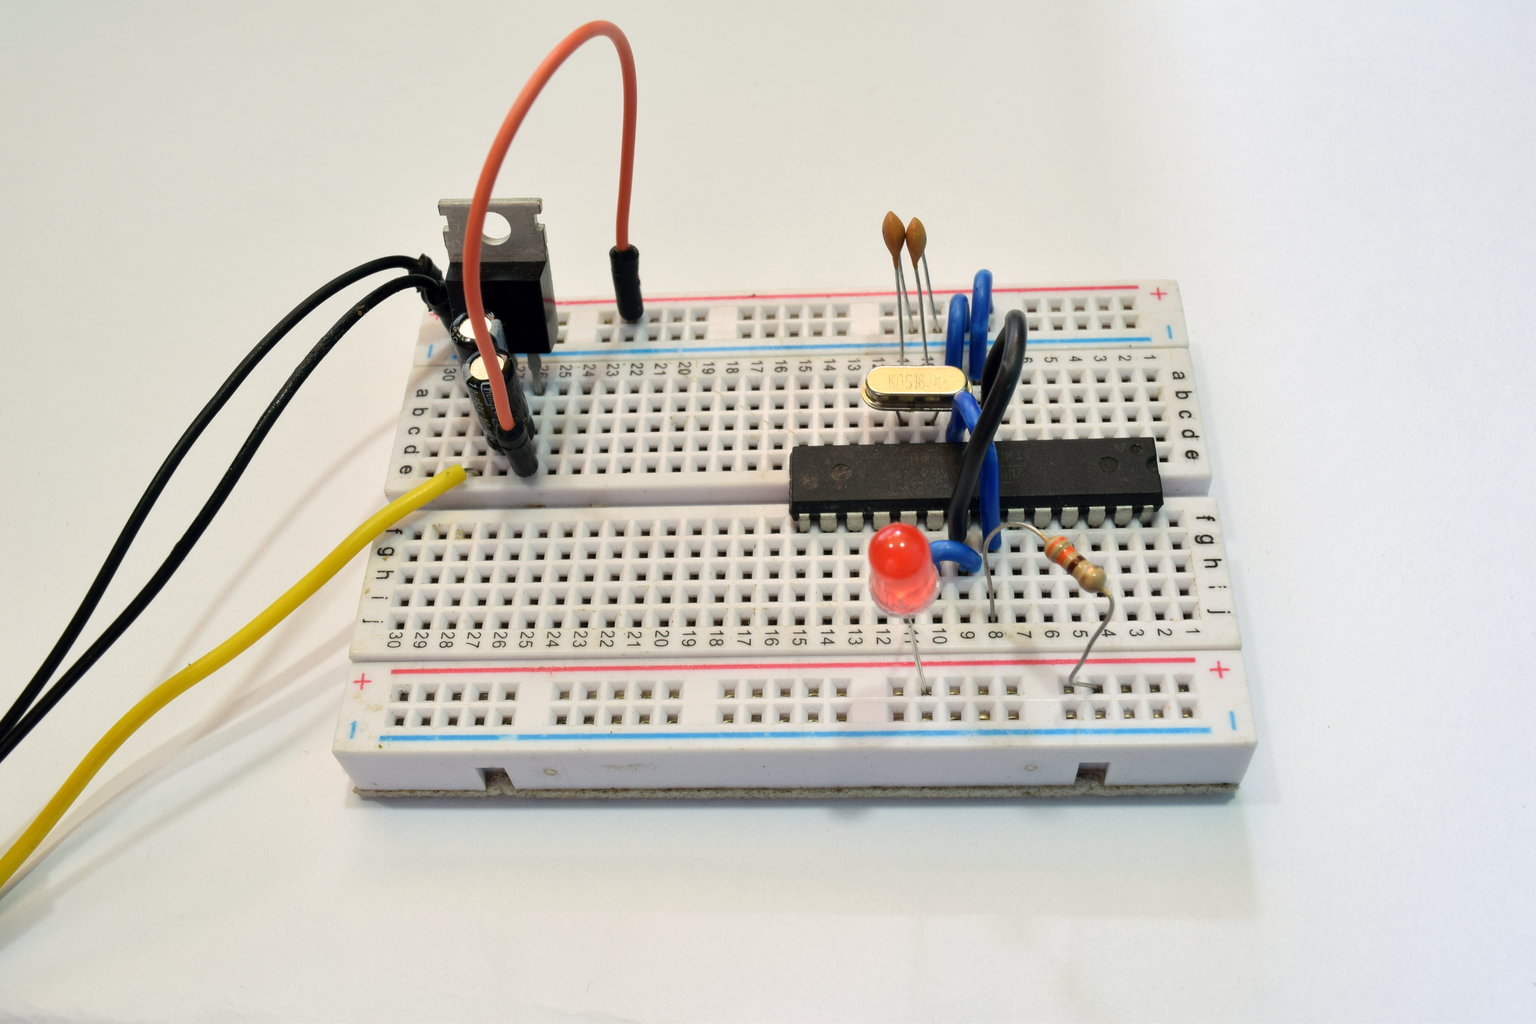
Step 4: Circuit


The circuit is fairly simple and the connections from the Arduino to any external circuit may vary depending on the external circuits. It would be recommended to try it out on a breadboard first. Follow the circuit above and assemble it on the breadboard. You can also add a led on digital pin 13 if you want to replicate the on board led as on the Arduino uno.
I am assuming you got an arduino with a preinstalled boot-loader if you got one without the bootloader you can use an Arduino uno to flash the boatload on the IC.
Step 5: Serial Connection
In the atmega328 IC the pins 2 and 3 act as a serial port and to program the board all you have to do is connect these pins to the USB to serial converter. You can also use an arduino as an programmer to program the board. But using a USB to serial converter is much simpler to work with.
After you are done with the connections plug the USB end of the converter to a computer, and install the necessary drivers if you are on windows.
Step 6: Uploading Code
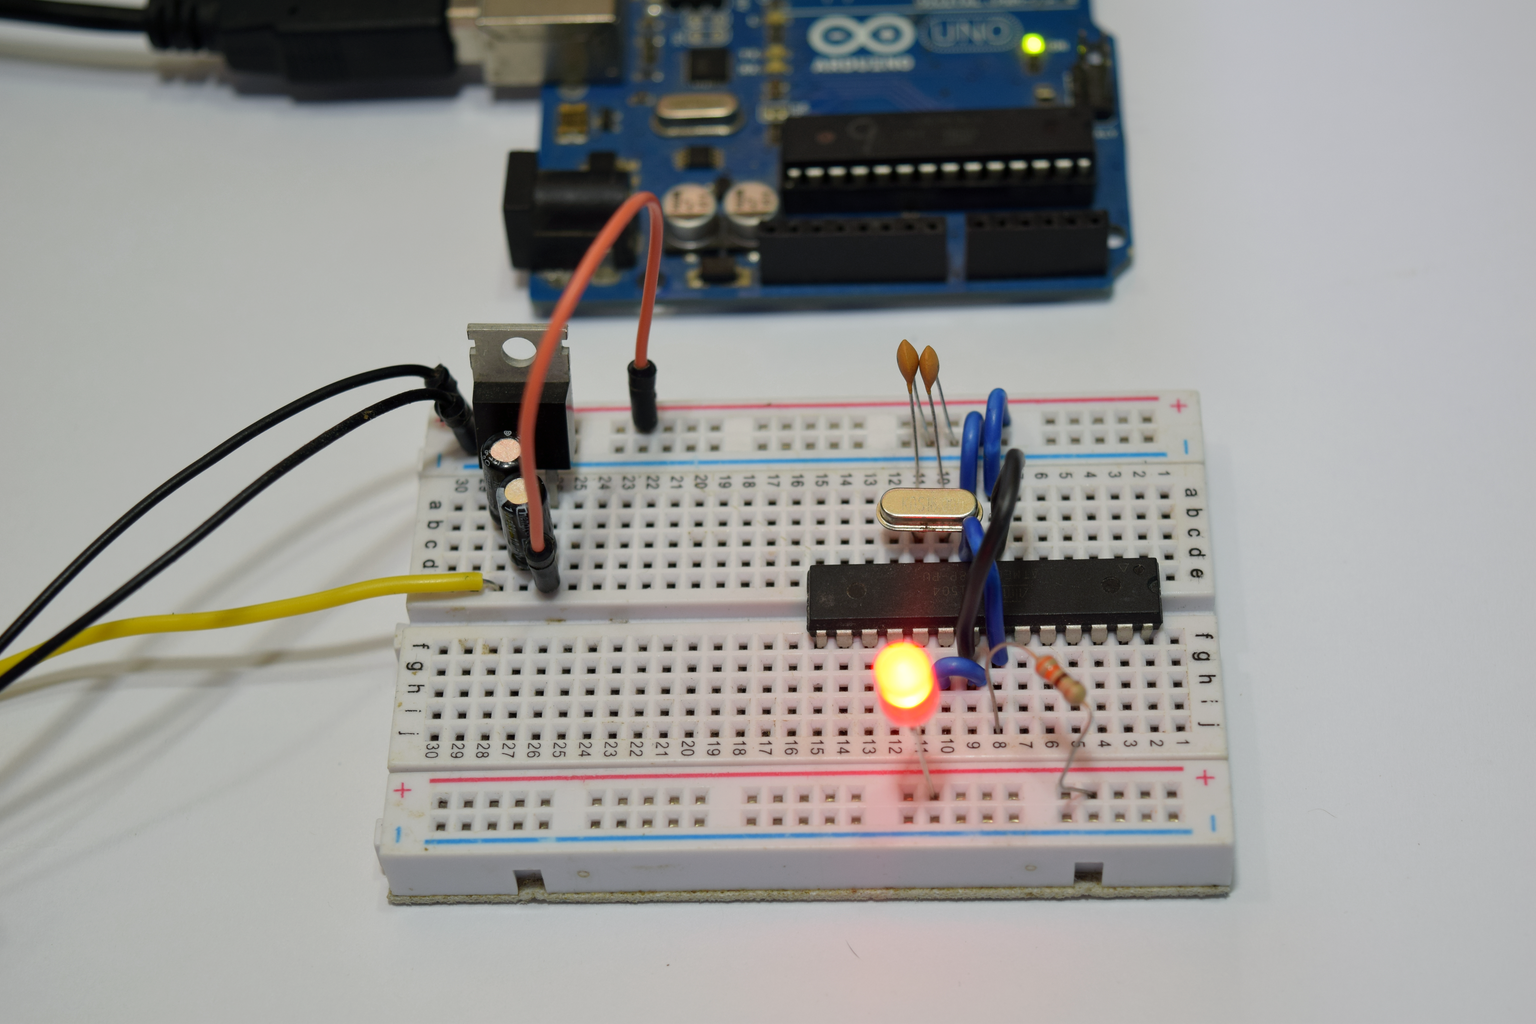

Before you can upload code to the board you need to download and install the Arduino IDE from the arduino official website. Then select the suitable serial port, board and you should now be ready to program your home made Arduino. To test the board you can try out the blink program you can find in the examples section of the Arduino IDE.
And you should now see the led connected to the digital pin 13 blink at an interval of every one second.

Third Prize in the
Makerspace Contest

![Tim's Mechanical Spider Leg [LU9685-20CU]](https://content.instructables.com/FFB/5R4I/LVKZ6G6R/FFB5R4ILVKZ6G6R.png?auto=webp&crop=1.2%3A1&frame=1&width=306)


