

Introduction: Upcycle Jeans to Backpack


If you have an old pair of jeans that are absolutely unwearable and can't be donated, this instructable showcases how to design a simple carrying bag. For my purpose I wanted to design something that could be used as a "summer backpack" that I could take to the beach, park, or biking to hold a water bottle, phone, money, etc. I also wanted it to be large enough to hold a 9" x 12" sketchbook, drawing utensils, ipad, and earbud for when I travel.

What you will need:
- Singular pair of jeans
- Fabric scissors
- Sewing machine with thread
- Sewing pins
- Ruler
- Hot glue gun
- Steam iron (optional)
Step 1: Prep Work

1. Cut the belt off the waist of the jeans.
2. Cut the pant legs off about 1 inch below the back pockets of the jeans.
3. Cut out back pockets.

Step 2: Prepping the Bag
1. Take one of the pant legs and cut along the the inside seam.
2. Cut off the inside pant leg hem completely.
3. Lay the fabric out so that the inside fabric is topside. Cut off the bottom pant leg hem.

4. With a ruler, fold the bottom of the pant leg inwards about 2cm (0.78") to create a new hem. Pin down. To help create a fold use a steam iron to press fabric into a fold.

5. Repeat step 2 for the top of the pant leg.

6. Sew both hems down about 3/8".

Step 3: Adding Bag Flap
1. Take the other pant leg and cut in half up the length of the paint leg. Set one half aside.

2. With the other half cut so the length of the leg is about 1 to 1 /12" longer than the width of the bag.

3. Take the bag fabric and fold in half with frontside fabric facing out. Choose which side will be the back side of the bag. Pin the flap with backside of fabric facing topside. Pin fabric to the top edge the backside of your bag.

4. Sew flap to backside of bag 3/8" inward. I used a zigzag stitch for this part.

5. Fold top of bag flap inward 2 cm and pin. Sew together with a 3/8" seam.

Step 4: Measure and Pin Side Seams


Measure 2cm hem seams along the length of the bag up to the top of the bag flap on both sides. Pin down and sew 3/8" inwards.
Step 5: Straps
1. With the last remaining pant leg half, trim off bottom hem and even out pant leg top. Cut in half lengthwise.

2. Fold in half with "backside" of fabric facing outwards. Pin edges.

3. Sew straps at 1"

4. Flip straps so front side is on the outside.


5. Fold edges inward about 2 cm. Hot glue or sew shut.

Step 6: Attaching Bag Flap Latch


1. Take the jean belt and cut off the belt loops. Pin to the center of the bag with the button hanging off the bag flap. If belt is too long, leave extra unpinned above the flap for a bag handle.
2. Either hot glue or sew into place. I find hot glueing to the middle of fabrics is easier than sewing. DO NOT SEW/GLUE BELT LOOP TO FABRIC. Do not glue/sew handle down.
Step 7: Attaching Straps


On the backside of the bag pin straps into place. Once your are satisfied with the placement, sew ends into place.
Step 8: Attaching Pockets

Take the two back pockets and cut of any excess material. Hot glue the back of the pockets onto the front of the bag.
Step 9: Sewing Bag Sides Together

With fabric reversed, pin sides together. Sew 3/8" seams on each side.
Step 10: Angular Bag Flap (Optional)

If you want a more angular bag flap, turn the corners of the flap inward toward the seam where the flap meets the back of the bag. Hot glue in place.
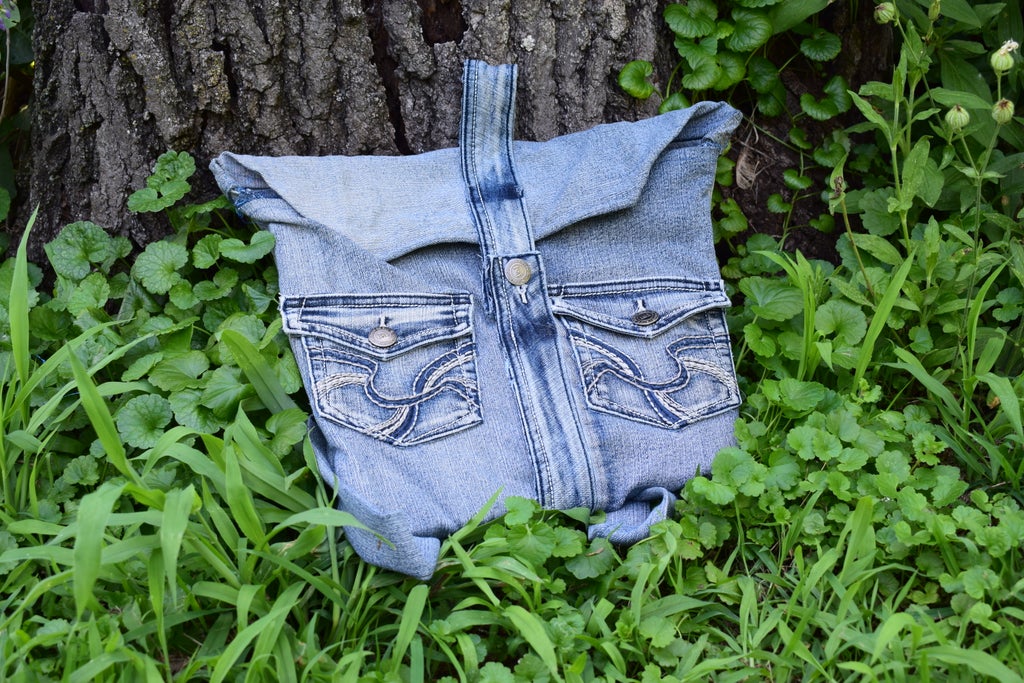
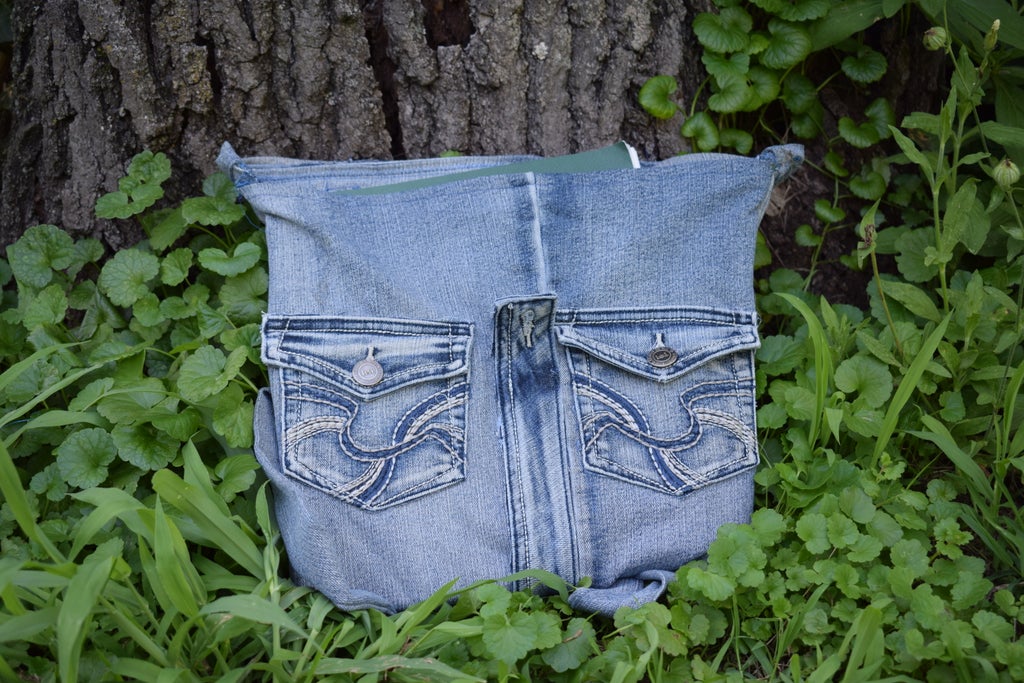
Step 11: Final Results

Participated in the
Backpack Challenge


