

Introduction: Arduino Nano INPUT_PULLUP Template


The Arduino Nano is a great platform for small projects, and what makes it even better IMHO is having a standard switch/power layout to take your prototypes from 0 to done in record time. This howto will show how to put together a compact package that takes advantage of the system's built-in pullup inputs, so that you don't need any external resistors, specifying pins as "INPUT_PULLUP."
Battery power is provided by a pair of CR2032 coin cell batteries with heat-shrink used to hold everything in place.
Step 1: What You'll Need:
- Double CR2032 Battery Holder: https://amzn.to/2Cvu1Sp (Amazon)
- 2 CR2032 batteries
- Shrink Wrap Tubing: https://amzn.to/2ud2eSa (Amazon)
- DIP switch multi-pack: https://amzn.to/2FdrxbQ (Amazon)
- Arduino Nano. Clone multi-pack: https://amzn.to/2Y7bQeR (Amazon)
- 22 Ga multi-color hookup wire: https://amzn.to/2Tfp2uz (Amazon)
You'll notice that there's no power switch, which is conveniently taken care of by the battery pack.
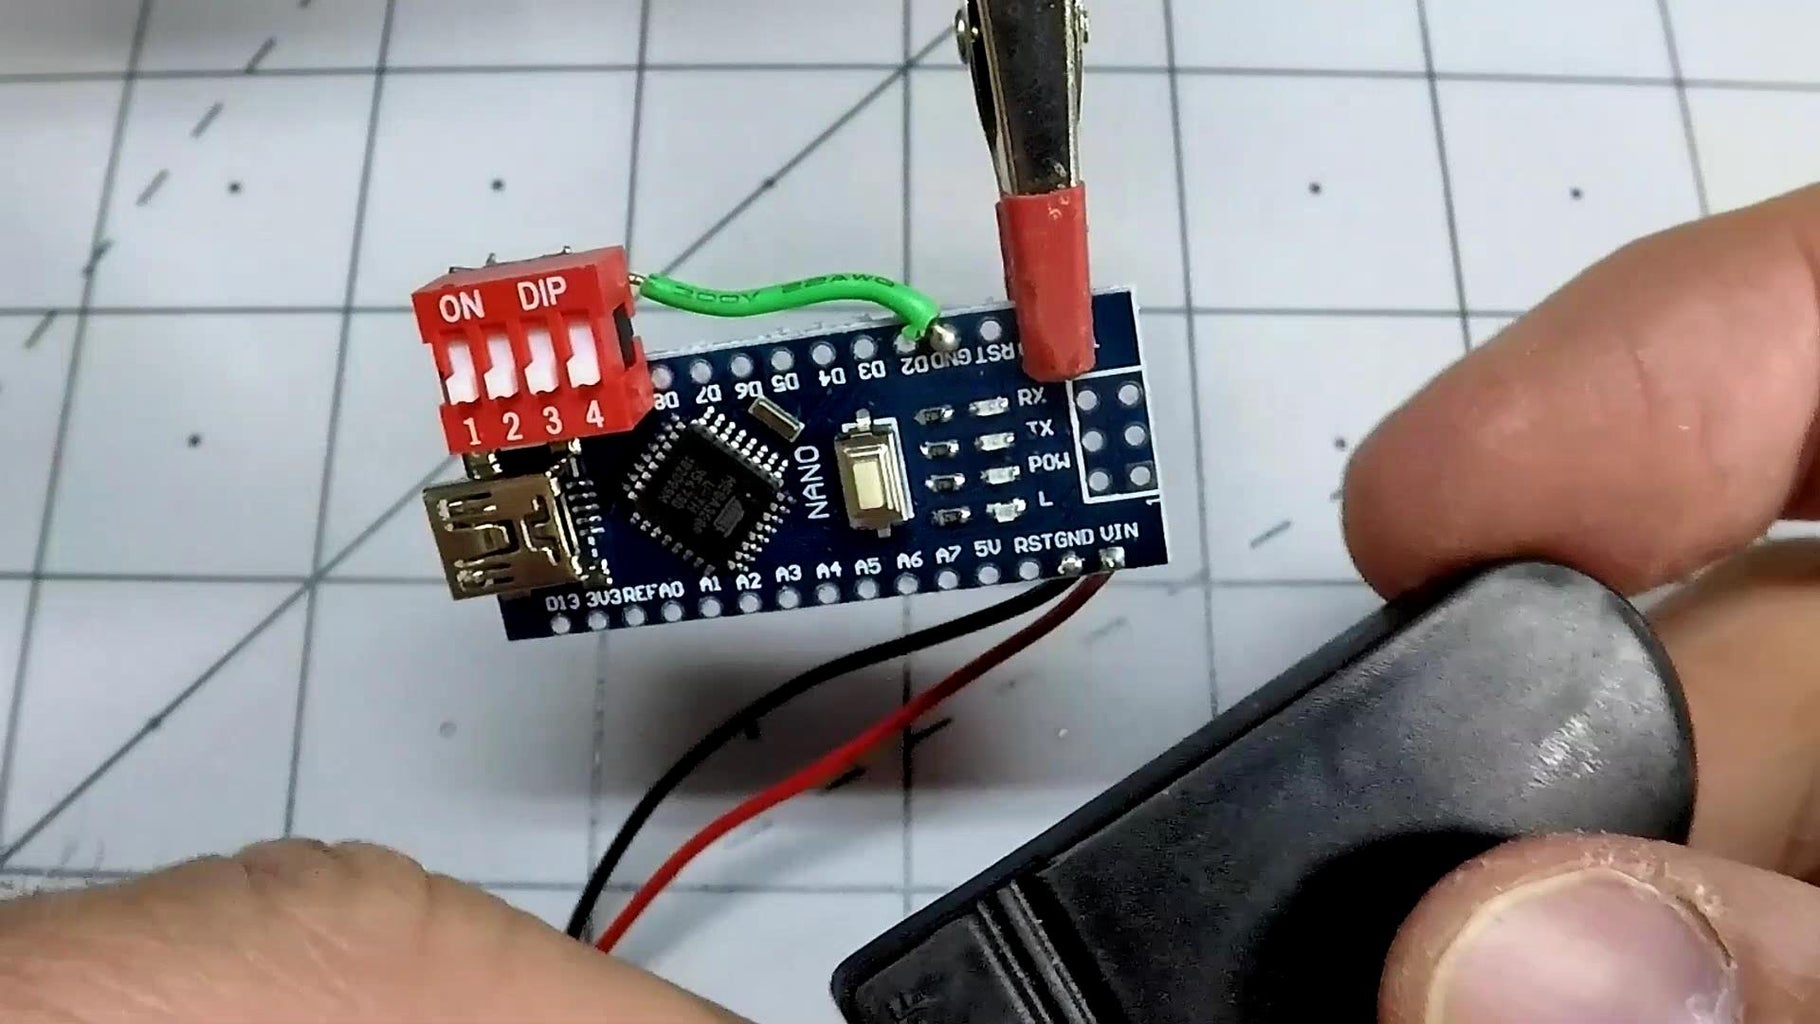
Step 2: Solder Everything Together
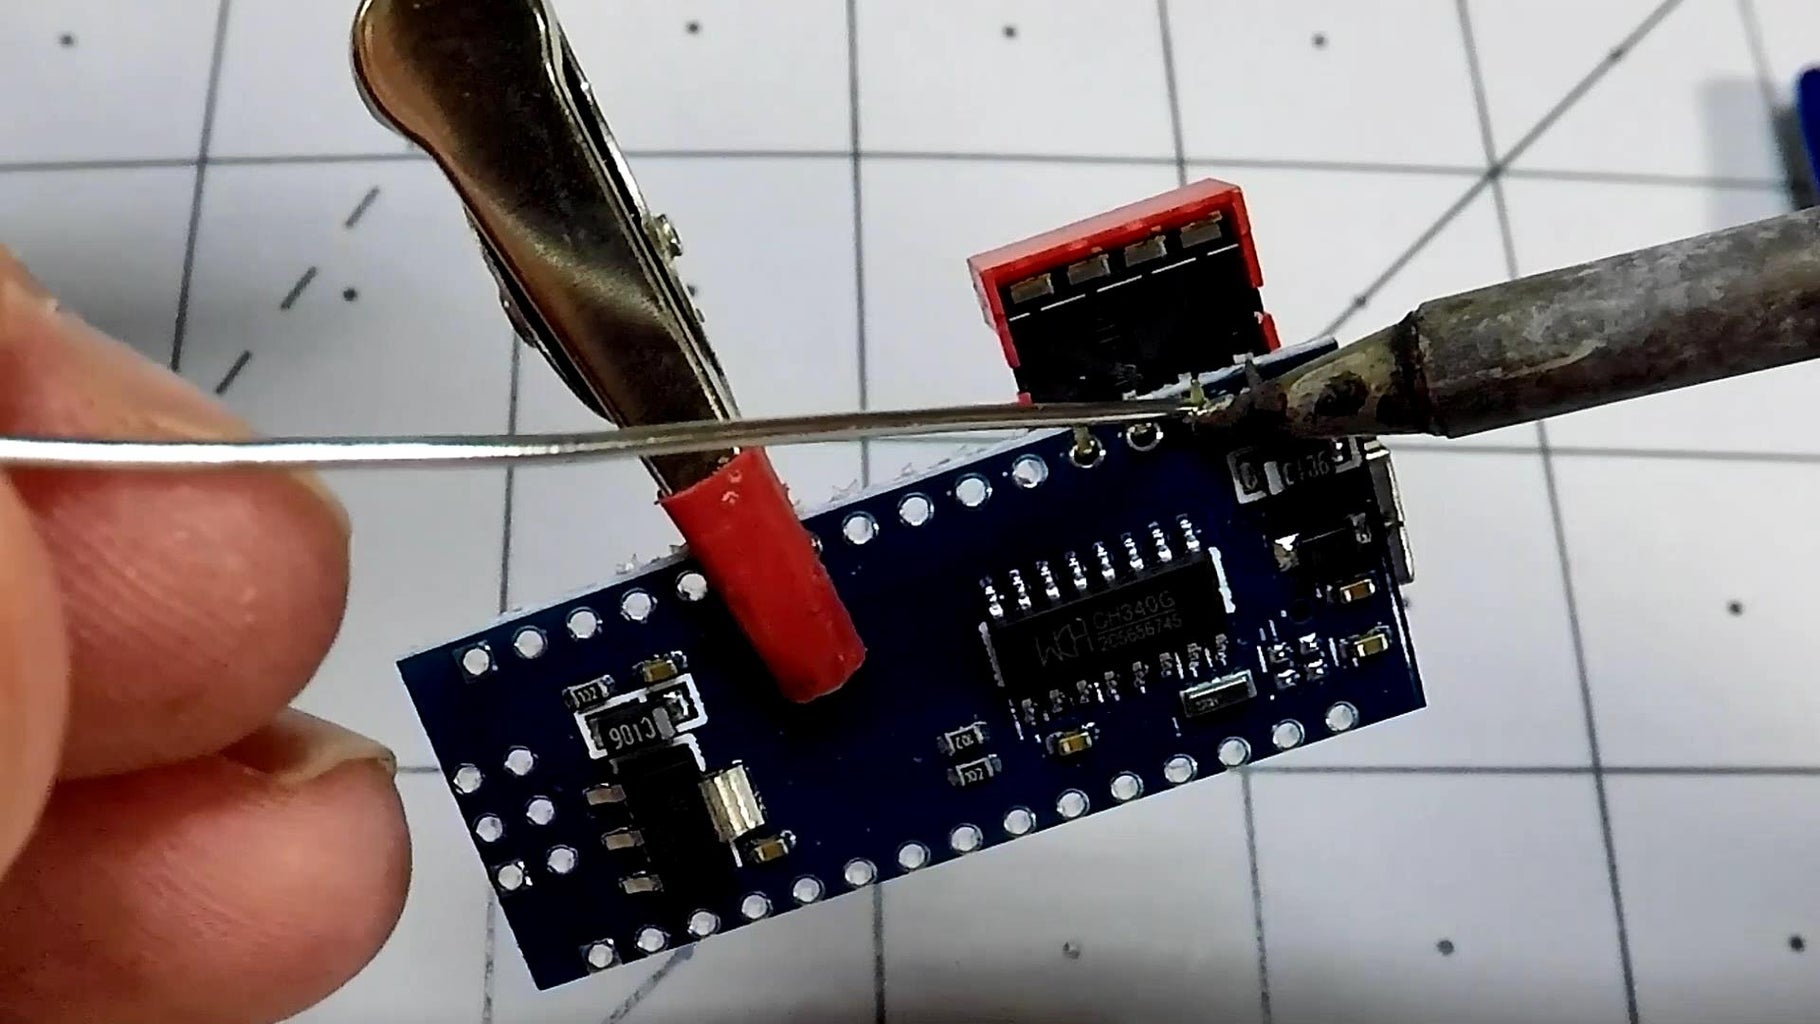
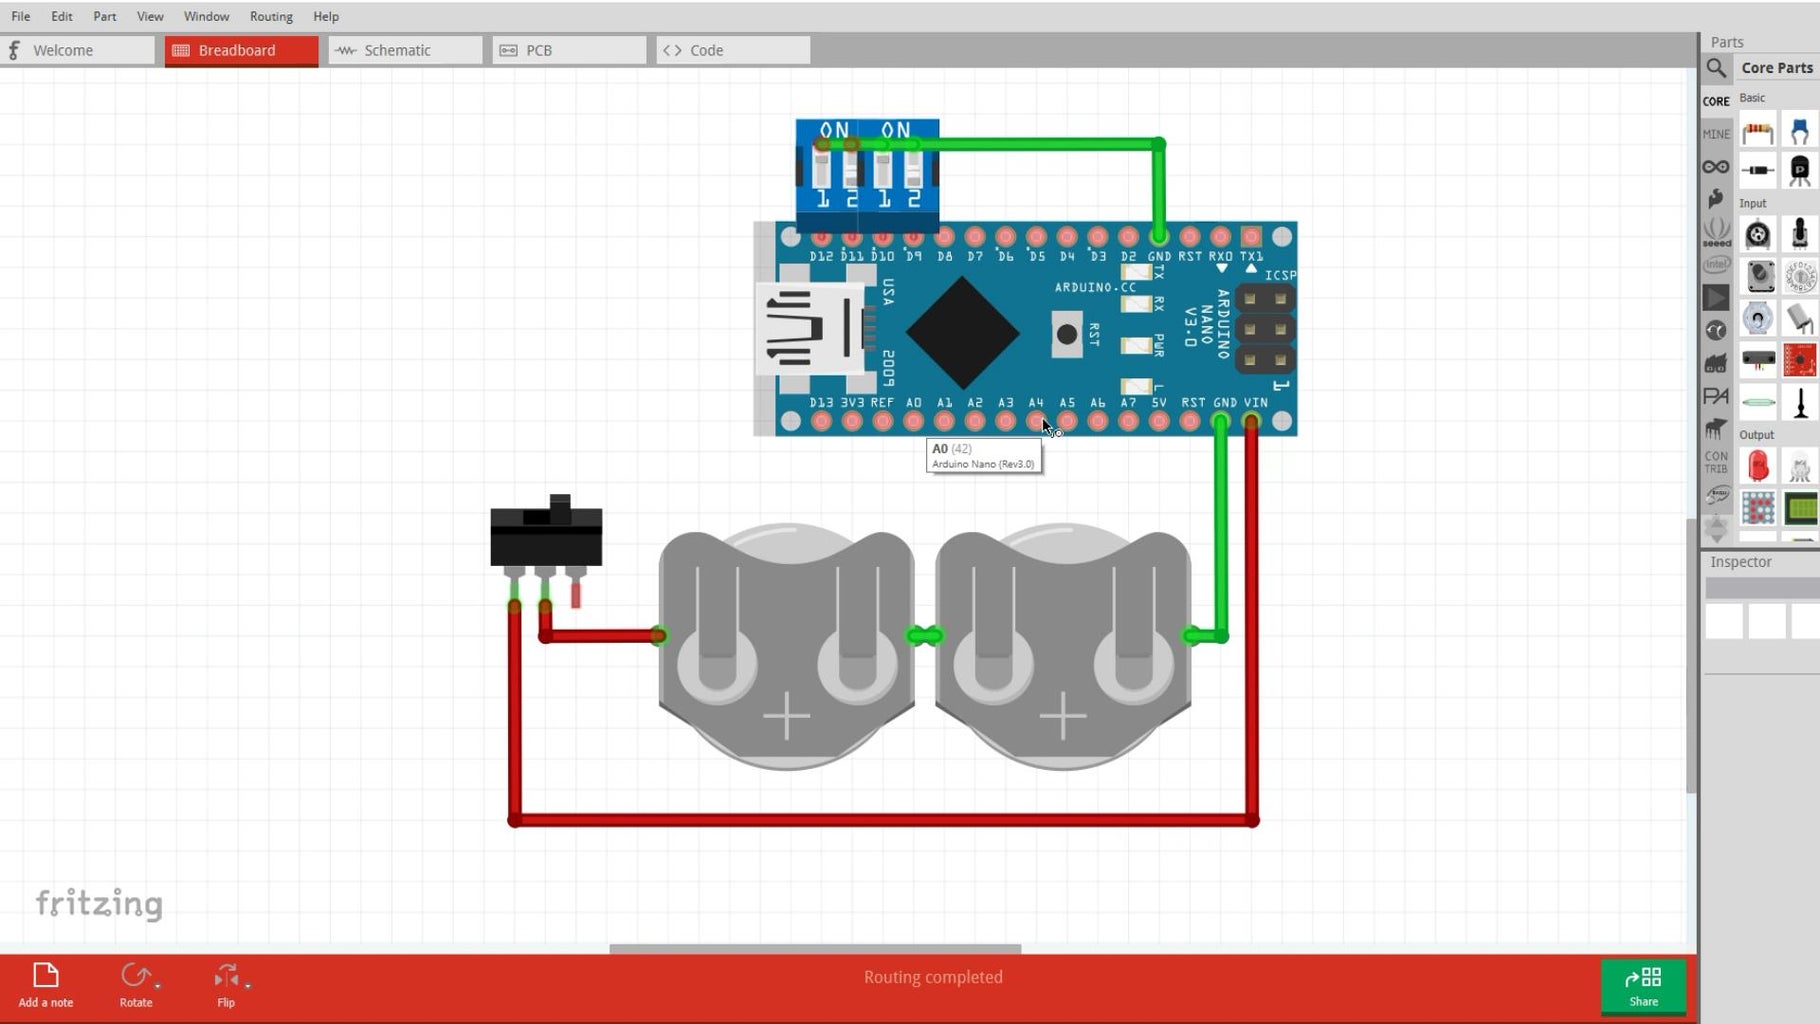
Solder up the switches and power supply as shown. Conveniently, the spacing of the DIP switches lines up perfectly with the Nano's holes, and you can bend the leads over to keep them secure when soldering. Ground each pin on the other side, and this "blob" can act as a great ground point for other sensors, etc. when needed.
Step 3: Heat Shrink

Affix the battery pack to the back of the Nano with heat shrink. The GIF is cool enough to merit its own section!
Make sure you have any accessory lines and devices connected before this step, otherwise you'll likely have to cut it off.
Step 4: Program

Program the device as you so desire. Sample code is found here on GitHub, and heavily features setting pins up as "INPUT_PULLUP." Really excellent for space saving.
The same concept could be used with an Arduino Pro Mirco and/or a LiPo, though you'll need to make sure that your board will run properly on sub-5V power. I did this successfully in this project if you'd like an example.
Note that links to Amazon on this writeup are affiliate.
Step 5: Enclosure? Sensors? Lights?

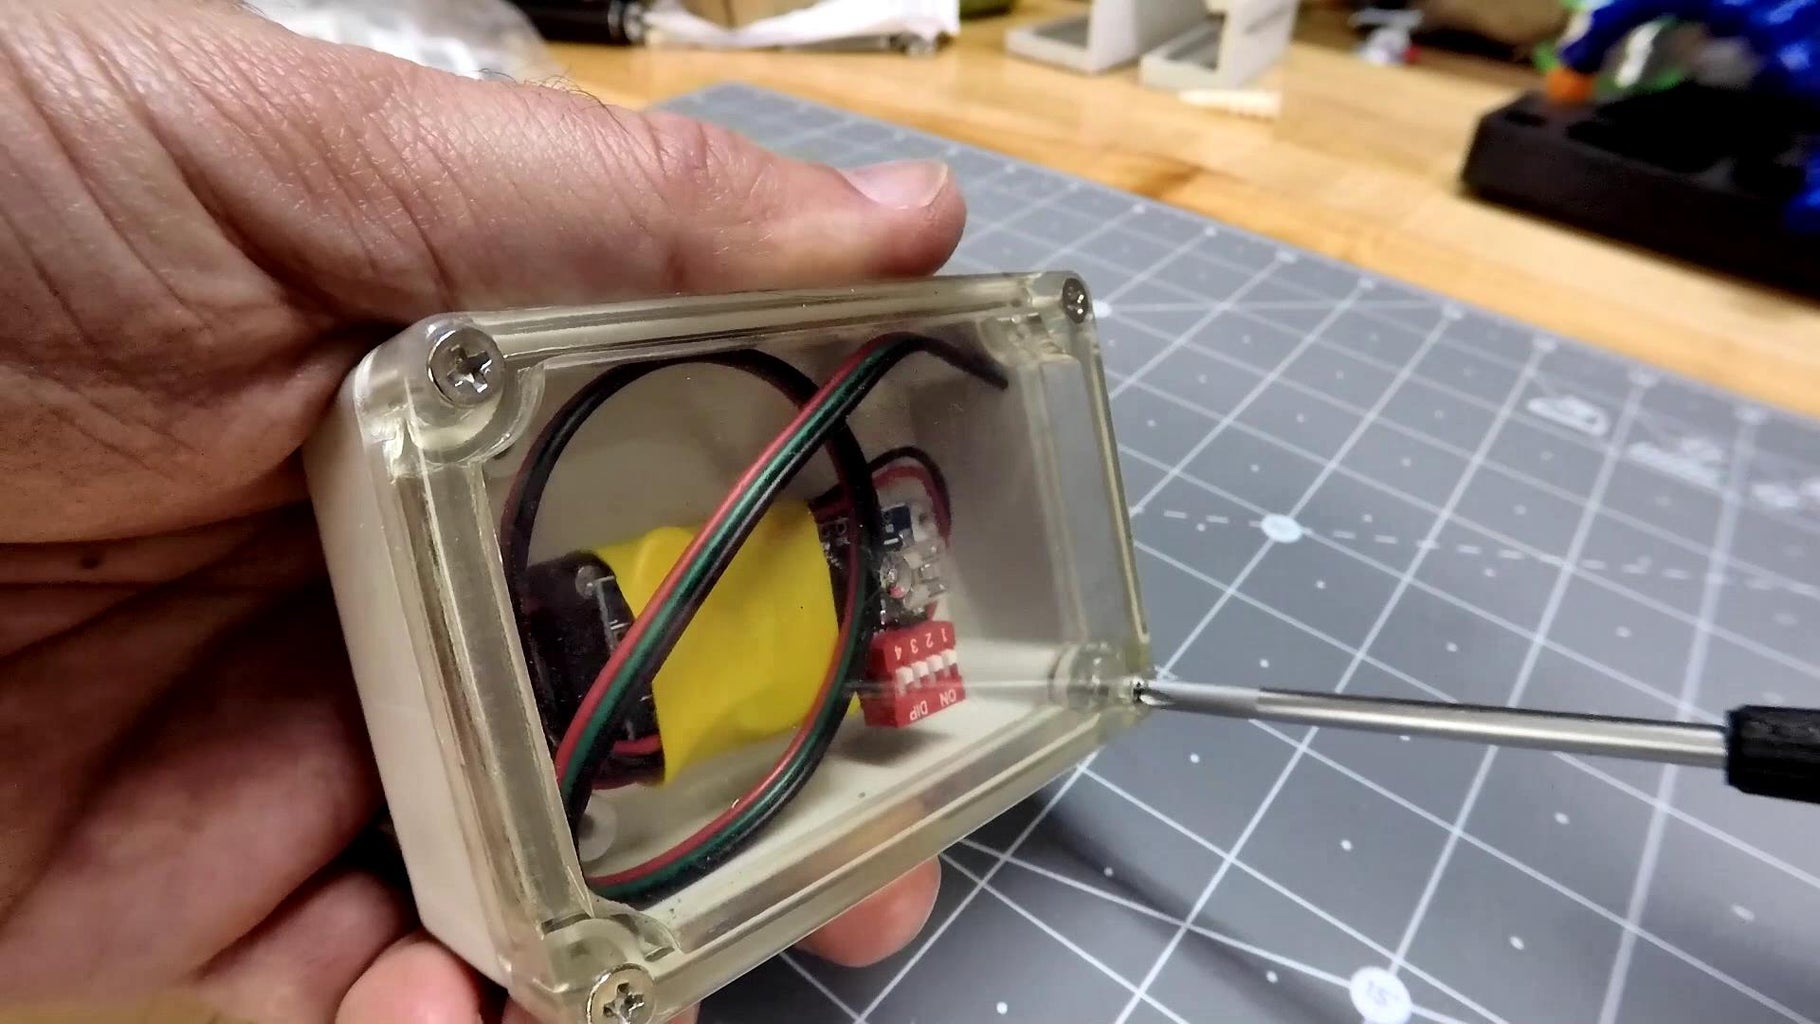
With this basic design in mind, there are many ways you can go with it. As shown here, it can be set up with a PIR sensor to blink lights in response to movement, or be housed in a nice see-through enclosure. Interestingly, it seems the clear plastic interferes with PIR sensors, so this demo wasn't as good as I'd hoped.
As an example of one of the projects I've done with this setup, check out the CNC light graffiti fixture seen here! I was able to put the Arduino part together in just a couple hours with the correct parts in-hand and a standard design already laid out!
If you enjoyed this tutorial, I'd invite you to vote for it in the 2019 Instructables Arduino Contest here!

Participated in the
Arduino Contest 2019

![Tim's Mechanical Spider Leg [LU9685-20CU]](https://content.instructables.com/FFB/5R4I/LVKZ6G6R/FFB5R4ILVKZ6G6R.png?auto=webp&crop=1.2%3A1&frame=1&width=306)


