

Introduction: Beginners Guide to Getting Started With Arduino


Arduino is the go to board for a very large number of projects, it can be used with shields, it has a large collection of libraries that making which make interfacing with any other electronic board possible. Despite having all of these features it is cheap and we can also make our own variants of the board. (You can check out my previous instructable on how to do that.)
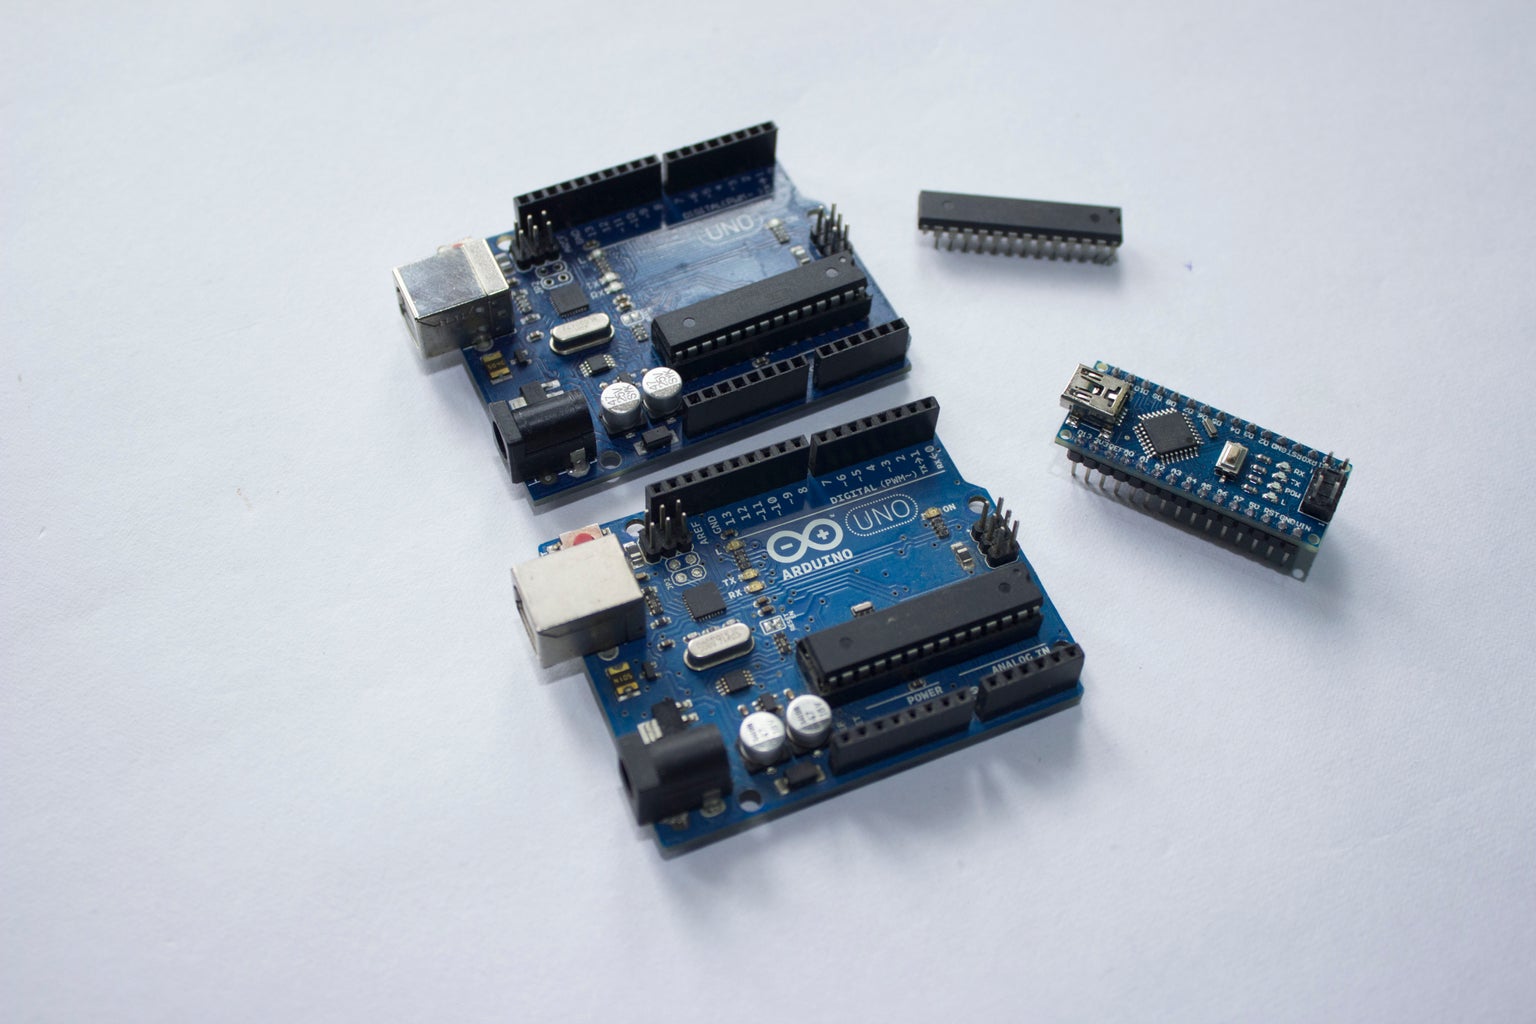
The most popular board in the Arduino family is the Arduino Uno, it is powered by an atmega 328 IC, with the Arduino bootloader loaded on to it. For those who do not already know it. Programming an Arduino is really simple, it has built in libraries and functions that make programming much simpler and all this programming is done on an IDE provided also by the Arduino team.
From this instructable, begins a series on how to get started with an Arduino. This will start right from the blink program which is the "hello world" of electronics, to building a robot using the Arduino.
Step 1: All That You Need to Get Started
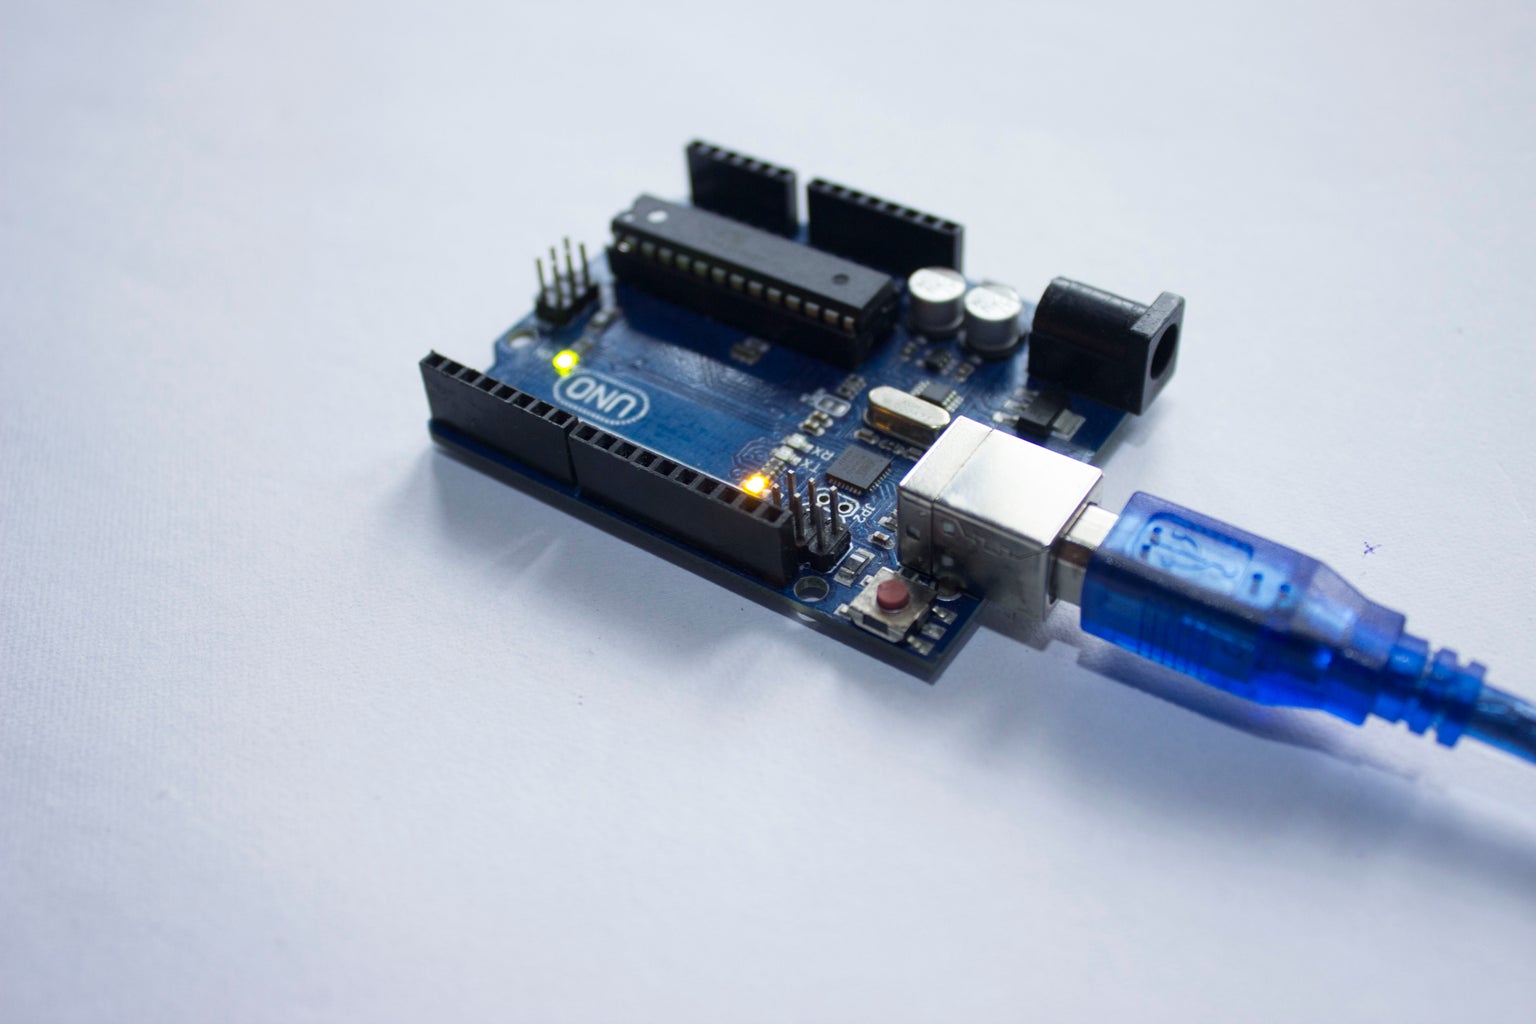

To follow along these series you will need an Arduino UNO, you can buy this on eBay. You will also need an A to B serial cable to plug it into your computer. The Arduino can be powered on via the USB port or you can also use the DC port to power the Arduino or if you do not have a dc adapter to power the board you can supply a voltage of 5V to 12V across the Vin pin and the Gnd pin of the Arduino UNO.
Next, you will need to install the Arduino drivers, this come included when you download the Arduino IDE. You can find it on the path to the Arduino IDE folder in a folder named drivers.
In this Instructable I will be showing how to run the blink example, which will act as a test sketch, so lets start with the gathering the requirements for this project.
Step 2: Components Required

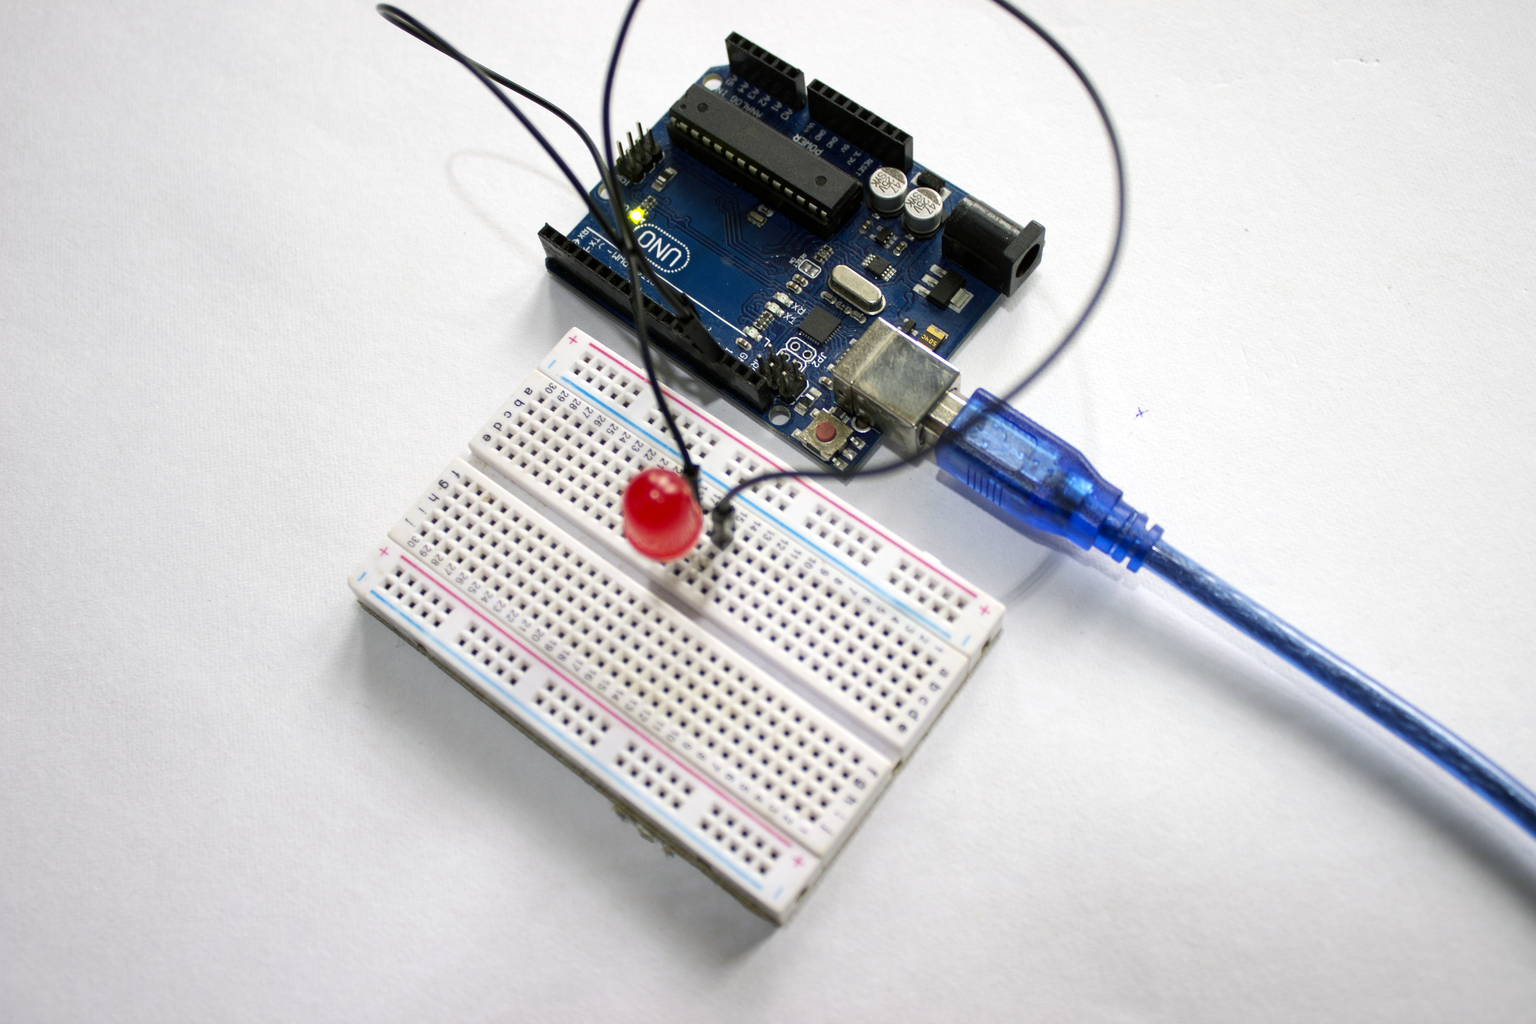
For this instructable we will be trying out the blink example, which serves as the hello world of electronics. In a nutshell, it makes an on board LED blink at a certain interval. The list of components is very basic and is included in almost ever Arduino starter kit if you bought one.
- Arduino Uno
- A to B USB Cable
- LED (optional)
- 470 Ohm Resistor (optional)
- Breadboard (optional)
- Jumper Wires (optional)
Step 3: Downloading the IDE (Integrated Development Environment)


Before we start with uploading the software make sure you downloaded the latest Arduino IDE, you can download it from arduino.cc.
If you are on windows, you need to install the drivers, to install the drivers -
- You will first need to plug the board to the computer with the help of the A to B USB Cable.
- Then open up the Device manager this can be found by clicking the windows key + X if you are on windows 8 or higher or right click on my computer => properties => device manager if you are on older version of windows.
- You should see an undefined USB port right click on it and then select update drivers.
- Next select the path to where you installed the Arduino IDE.
- And hit install, it will now ask for permissions, hit the positive option of all of these.
And you should now have the drivers installed also make sure to note which port your Arduino is connected after the drivers are installed.
Step 4: Uploading the Code

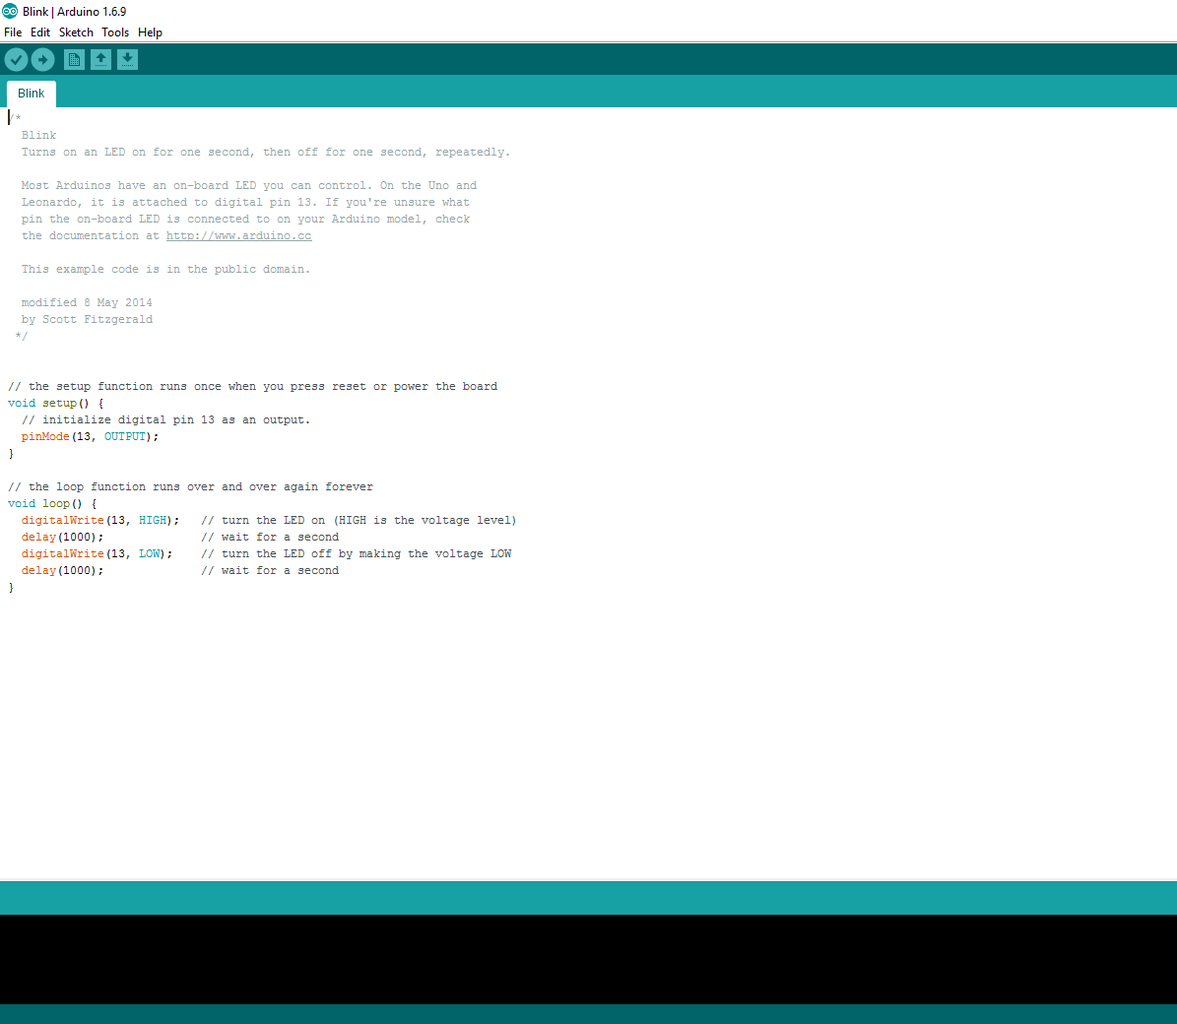
For this instructable you do not have to start typing any code we will be using a example blink code. The blink example can be found under File => Examples => Basics => Blink. Now a new window should load up with the blink program, select the port your Arduino is connected to in tools => port also check if the UNO board is selected in tools => board.
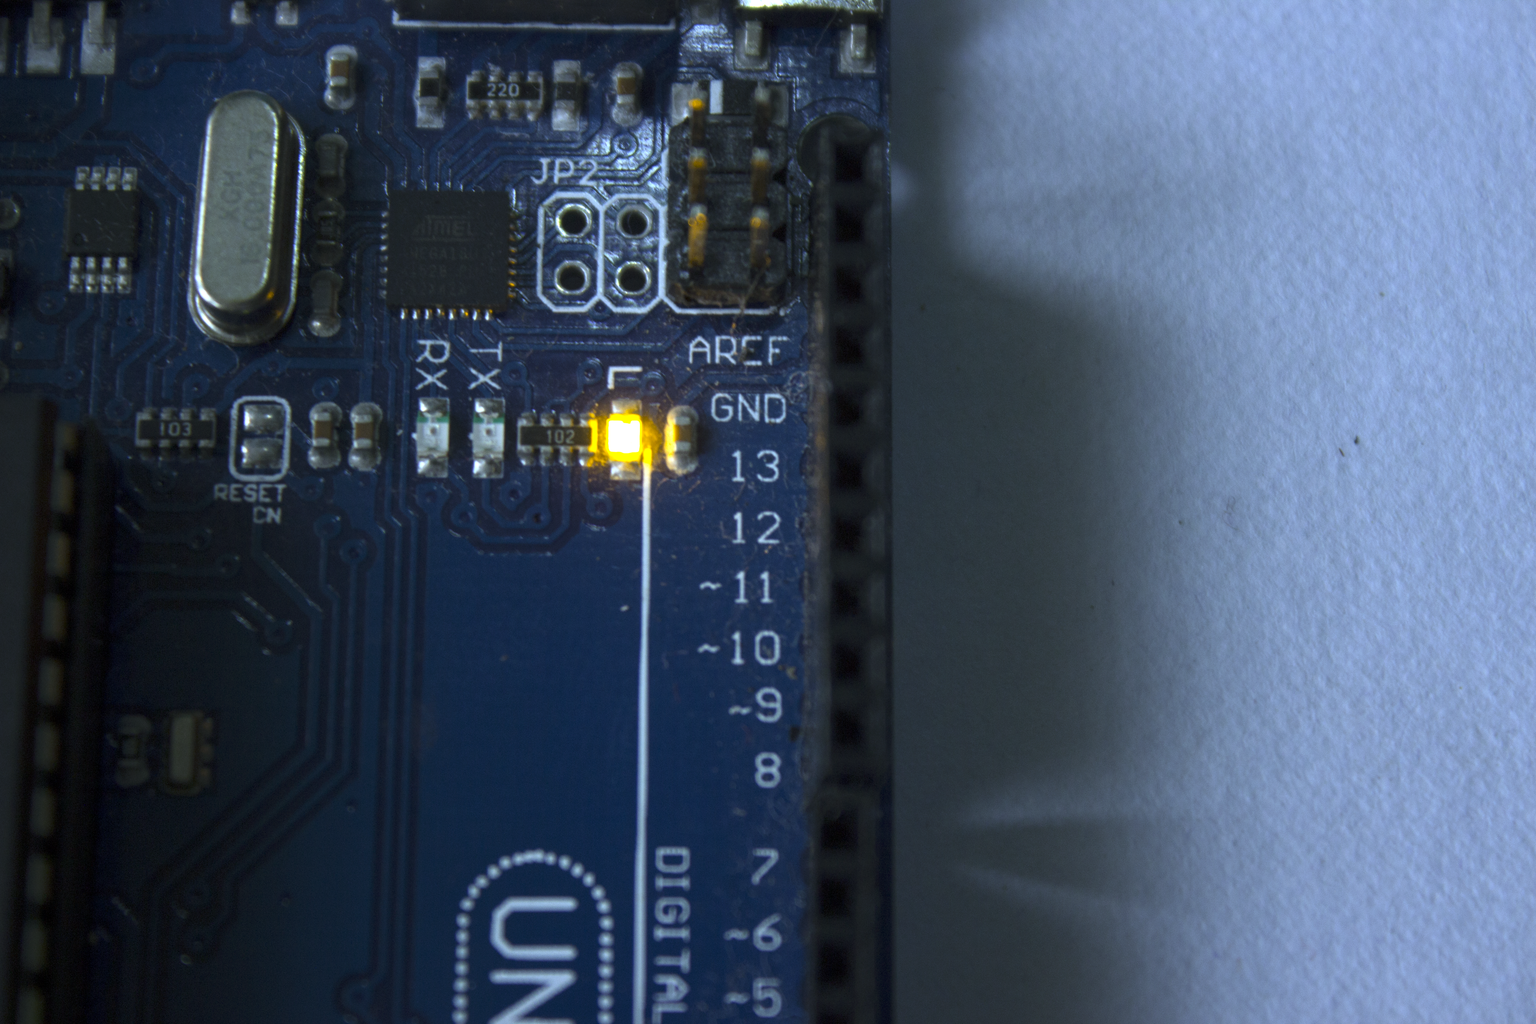
Hit Upload, you should see the LEDs on the Arduino blink faster when uploading, and after uploading the led closest to digital pin 13 of the Arduino will blink at a 1 second interval.
You can change the delay of the blink by changing the value of delay
delay(value);
The value should be in milliseconds, 10000 ms make a second.
Step 5: Code Explanation


An Arduino program mainly consists of two parts a main function and a loop function. The main function is where all the initialization takes place, like for example
pinMode(13, OUTPUT);
This initializes digital pin 13 of the Arduino to be an output (which will later on be used to power on the led)
The loop function is where all the all the magic happens, this function repeats over and over again like an infinite while loop, whereas the setup function runs only once.
So to blink an led we will need to provide power to the led wait a sec and then turn off the led, and we need to repeat this over and over again.
digitalWrite(LED_BUILTIN, HIGH);
delay(1000);
digitalWrite(LED_BUILTIN, LOW);
delay(1000);
digitalWrite() is used to set the pin either high or low, which is either on or off. and the delay function is used to set a delay between each high and low.


