

Introduction: Hand Painted Game Texture Character Skin


Texturing refers to the act of producing 2d images for use with 3d models. Commonly referred to as "maps", textures work in conjunction with Shaders and Materials in a 3d engine or 3d software to produce the final colored result of a 3d model. A variety of techniques and tools are used to make textures: painting by hand in a 2d package such as Photoshop, photo-manipulation, 3d scanning with a photogrammetry tool, painting in 3d directly on models, creating procedurally in a node-based material editor, baking image data from one model to another, etc.Multiple texture types are often created and used to control different parts of the shader, such as a Normal map or a Specular color map.
Prior to what we see today in most 3d video games, game based models were designed with only one type of texture map: a color map. This was due to rendering hardware capabilities at the time. When people ask me where to start when first learning how to texture a character they've made, I tell them to keep it simple by learning how to paint color maps in a 2d application such as Photoshop before learning how to create more advanced texture maps such as Normal and Roughness Maps.
This instructables covers a beginner's basics on how to digitally paint a character facial skin color map in a 2d application. It does not cover more advanced texturing methods such as Normal, Roughness, or Specular maps for PBR texturing characters nor does it teach you how to model a character,.


Supplies
- 2d application such as Adobe Photoshop, Gimp, or Corel painter. Substance Painter can be used as well.
- Drawing Tablet (recommended but optional).
- 3d software such as Blender (Free) or 3ds Max to view model with texture.
- Unwrapped character model. Can use the attached character bust or use your own.
Step 1: Prepare Your Model

Prior to texturing, it is best to UV unwrap your character. UV mapping is the 3D modelling process of projecting a 2D image to a 3D model's surface for texture mapping. In your 3d software of choice generate a UV map for the characters face and export it out as a png image.
If using the the character bust referenced in this instructables, you can download the uvw png image. Download Link
Step 2: Load UVs Into Paint Program

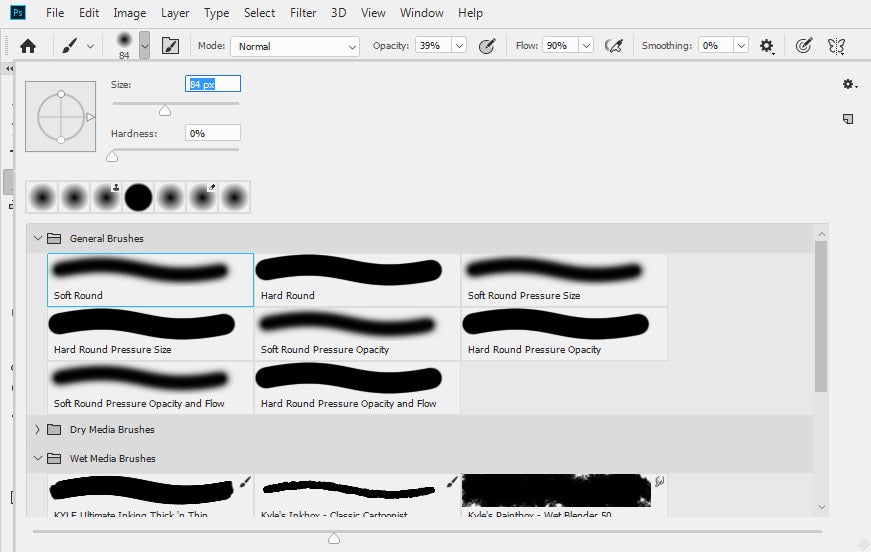
Texture size matters depending on the final media output.Texture maps for video games and real-time environments tend to be smaller in size and have limits determined by the engine they are being made for. In contrast, texture maps for pre-rendered sequences such as film can be much larger. Generally, the sizes of texture maps are only limited by what the rendering computer can handle. Regardless of the size of a texture map's target, it's important that those maps look their best. For this demo I am using a 2048 x 2048 pixel texture in the program Adobe Photoshop.
When you have your uvw map created and exported, import it into your 2d package of choice. If your uv map isn't transparent and comes in as a black and white image, turn the layer mode to Screen. Turn the image opacity down to 15%-25%.
***If your are using a direct painting on a model software such as Substance painter, you can just directly load the obj file.
Step 3: Create a "Blood" Layer


To simulate the basis of skin, create a layer below the UVmap and fill the layer with a dark red color. Something like #581d1d will work.
Step 4: Create a Bottom Dermis Layer


On a new layer above the blood layer, fill the layer in with a color that would be considered a halfway color in between a skin tone and a blood color. For instance a halfway between a light skin color and blood would be #bb7e70. Turn this lay opacity down 50%.
Step 5: Paint Shallow Areas


This layer represents where skin would be the most thinnest. Create a new layer above the Dermis layer and set the color mode to Multiply. Paint areas with the color used on the Blood layer that would be considered shallow such as the eyes,nostrils, lower cheeks, etc.
Painting Tip: Use a soft brush for painting skin. I usually use a brush with a opacity set to 30-50% and will build up color in pasess.
Step 6: Create a Dermis Top Layer


Duplicate the Dermis layer and move above the previous layer where shallow areas were painted in. Change the color mode to screen. Set the layer opacity to around 34%.
Step 7: Painting Skin Tone Base PT1


Create a new layer above the Top Dermis layer. Set the color mode to screen. Set layer opacity to around 45%. With a brush that has a opacity set of around 30-50%, begin painting color tone variations. Hot spot areas (areas that would be brighter) will be on areas that would protrude out on the face such as forehead, top of cheeks under the eyes, tops of ears, tip of nose, etc.
Step 8: Painting Skin Tone Base PT2


Eventually at a point create another layer with a color mode set to screen with a layer opacity set to 45%. Continue painting skin tone variation with protruding points be bright and low points as dull.
Step 9: Paint "Fatty" Skin


Create a new layer with a layer color mode set to Softlight. This layer will represent the "Fatty" part of skin and help give a variation to the skin. Paint areas such as the cheeks, chin, neck, and ears.
Step 10: Paint Lips Base


Create a new layer. Set the layer color mode to Multiply. Using the color from the base Blood Layer (or any desired color), paint in the lips. Change the opacity of the layer as desired.
Step 11: Paint Lips Highlights


Create a new layer. Set the color mode to screen. With a light color (use the fill color from the Dermis layer or a lighter of the lip base), paint highlights onto the the top of the upper lip and mid part of the lower lip. Change the layer opacity as needed.
Step 12: Paint Lighting


Create a new layer and set the color mode to screen. Set the layer opacity to around 45%. Using the color used for the Dermis layer, begin painting areas areas of the face that would protrude enough to catch light such as eyelids, forehead,nose, and tops of ears.
Step 13: Paint Additional Shadows


Once the reflective lighting is painted, additional shadows may need to be painted. Create a new layer and set the color mode to multiply. Set the layer opacity to around 75%. Using the color from the "blood" layer, build up additional shadows around the ears, neck, under the bottom lip and nose.
Step 14: Add Pores


Real skin isn't flawless and smooth looking like a doll's. It has two types of skin pores: sweat and oil pores. When I make pores for hand painted characters I usually use two noise maps.
First noise map I use is a dense grayscale noise map I generate in Photoshop. Above all the skin layers just below the UVW map I will add this layer and set the color mode to multiply.
Second noise map sits above the previous noise map in the hierarchy. This map is less dense looking and is set to have a color mode of Multiply with a layer opacity of around 40%.

Step 15: Paint Extra Elements


At this point the base skin effect is finished. You can proceed to paint any additional details you may desire such as moles, hairlines, eyebrows, tattoos, etc. You can even even play around with Hue and Saturation setting to tweak or achieve new skin tones.
Once you are satisfied, hide the UVW map layer and export the resulting image. Load the texture onto your 3d character in your 3d software of choice.
Step 16: Final Project PSD Files

For reference, you can download the PSD file of what was shown in this instructables. Zip file also contains alternative dark skin version.
Attachments
Participated in the
Art Skills Challenge


